
Super Admin
Tenant Management is where you provision and manage the business customers hosted on your ICTPBX installation. Each tenant gets a fully isolated virtual PBX environment with its own extensions, routing, fax accounts, users, and billing balance.
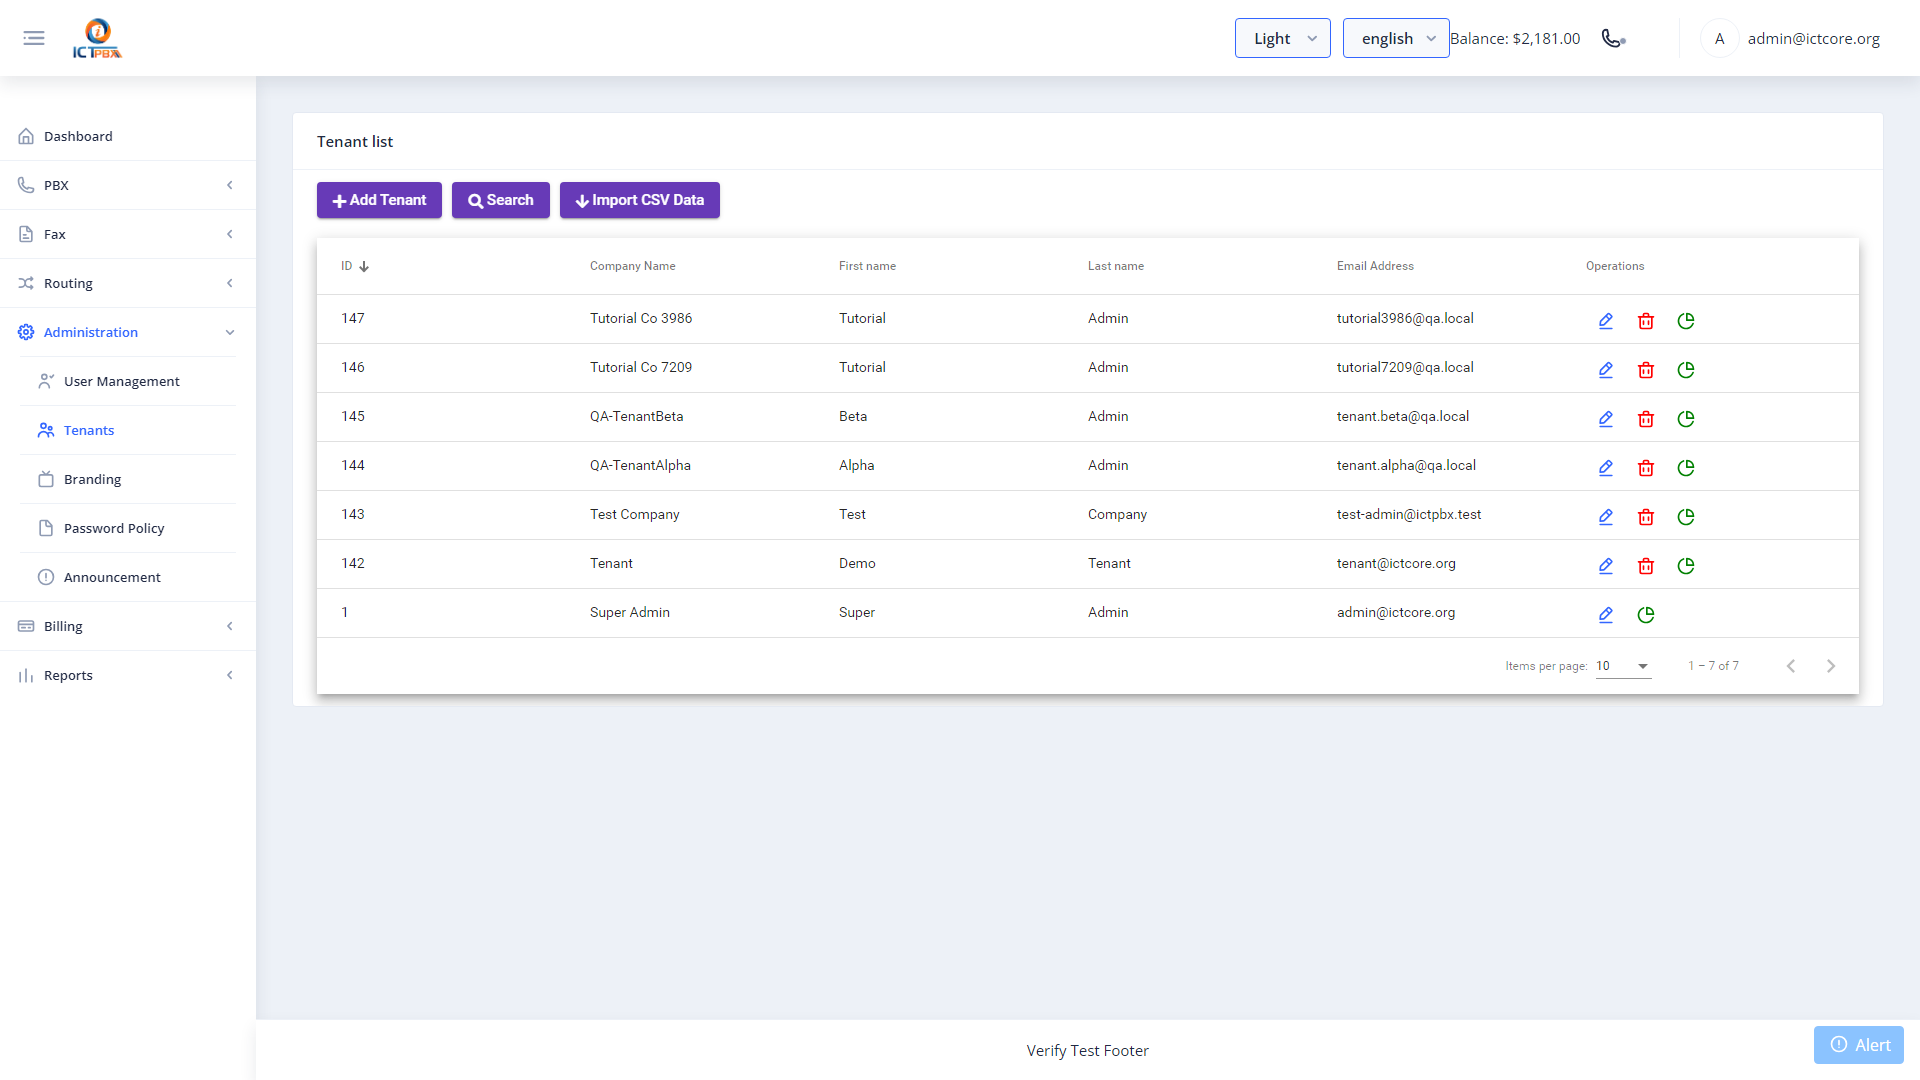
Creating a Tenant
- Go to Tenants in the sidebar (Super Admin only)
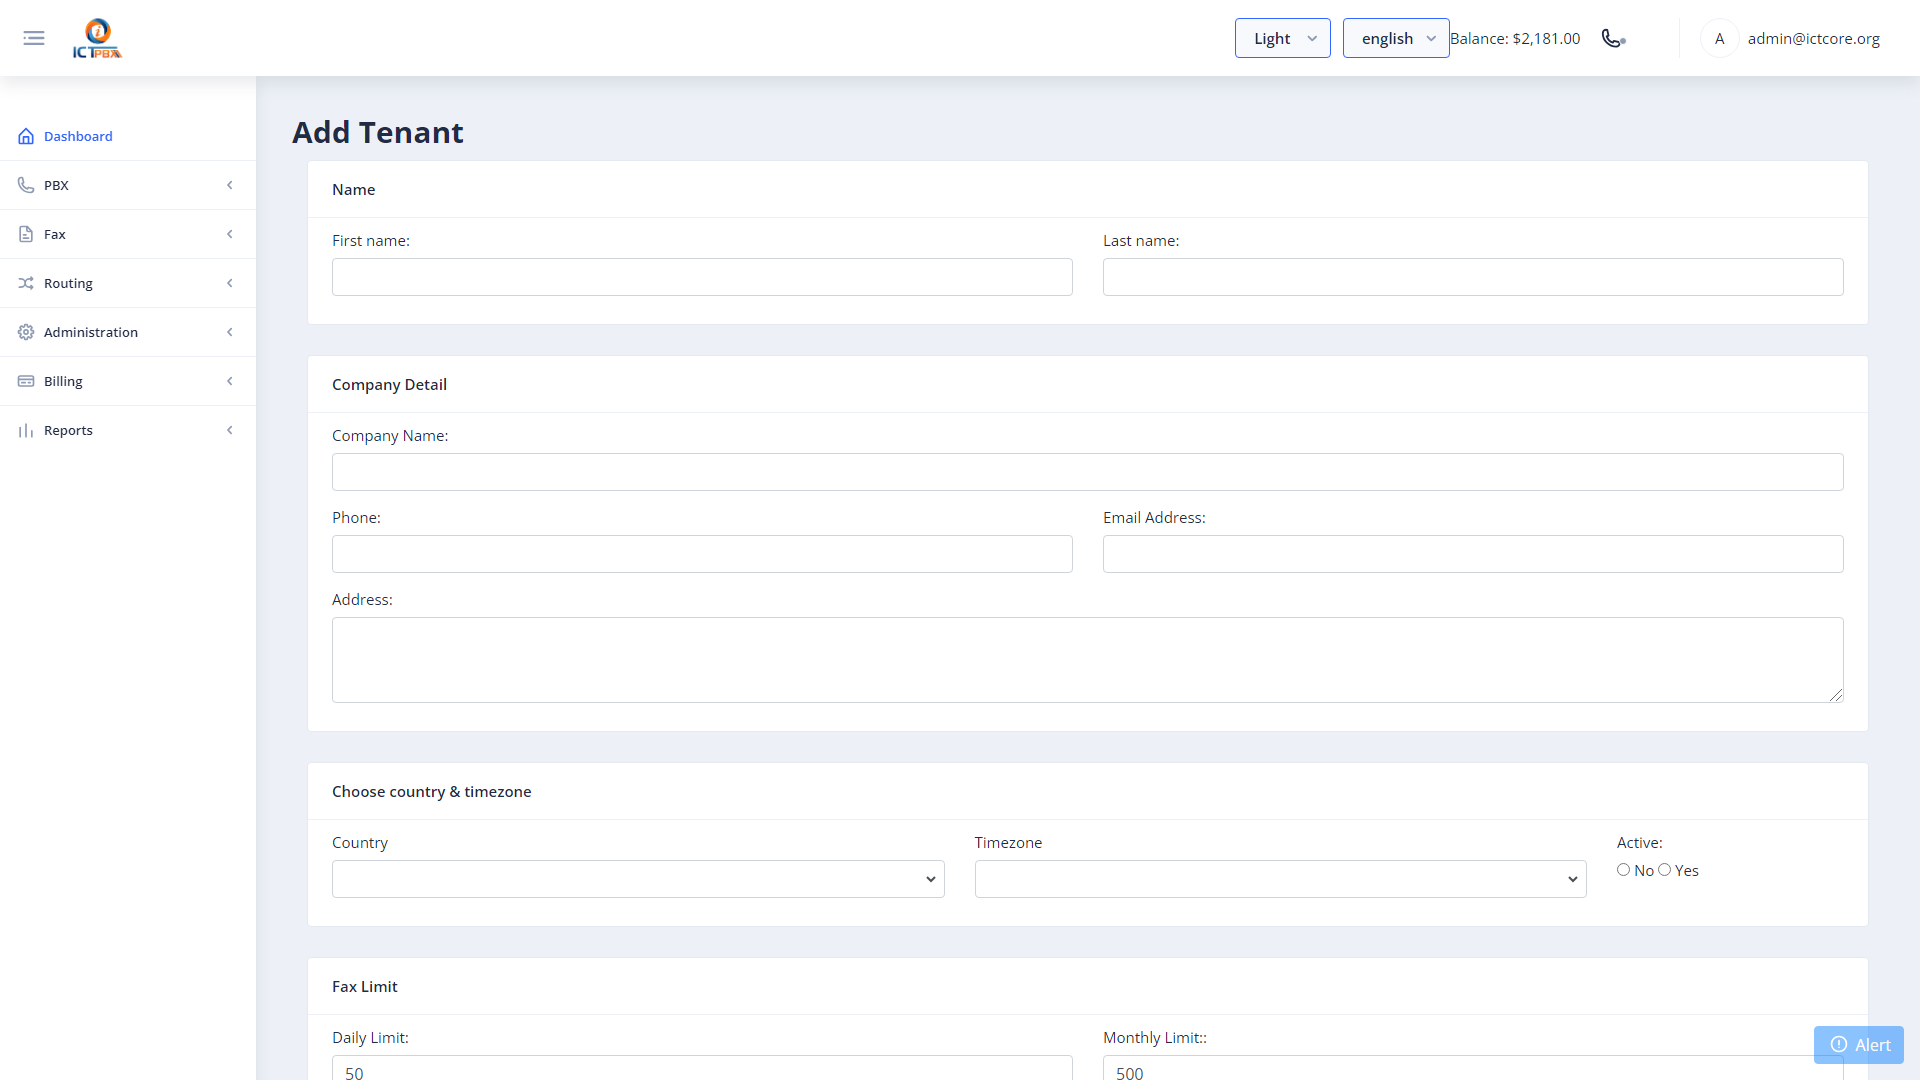
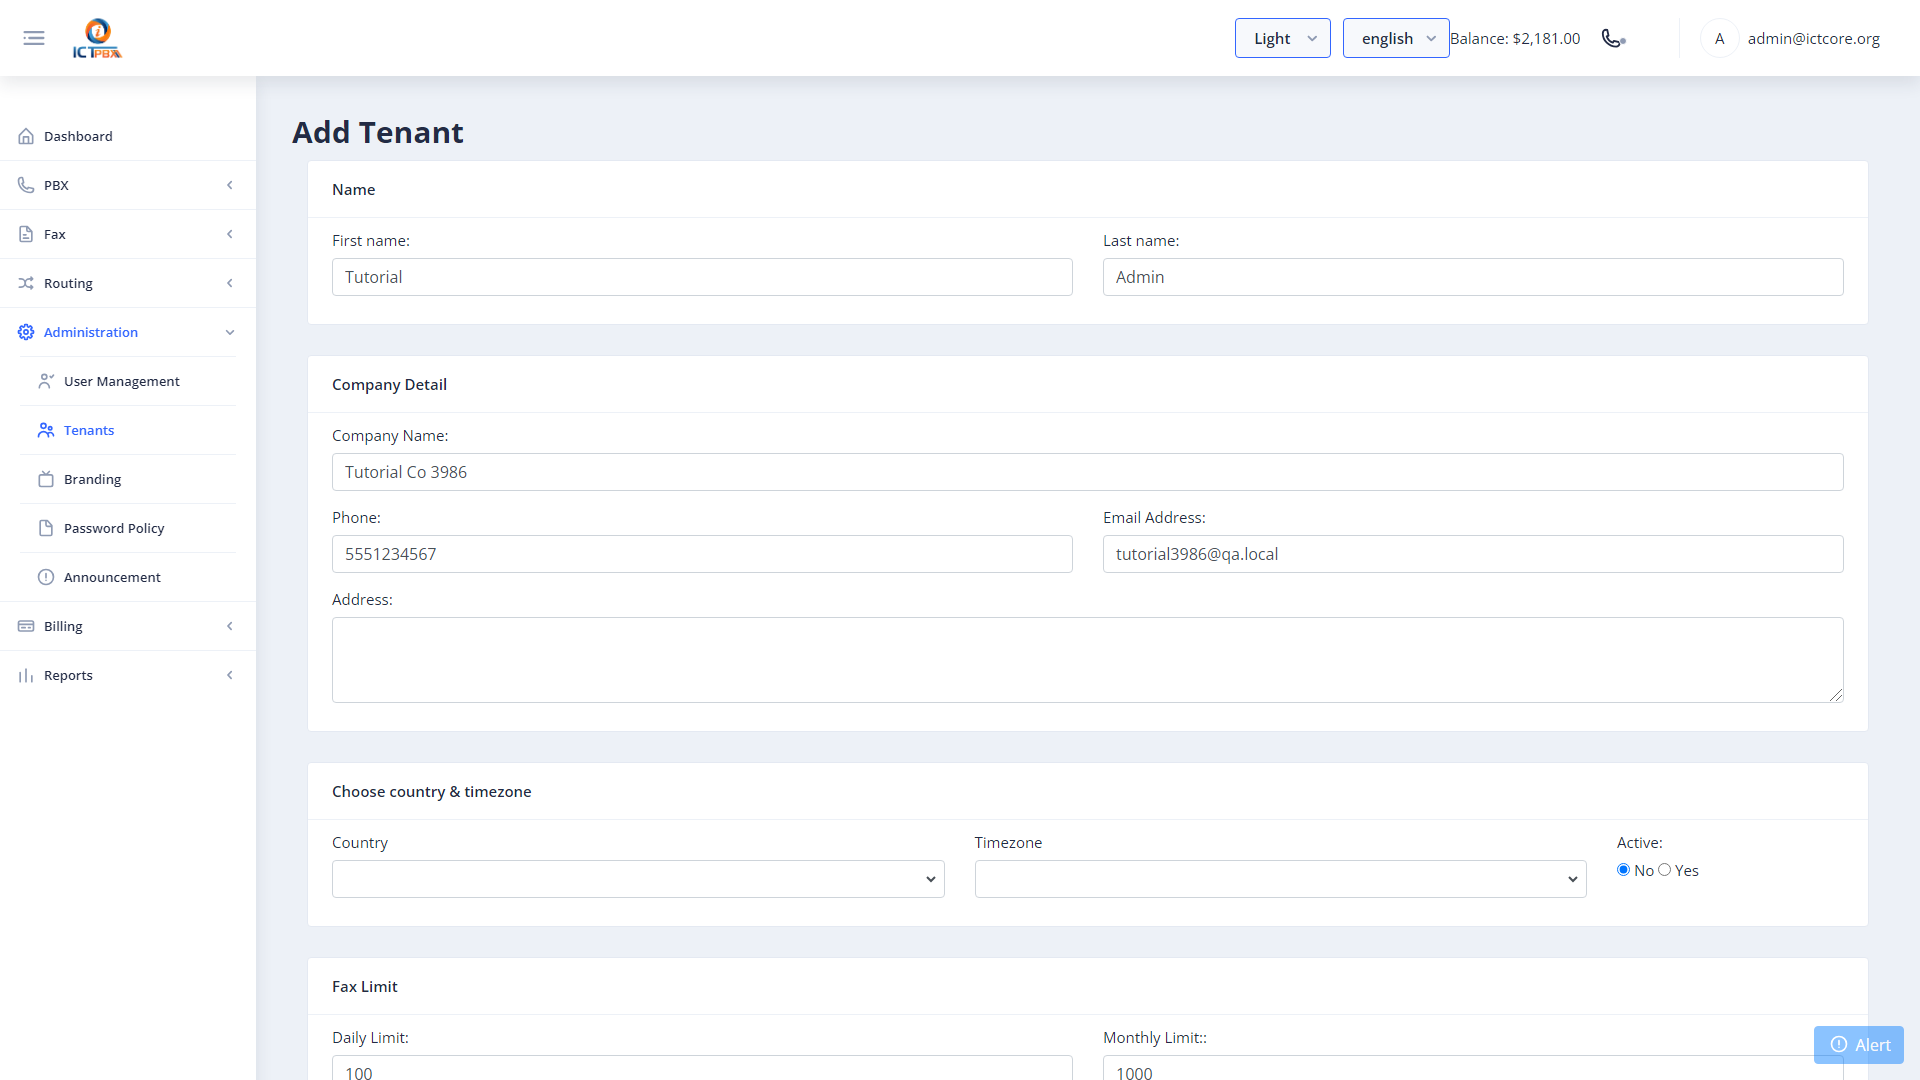
- Click Add Tenant
- Enter the business name, domain (used as the FreeSWITCH user domain), and contact email
- Click Save
- Go to Billing › Subscriptions to assign a service package to the new tenant
- Create a Tenant Admin user account and assign it to this tenant
tenant-name.yourdomain.com.Managing Existing Tenants
Click any tenant in the list to edit its name, domain, or contact details. From the tenant edit form you can also see a summary of the tenant’s current resource usage and billing balance.
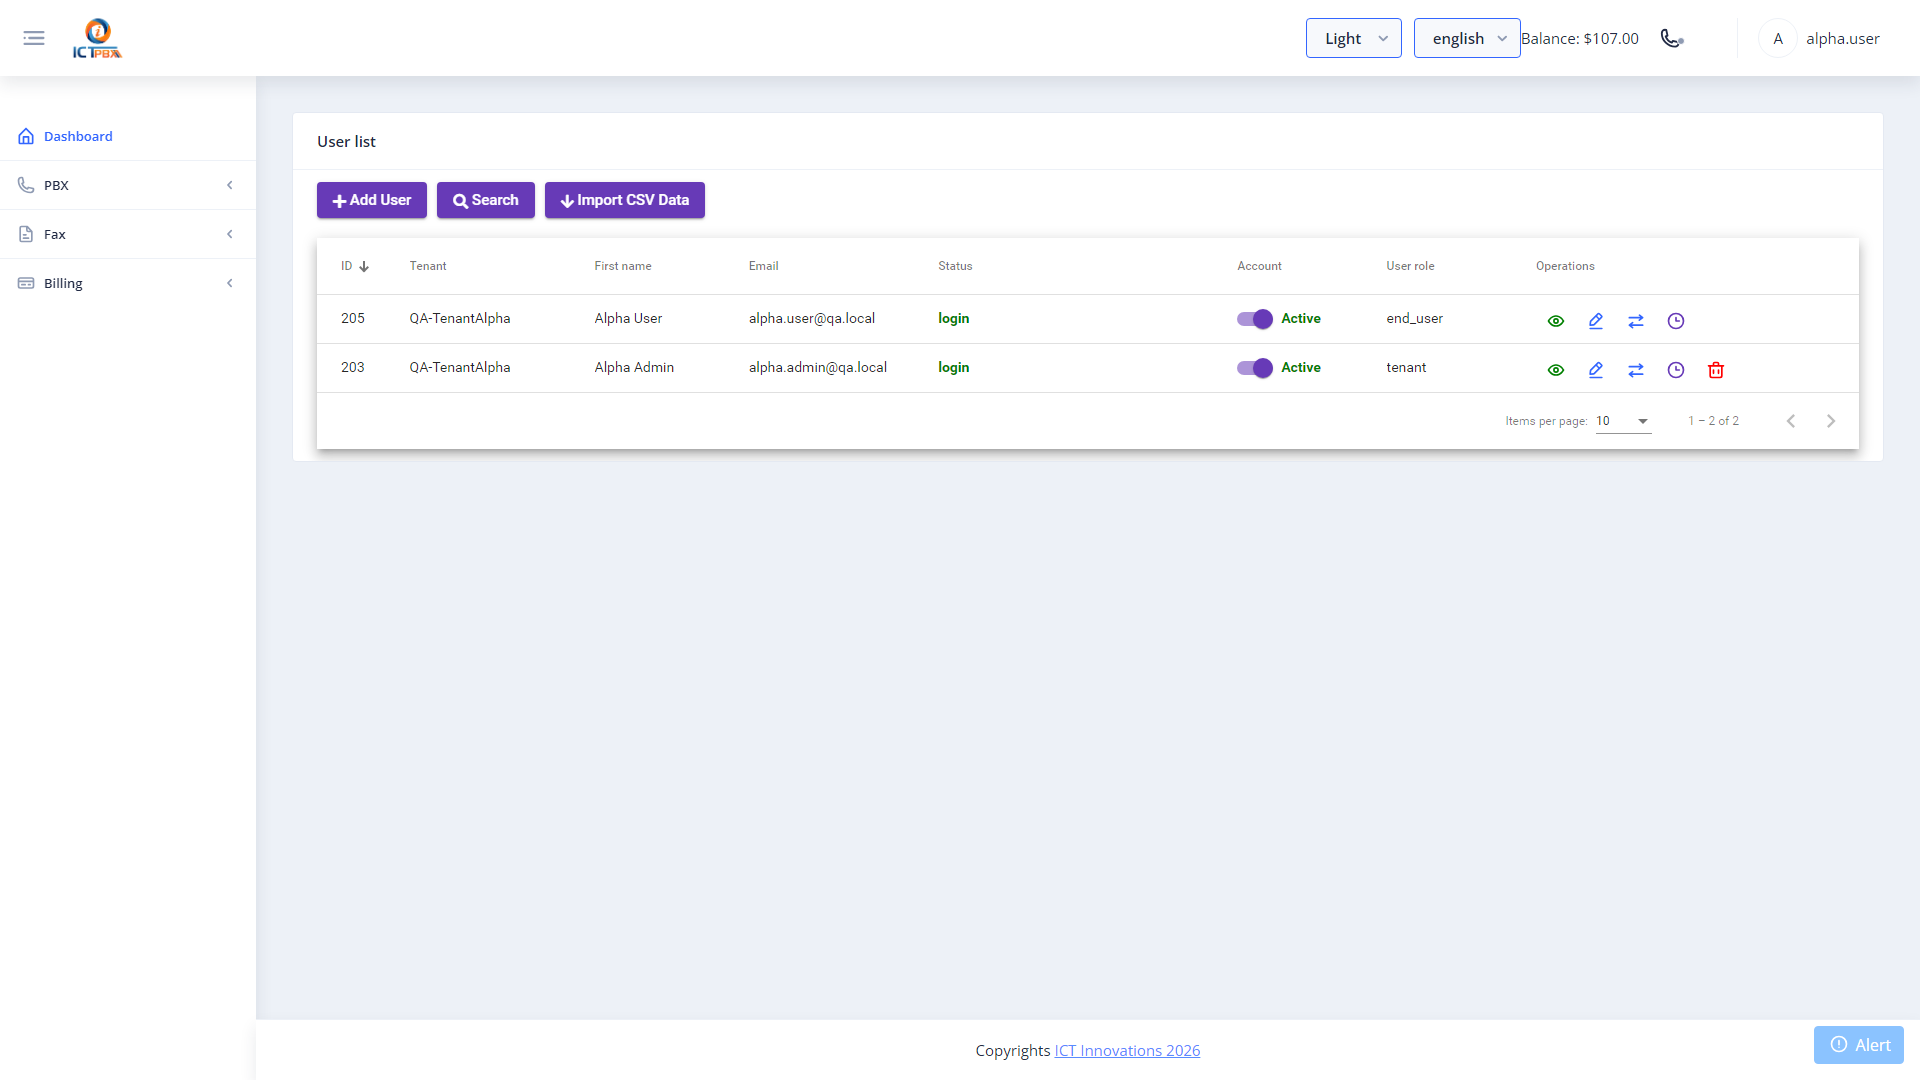
Tenant Isolation
Each tenant’s data is completely isolated. A Tenant Admin can only see and manage their own tenant’s extensions, users, routes, and records. They can’t access any other tenant’s data, and they can’t see system-level settings. This isolation is enforced at both the Angular route guard layer and the ICTCore API layer.
Related Features
- Billing Subscriptions – assign a service package to the new tenant
- Branding & White-Label – configure a custom logo and login page for the tenant
- User Management – create the Tenant Admin account after provisioning