
Super Admin
ICTPBX supports full white-label branding per tenant. You can give each business customer their own logo, login page background, application title, favicon, footer content, and support email – all managed from the Branding module. The portal fetches branding via a public API on login, so the white-label experience starts from the very first page load.

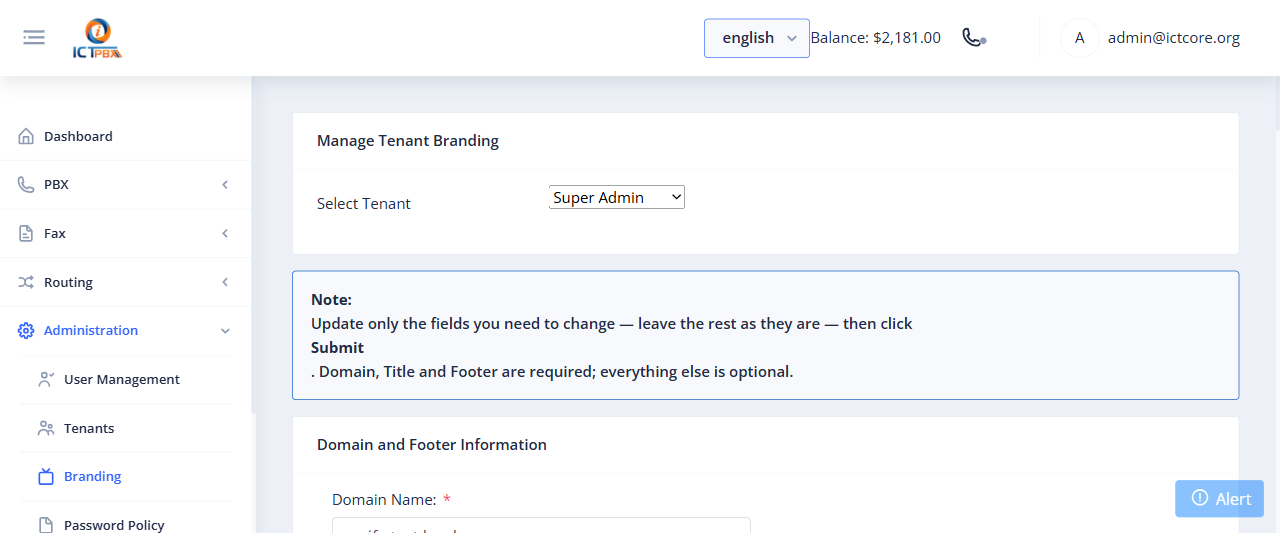
Creating a Branding Profile
- Go to Branding in the sidebar (Super Admin only)
- Click Add Branding
- Select the tenant to brand
- Upload the logo image (recommended: SVG or transparent PNG, at least 200px wide)
- Set the application title (appears in the browser tab and the portal header)
- Upload a login page background image
- Set the login page subtitle (a short tagline shown below the login form)
- Upload a favicon
- Optionally enter footer HTML for custom footer content in the tenant’s portal
- Set the support email shown in the tenant’s portal
- Click Save

Editing an Existing Profile
Click any branding profile in the list to update it. Changes take effect immediately – the next time a user from that tenant opens the portal, they see the updated branding.


The login page fetches branding based on the hostname. To have a tenant’s login show their logo, they need to access the portal via their custom subdomain – not your default portal URL.
Community Edition
Branding is a Service Provider Edition feature. The Community Edition toggle disables multi-tenancy and branding functionality when you want to run a single-tenant open-source installation.
Related Features
- Tenant Management – create the tenant before setting up branding