
Super AdminTenant Admin
Inbound routes tell ICTPBX what to do with calls arriving on a specific DID (Direct Inward Dial) phone number. You can send the call to any destination – an extension, ring group, IVR menu, voicemail box, call queue, conference room, or external number – and the route activates instantly with no downtime.

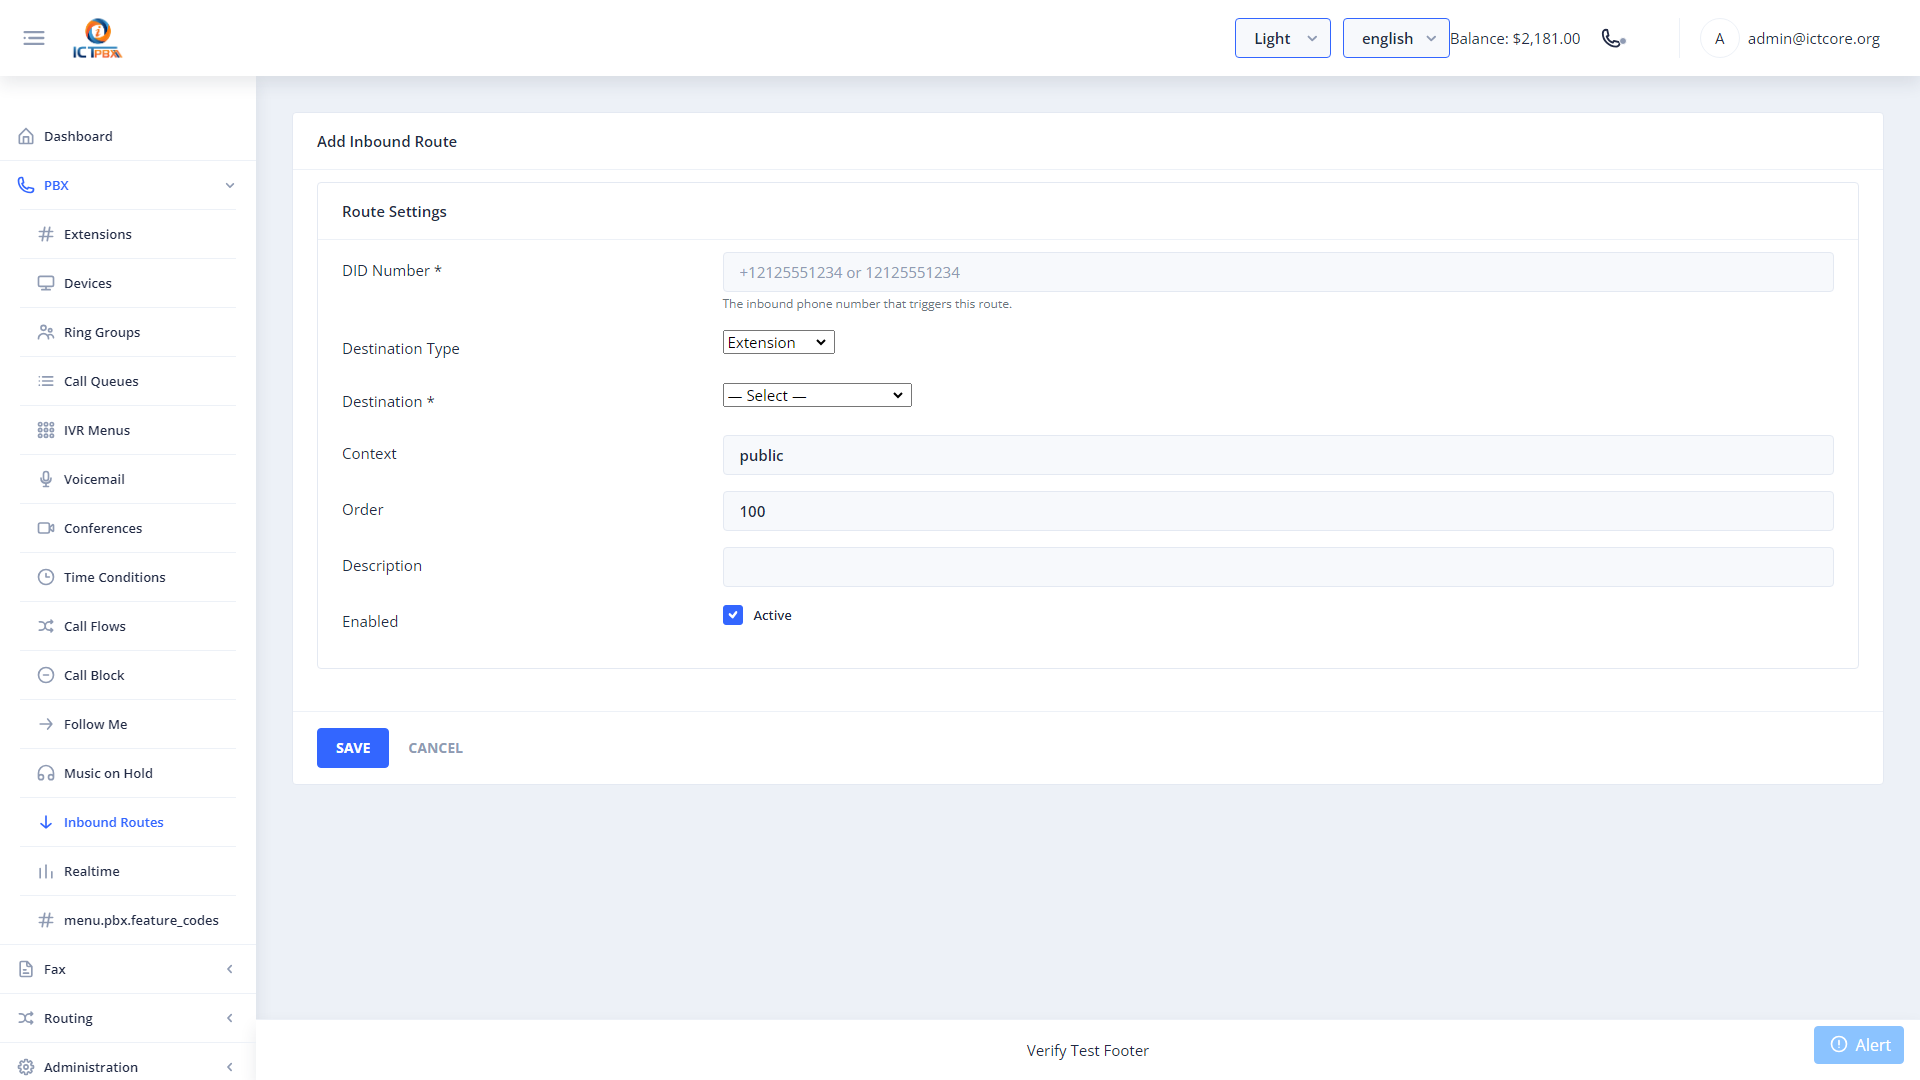
Creating an Inbound Route
- Go to PBX › Inbound Routes
- Click Add Inbound Route
- Select the DID number this route applies to
- Choose the destination type and select the specific destination
- Optionally set a caller ID name prefix to help agents identify which DID the call arrived on
- Click Save – the route is live immediately
You need a DID number assigned to your tenant before you can create an inbound route. Contact your Super Admin to have a DID assigned, or manage your DIDs from the DID Numbers page.
Routing Options
- Extension – ring one specific extension
- Ring Group – ring multiple extensions simultaneously or in sequence
- IVR Menu – play a greeting and let the caller choose
- Voicemail – send directly to voicemail
- Call Queue – place the caller in a queue for agent distribution
- Conference Room – drop the caller into a conference
- External Number – forward to any outside number
Related Features
- Call Flows – point your DID to a call flow for automatic business hours routing
- DID Numbers – view and manage the numbers assigned to your tenant