
Super AdminTenant Admin
Fax Settings hold a few defaults for outbound faxes: whether to add a cover page, whether to send an email’s text as a page, and how long to wait between retries. Cover Pages let you create reusable templates that get added to the front of outbound faxes.
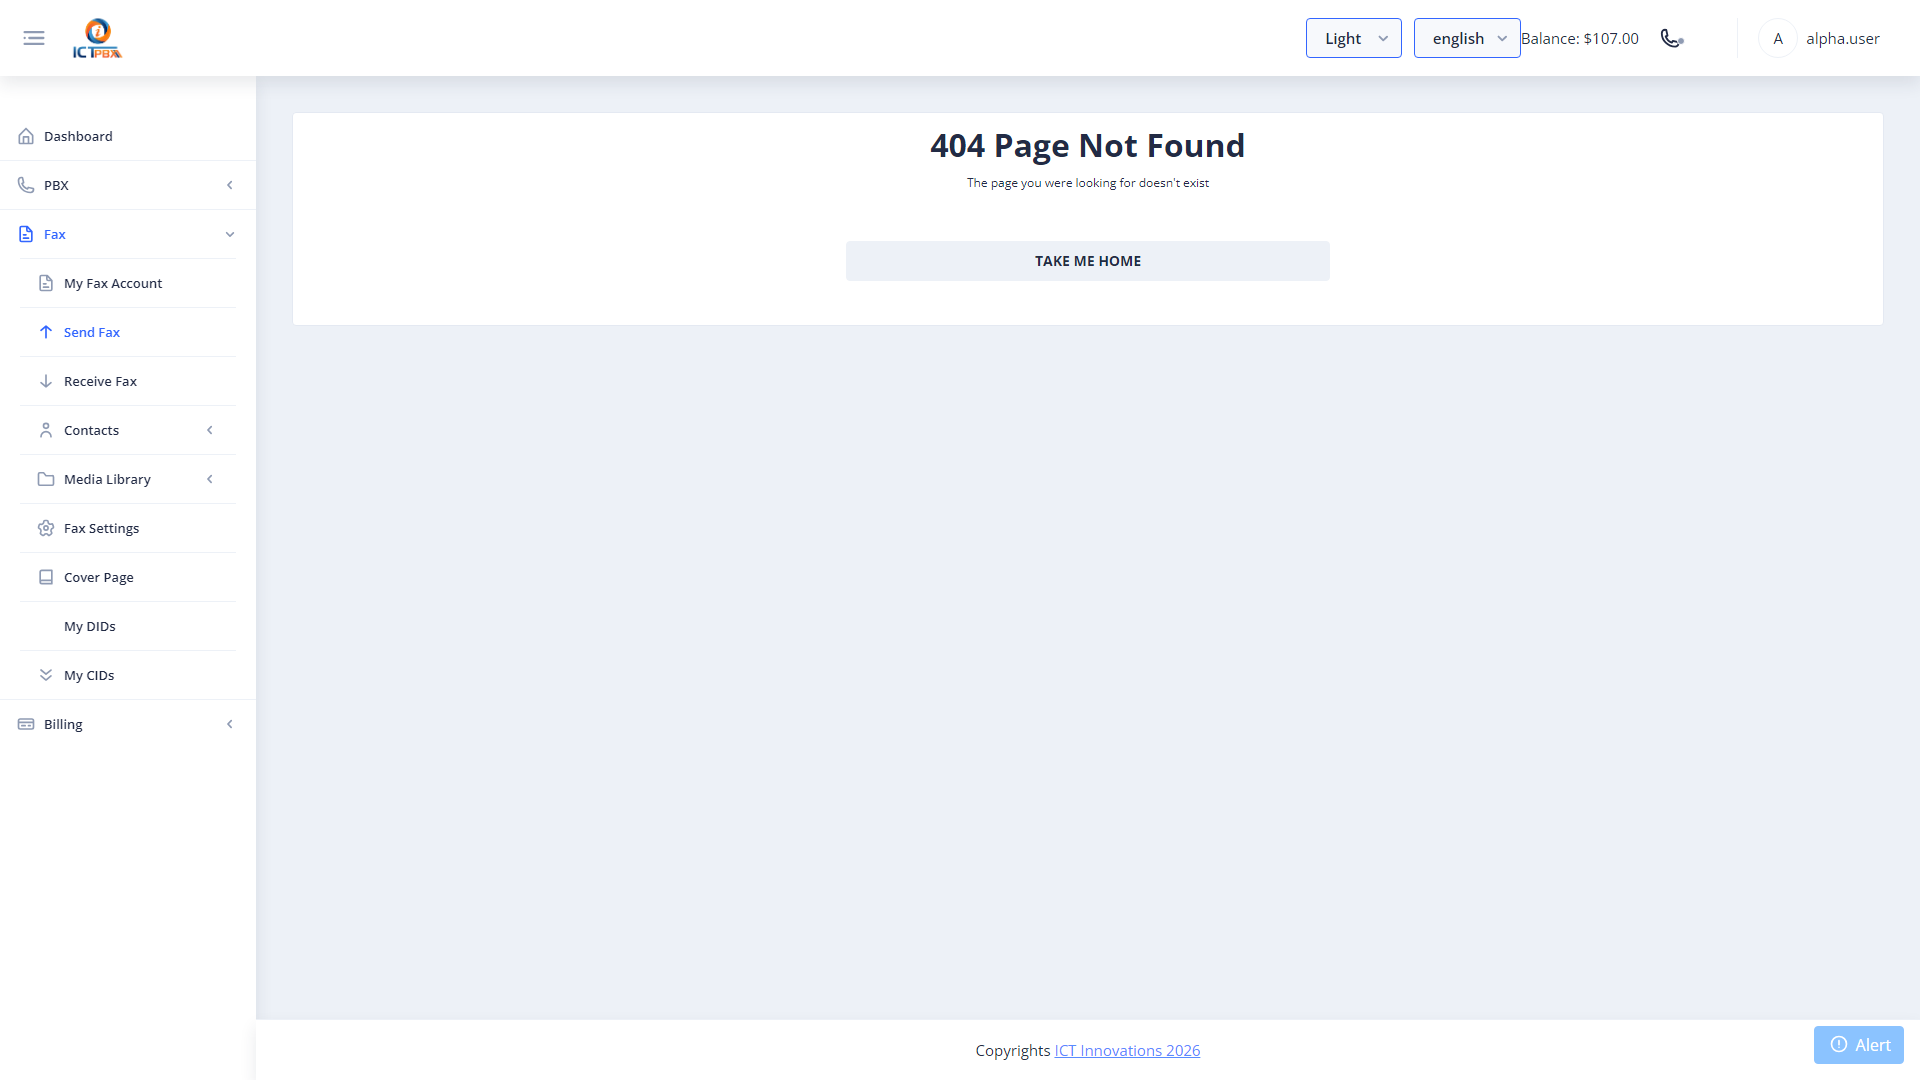
Configuring Fax Settings
- Go to Fax › Fax Settings
- Tick Send Cover page to add your default cover page to outgoing faxes
- Tick Send Email Body as page if you fax by email and want the email text sent as a page
- Set the Retry Fax Interval (MM:SS), the wait between retries
- Click Submit
Caller ID, Fax Header and Retry aren’t set here. You choose them for each fax on the Send Fax form.
Managing Cover Pages
Cover pages are reusable templates. Tokens in the text are replaced with real values when the fax is sent:
[transmission:destination:first_name],[transmission:destination:last_name],[transmission:destination:email],[transmission:destination:phone]– the recipient[transmission:source:first_name],[transmission:source:last_name],[transmission:source:email],[transmission:source:phone]– the sender[program:date]– the date sent[template:subject],[template:body]– the subject and message text
There’s no company token. When you send a fax, you can choose a template to put in front of it.
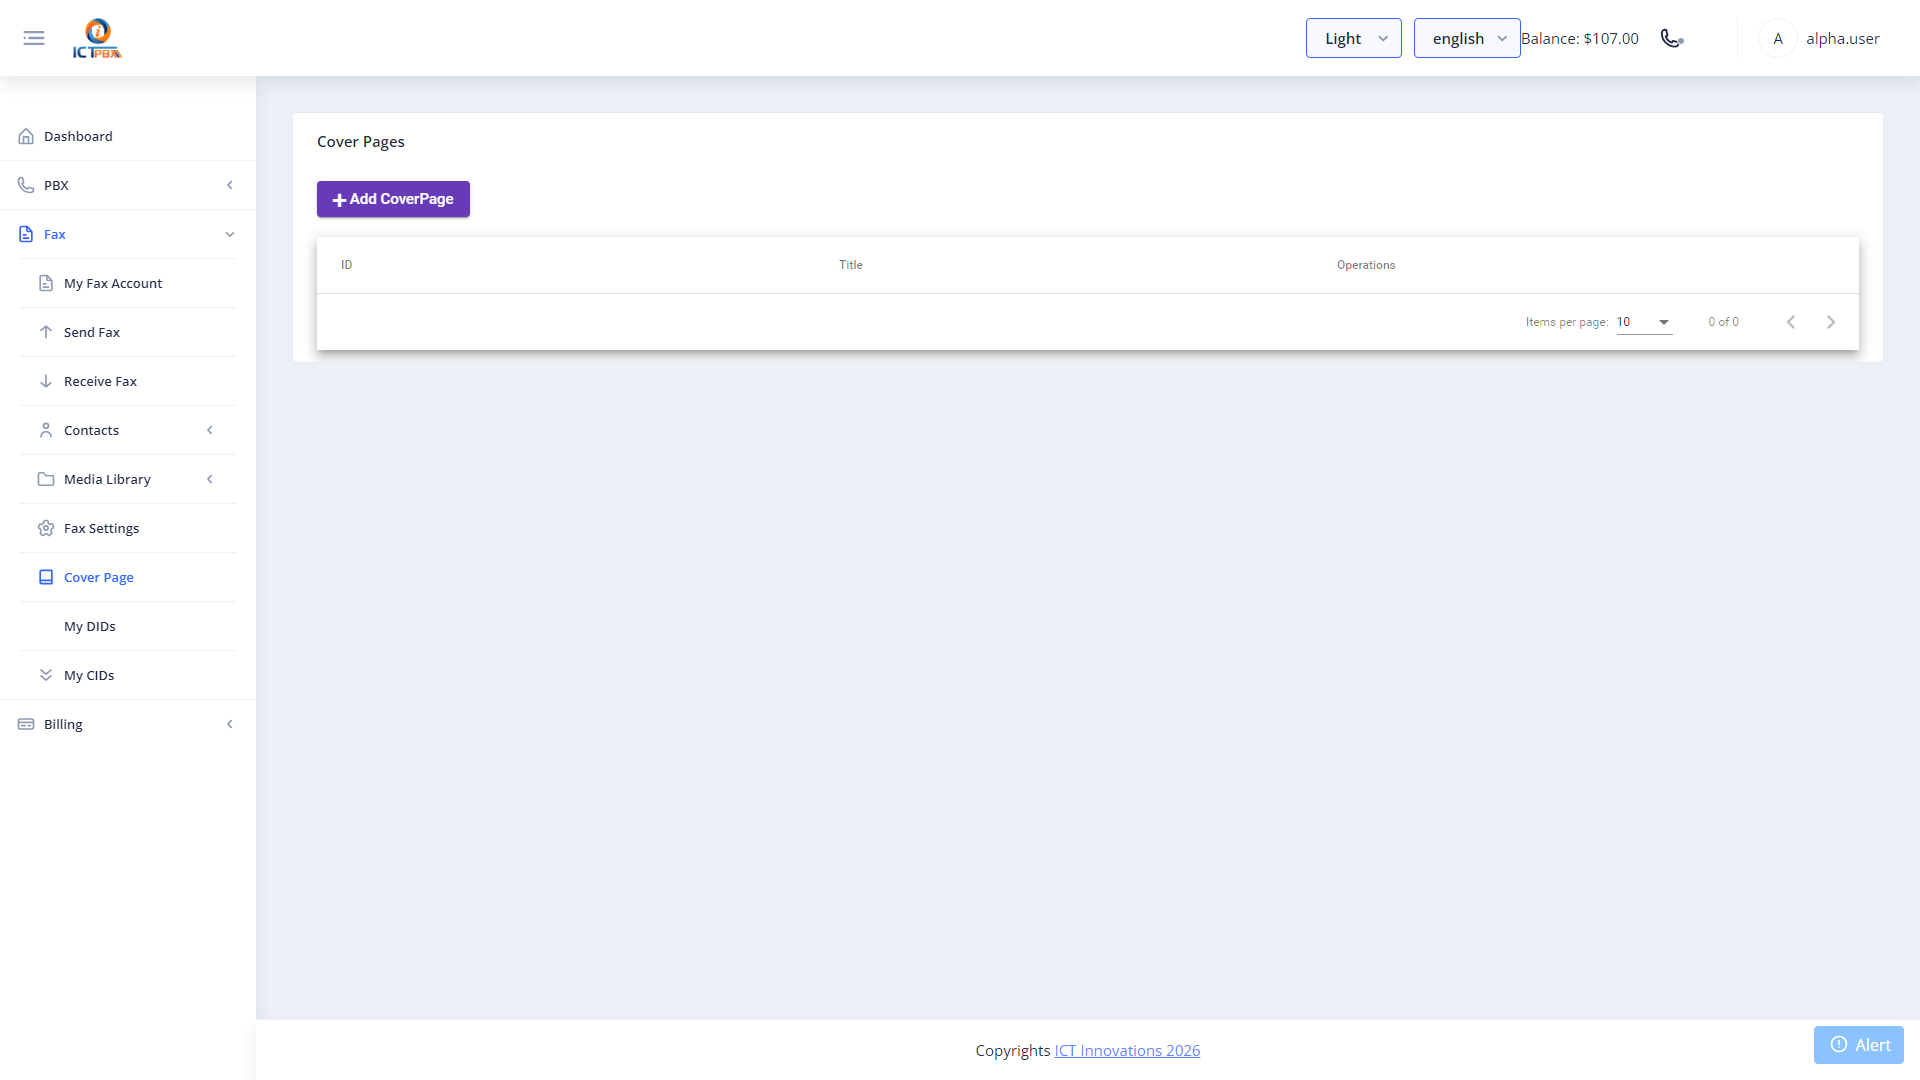
Creating a Cover Page Template
- Go to Fax › Cover Page
- Click Add CoverPage
- Enter a Title (e.g. “Standard”, “Legal”, “Confidential”)
- Write the page body using the tokens above
- Click Save
Create separate templates for formal and informal faxes, and use Set Default Cover Page on the one you use most. Your team can pick the right one when sending from the Send Fax form.
Related Features
- Outbound Fax – apply a cover page when sending a fax
- Inbound Fax – configure delivery email per extension