
Super Admin
Role: Super Admin | Access Level: Level 1 — Full System Access
Introduction
The Super Administrator has unrestricted access to the entire ICTPBX installation. You are responsible for provisioning tenants, managing the platform’s PBX infrastructure, configuring billing packages, maintaining trunks and DID numbers, applying white-label branding, and monitoring system-wide activity. This guide covers every feature available to your role, with step-by-step instructions and screenshots.
Portal URL: Your ICTPBX portal URL (provided by your service provider)
1. Logging In
Navigate to your ICTPBX portal URL in any modern browser (Chrome, Firefox, Edge).
- Enter your administrator Email Address.
- Enter your Password.
- Click SIGN IN.
Security Note: After several consecutive failed login attempts, accounts are temporarily locked per the Password Policy. If you are locked out, access the server directly to reset.
2. Dashboard — System Statistics
After login you land on the System Statistics dashboard — a real-time overview of the entire platform.
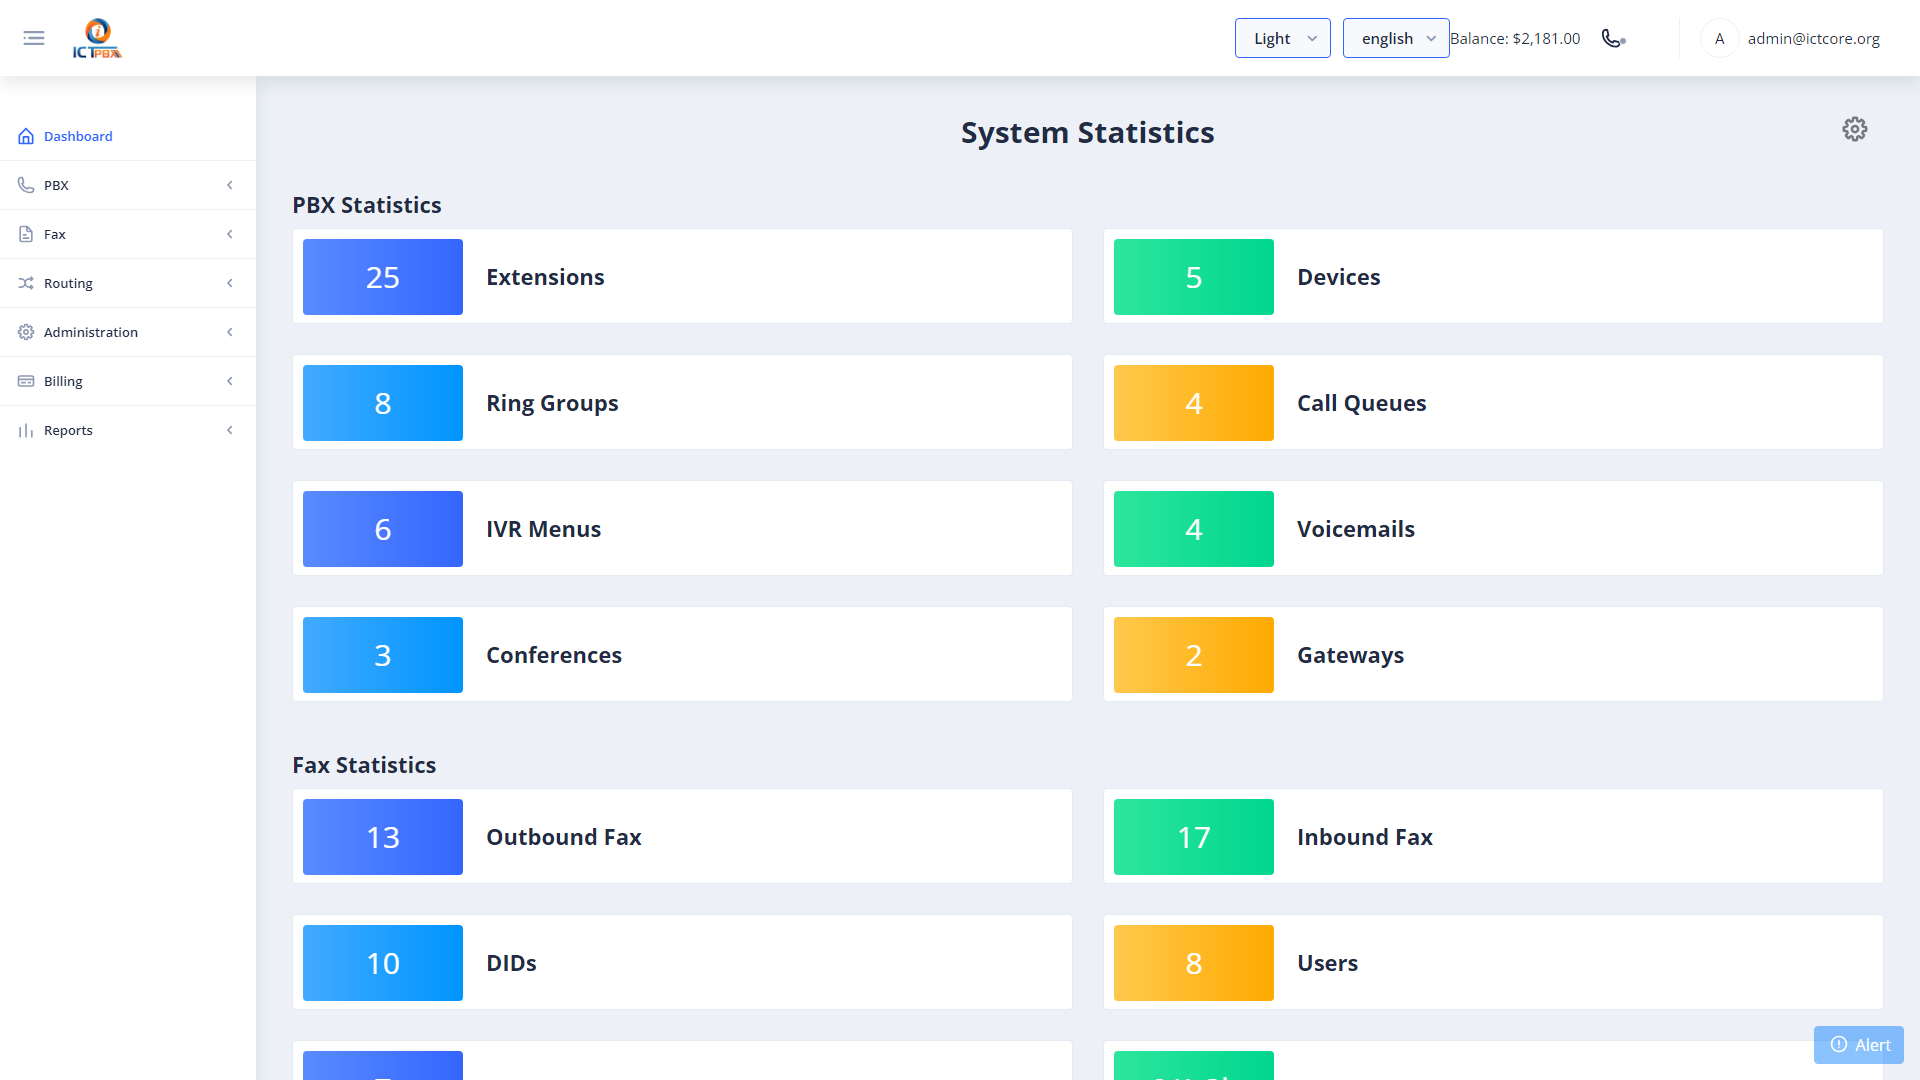
PBX Statistics cards:
- Extensions, Devices, Ring Groups, Call Queues, IVR Menus, Voicemails, Conferences, Gateways
Fax Statistics cards:
- Outbound Fax count, Inbound Fax count, DIDs, Users, Tenants, Daily Pages Sent, Monthly Pages Sent
Your current credit balance is shown in the top-right header. It refreshes every 10 seconds.

3. Multi-Tenant Management
Tenants are the business organizations you host on the platform. Each tenant has its own isolated PBX environment, users, billing balance, and (optionally) its own branding.
Navigate to Administration → Tenants.
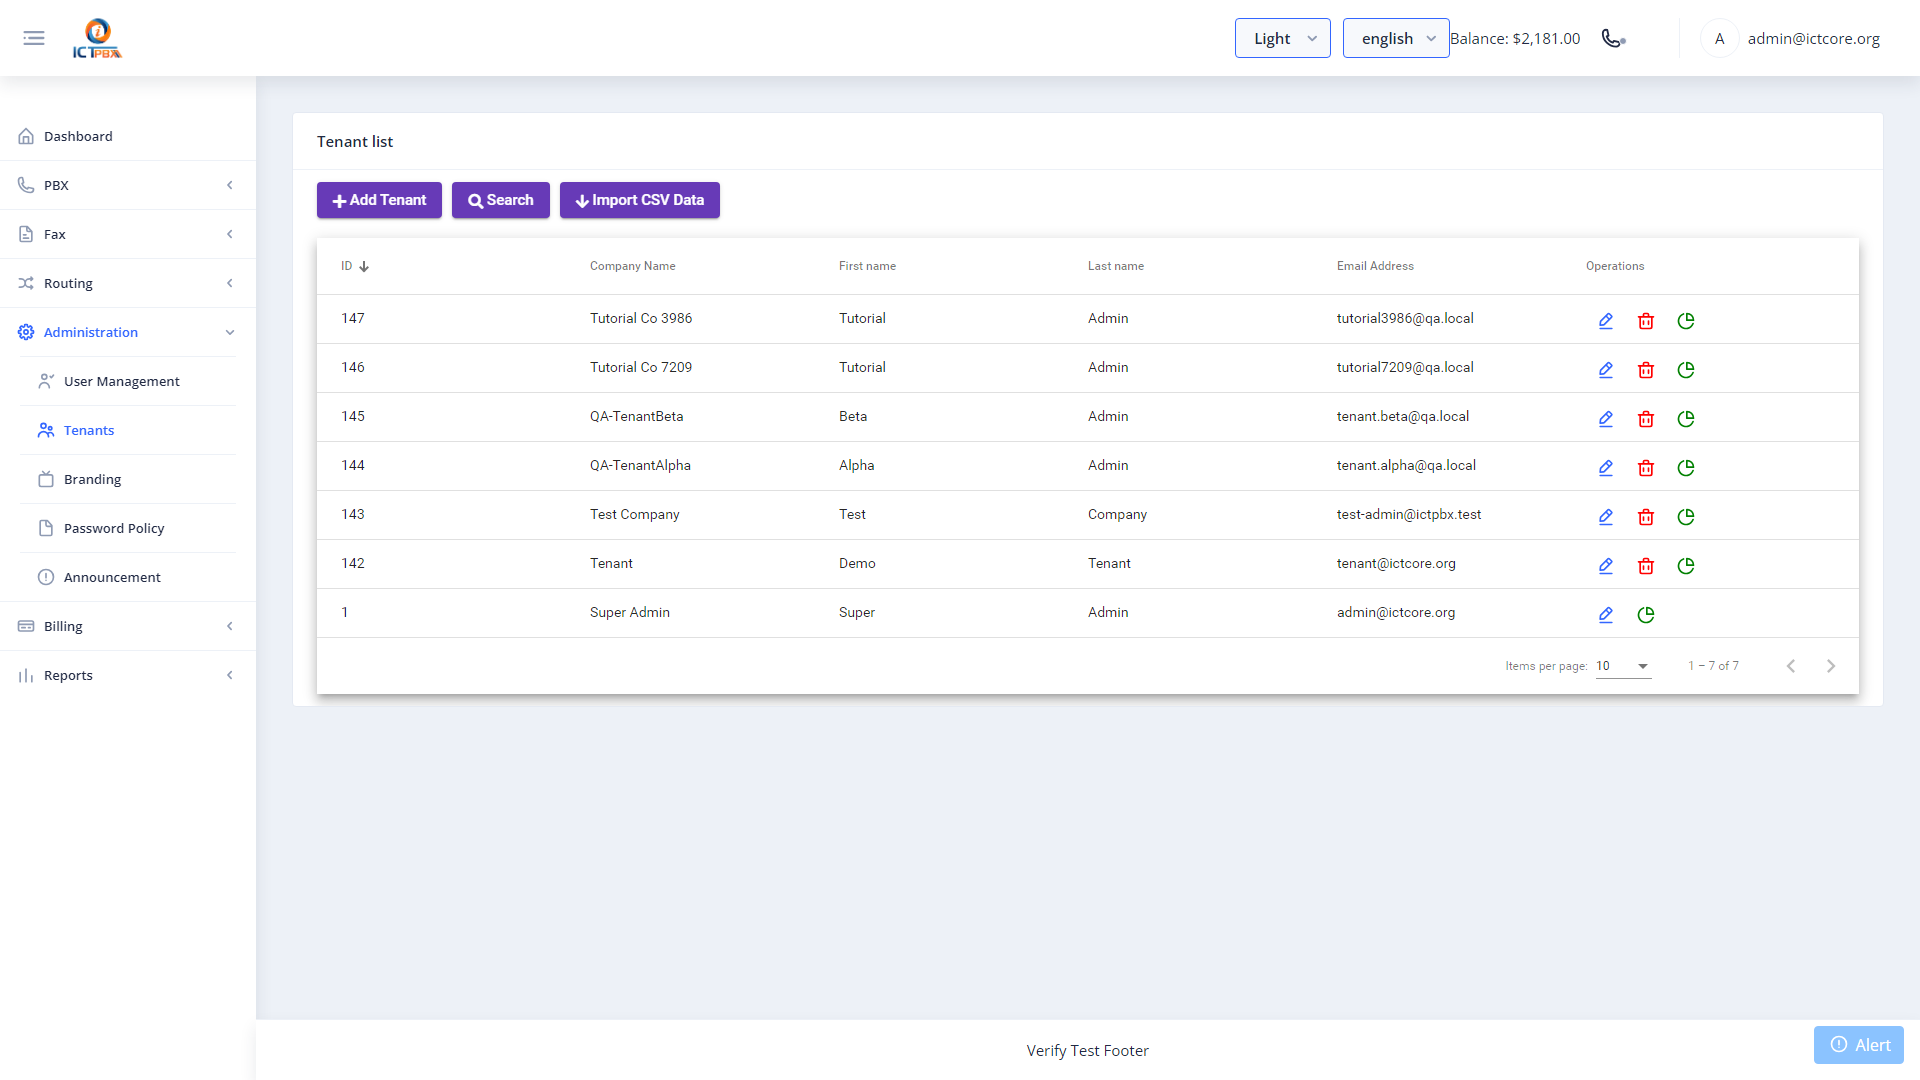
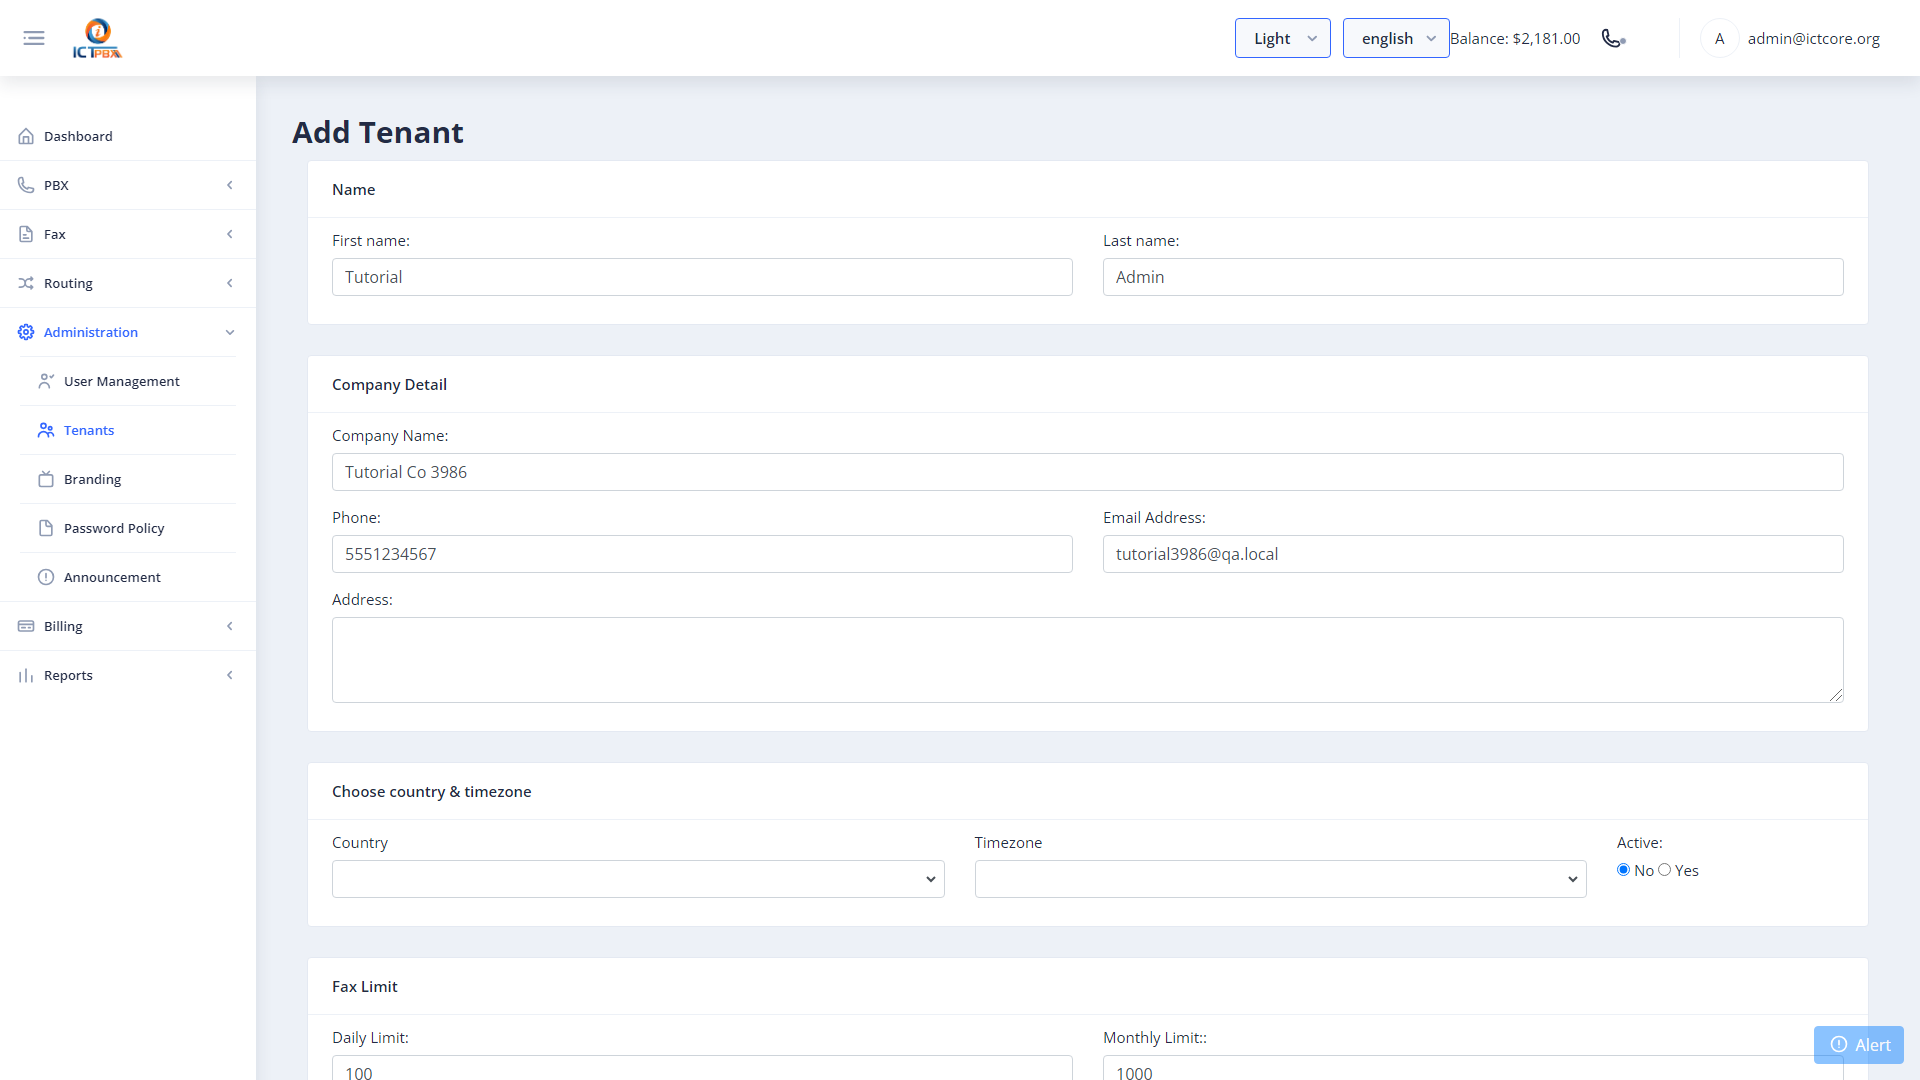
3.1 Creating a New Tenant
- Click New.
- Fill in the tenant details:
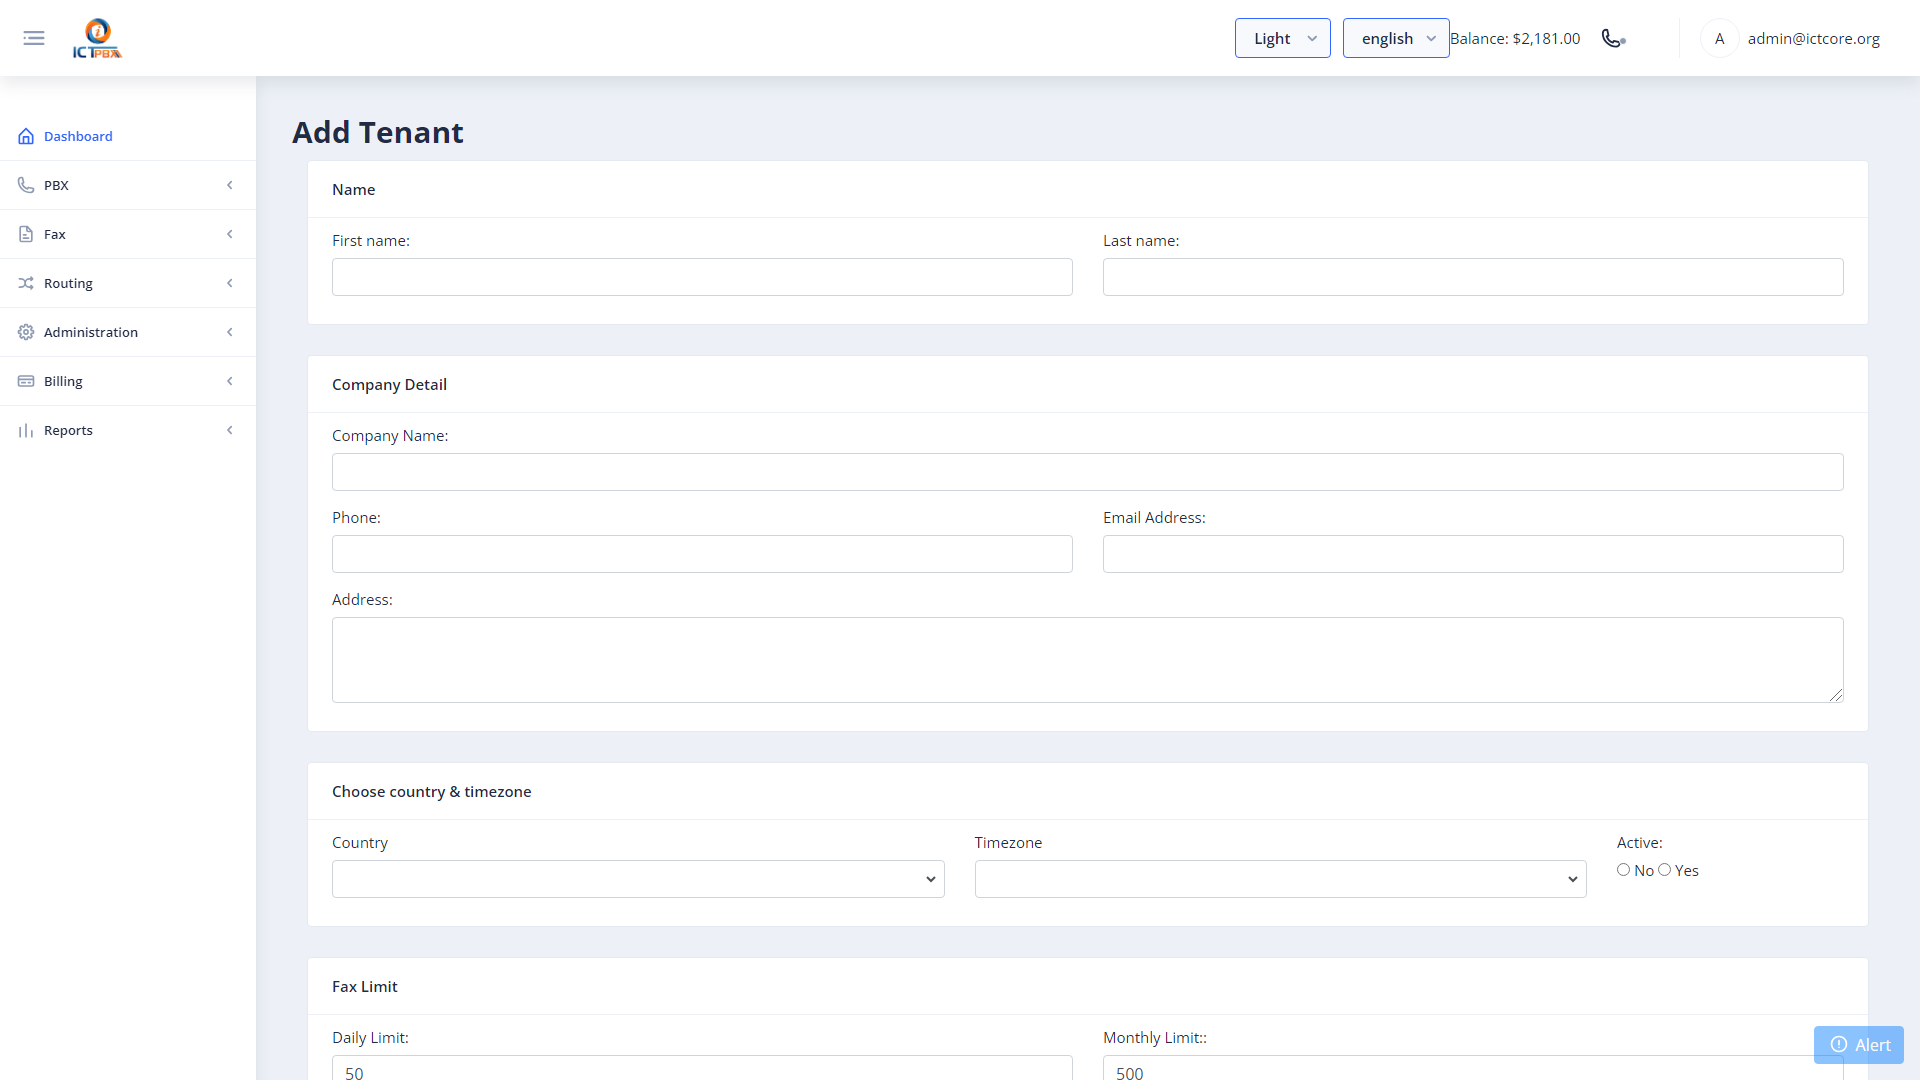
- Click Save. The tenant record is created in the database and a ICTCore domain is provisioned automatically.
3.2 Editing a Tenant
- Click the Edit button on the tenant row.
- Modify the required fields.
- Click Save.
3.3 After Creating a Tenant
After creating a tenant you must:
- Create a Tenant Admin user (see Section 4) — the tenant cannot log in until a user exists.
- Assign a Subscription/Package (see Section 20) to define resource limits.
- Optionally configure Branding (see Section 23) for white-label deployment.
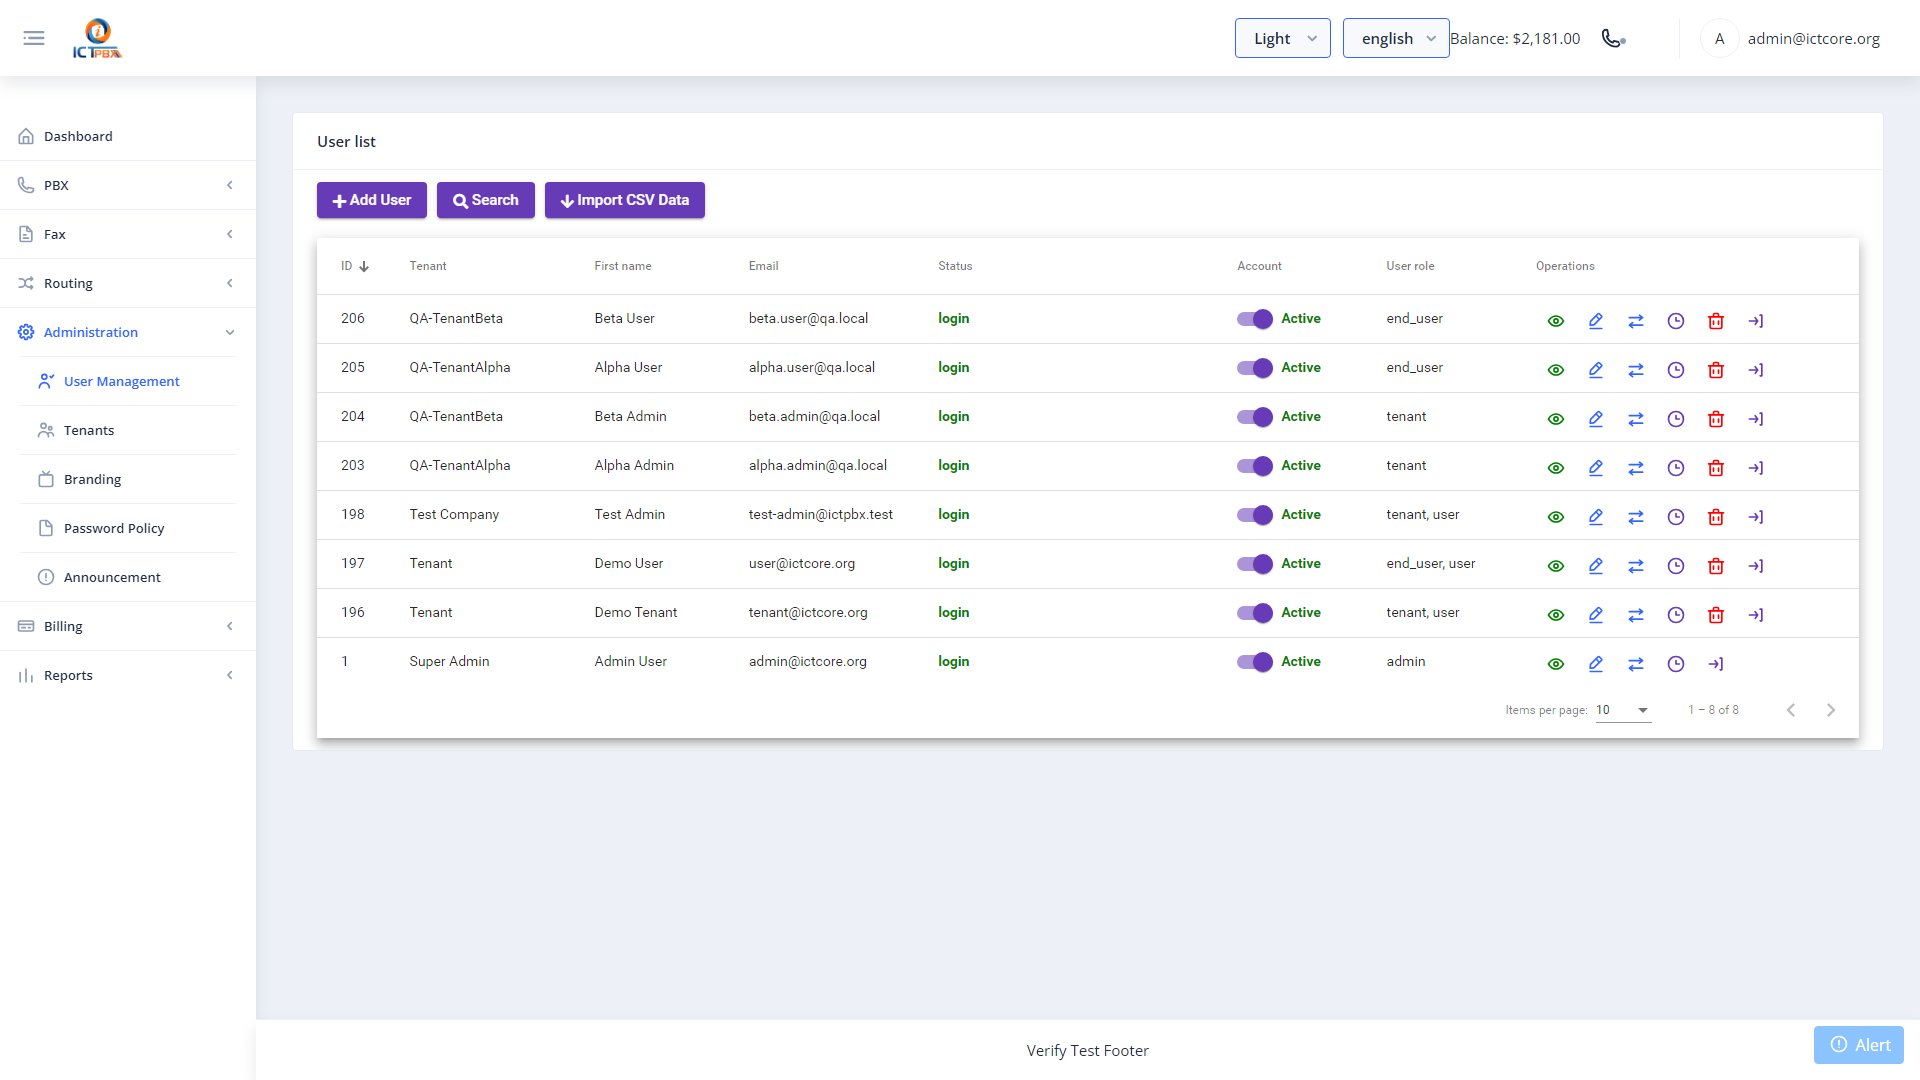
4. User Management
Users are the login accounts for all roles — Admin, Tenant Admin, Agent, and End User. All users are managed from Administration → Users.

4.1 Role Hierarchy
ICTPBX enforces four roles:
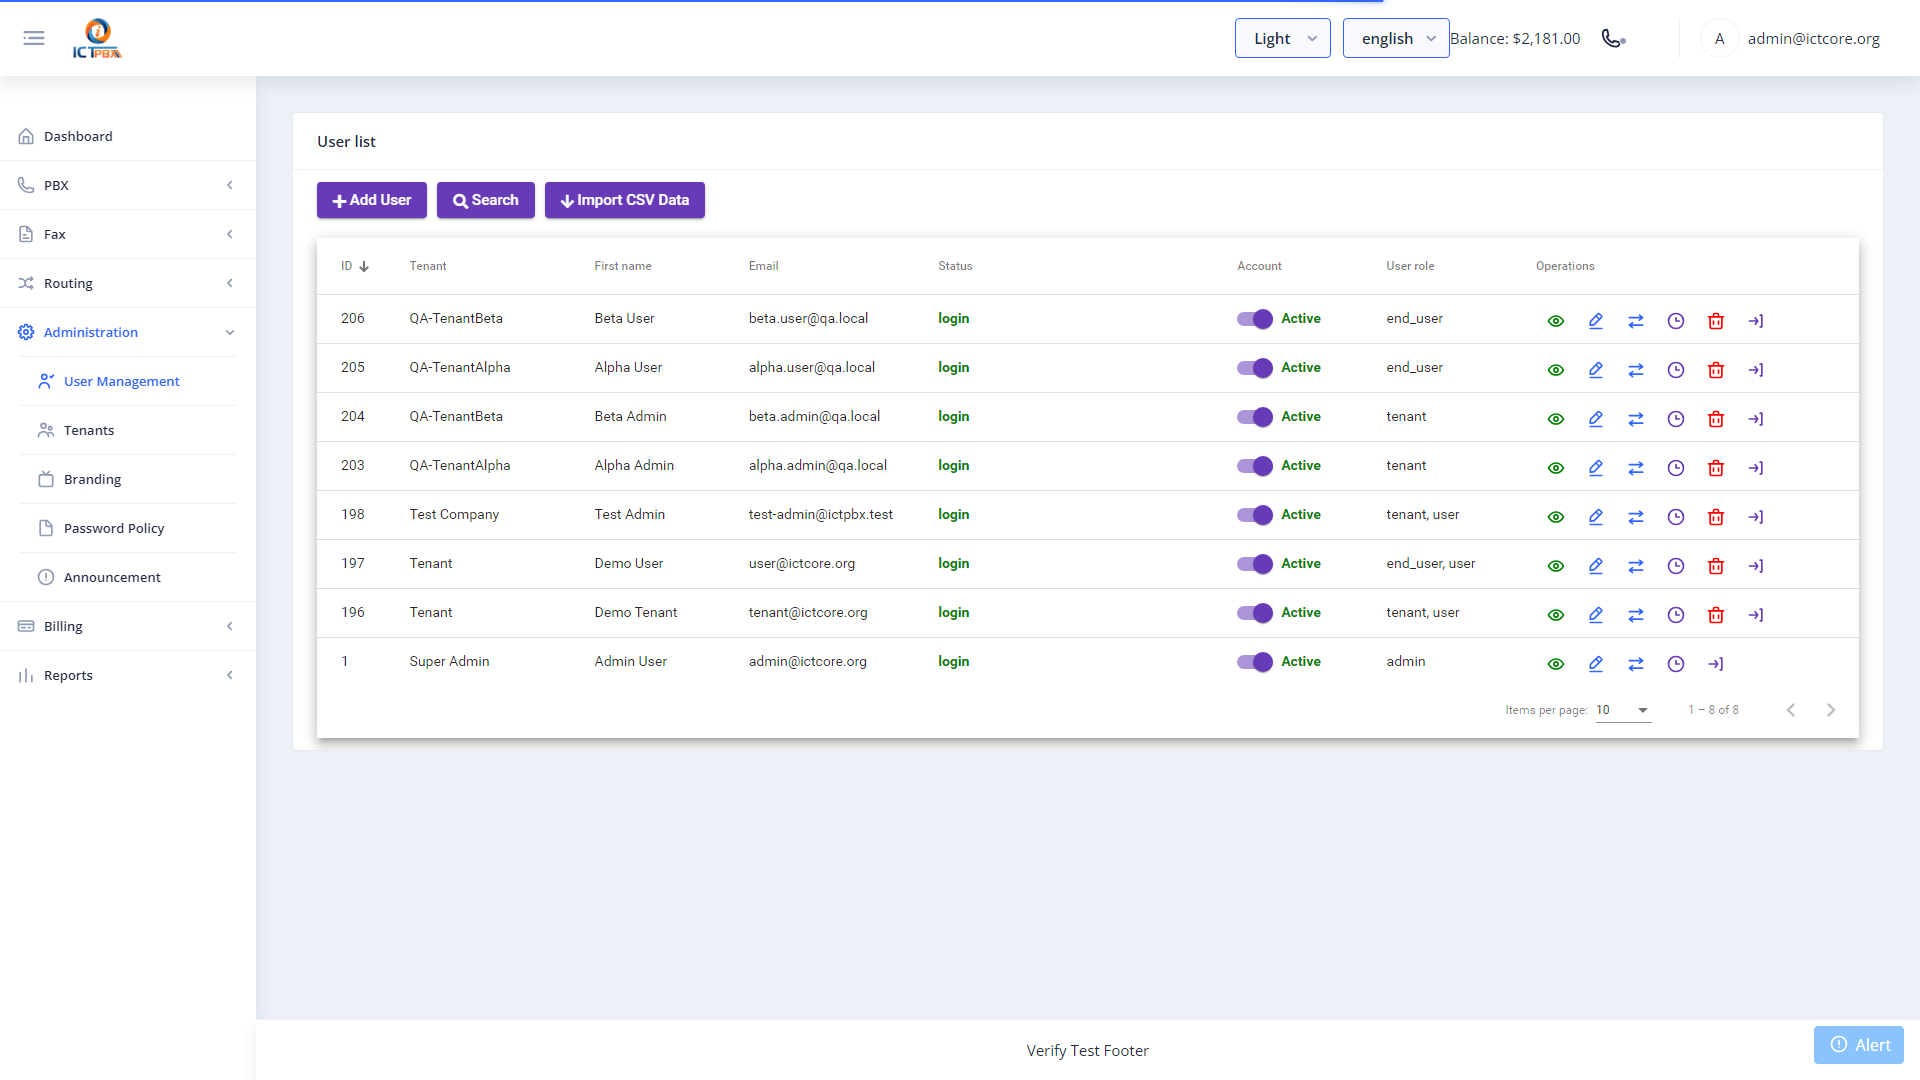
4.2 Creating a New User
- Click New.
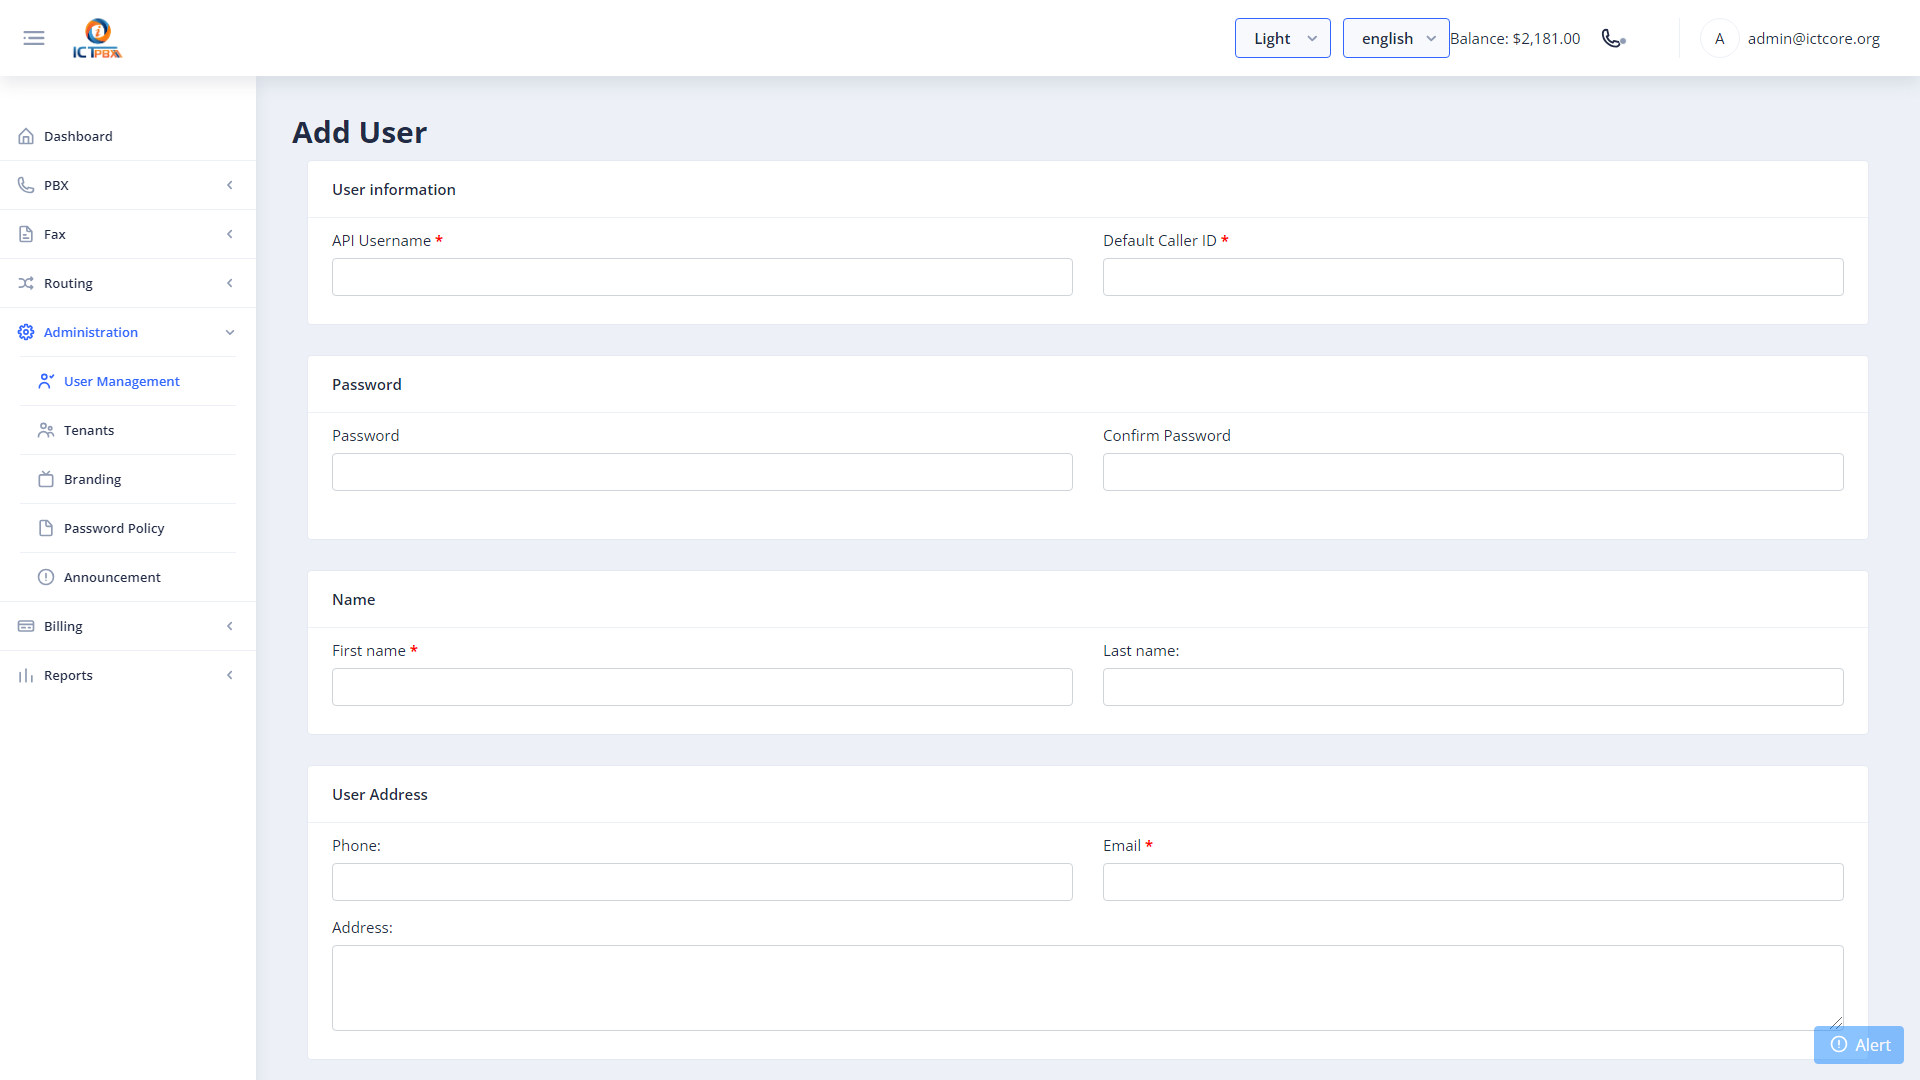
- Fill in the required fields:
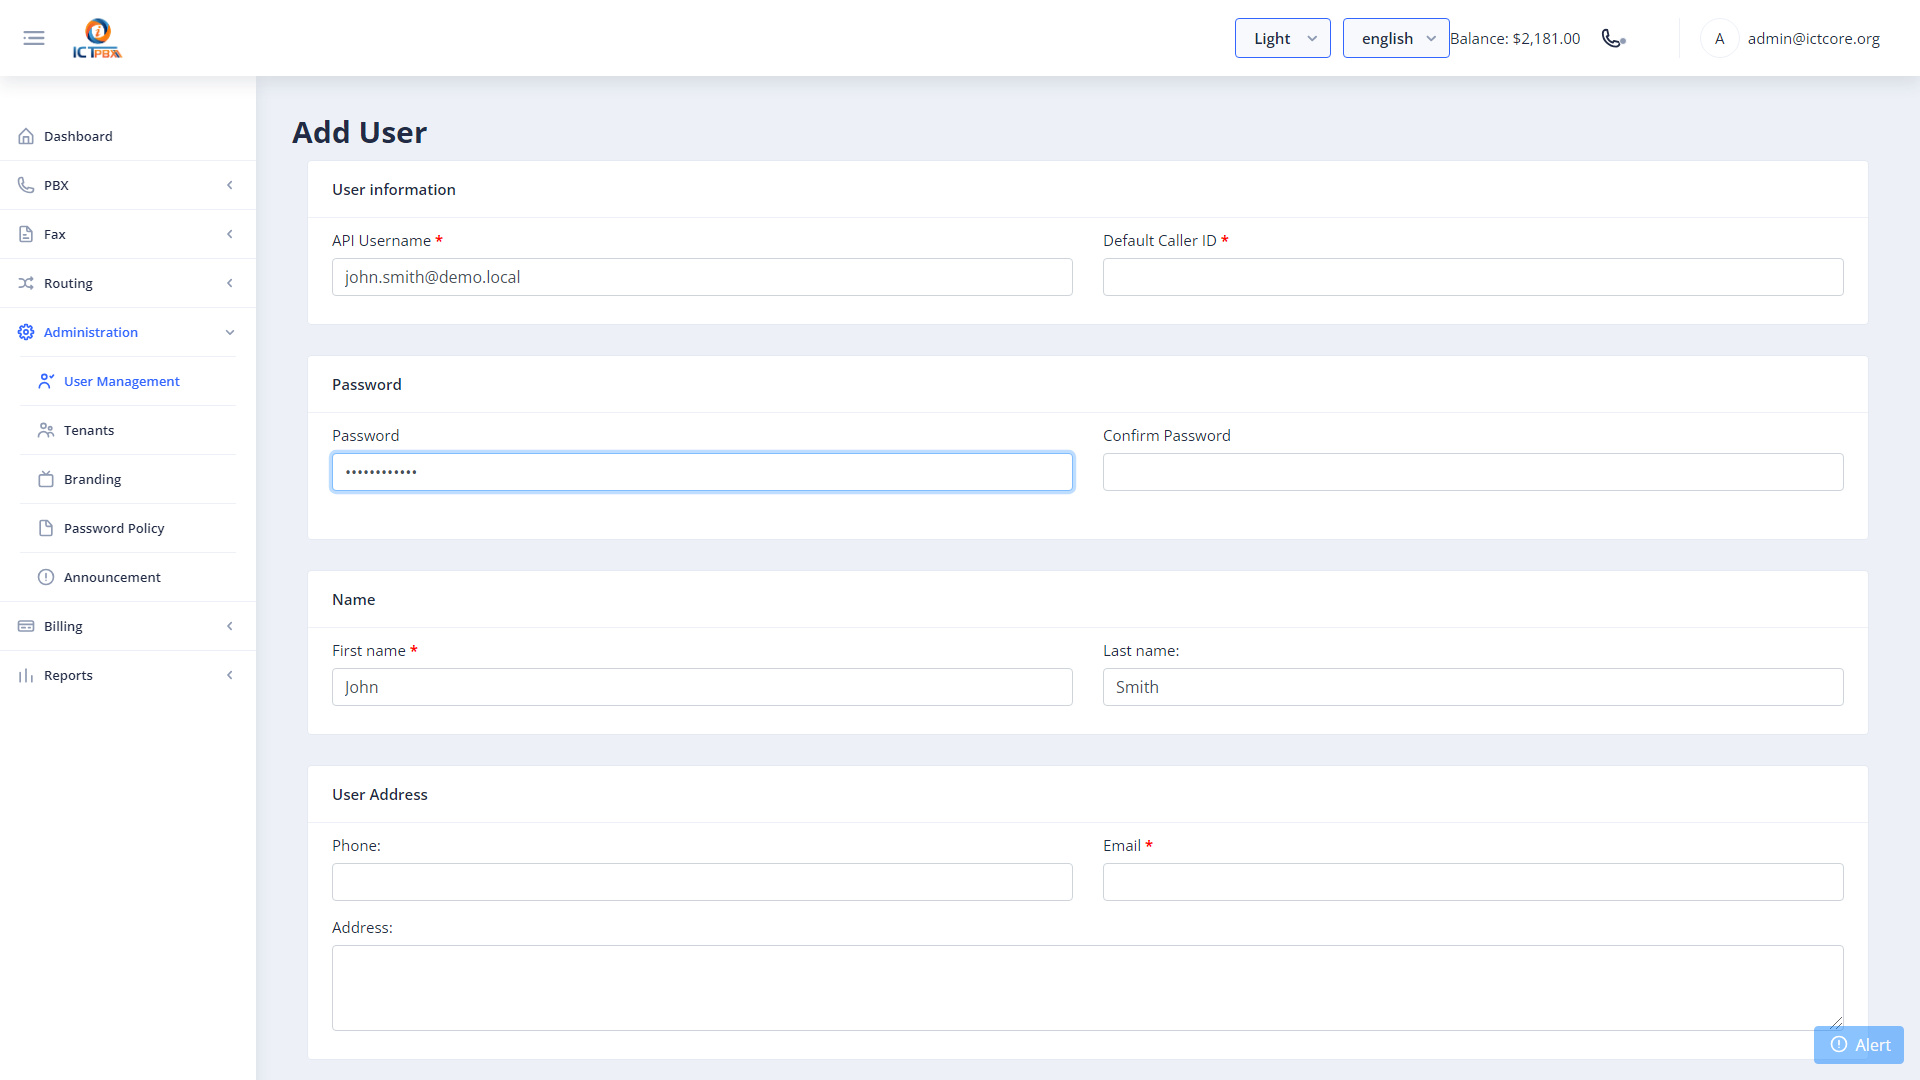
- Click Save.
4.3 Tenant Admin Permissions
When creating a Tenant Admin (role=3), you control which PBX modules they can access via the Permissions field. Example tokens:
“` extensions, devices, ring_groups, call_queues, ivr_menus, voicemails, conferences, inbound_routes, follow_me, call_block, music_on_hold, gateways, did, fax, realtime, cdr_reports, billing “`
Only tokens you include will appear in the tenant admin’s sidebar menu.
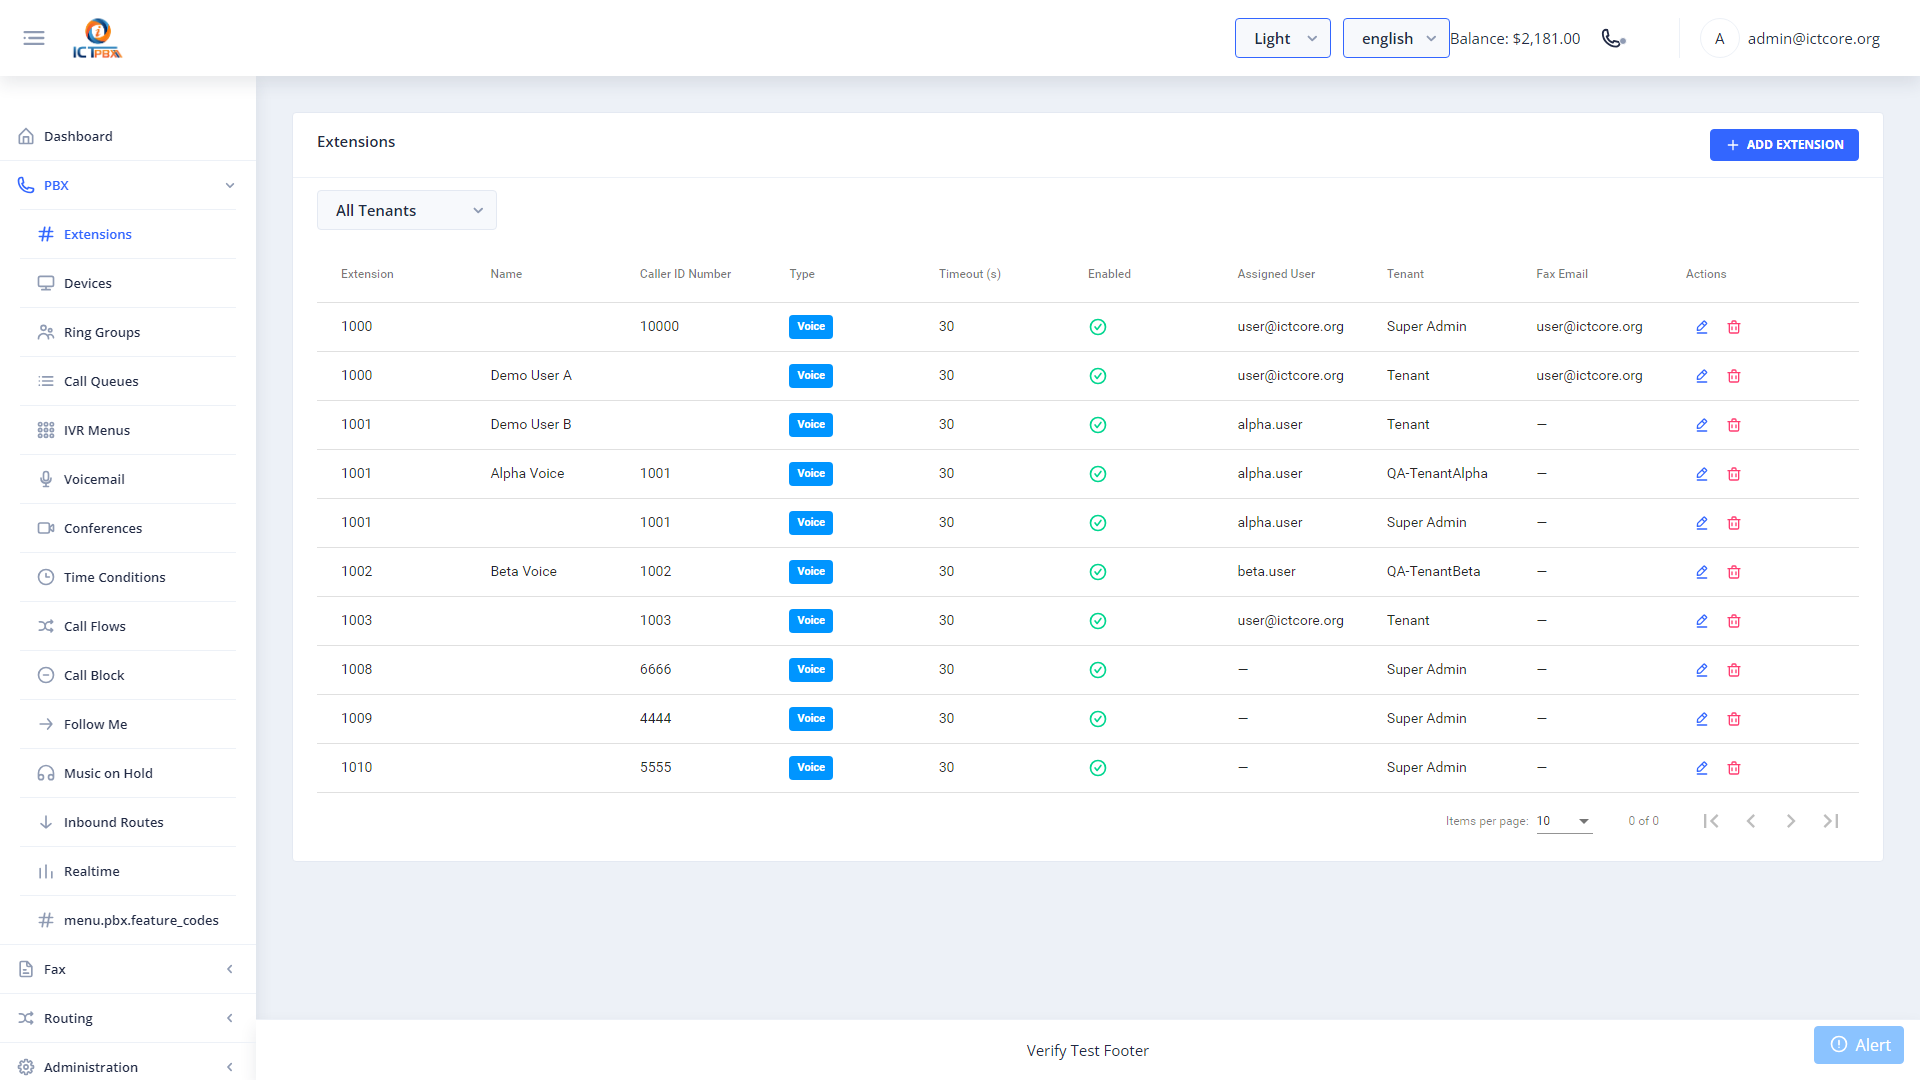
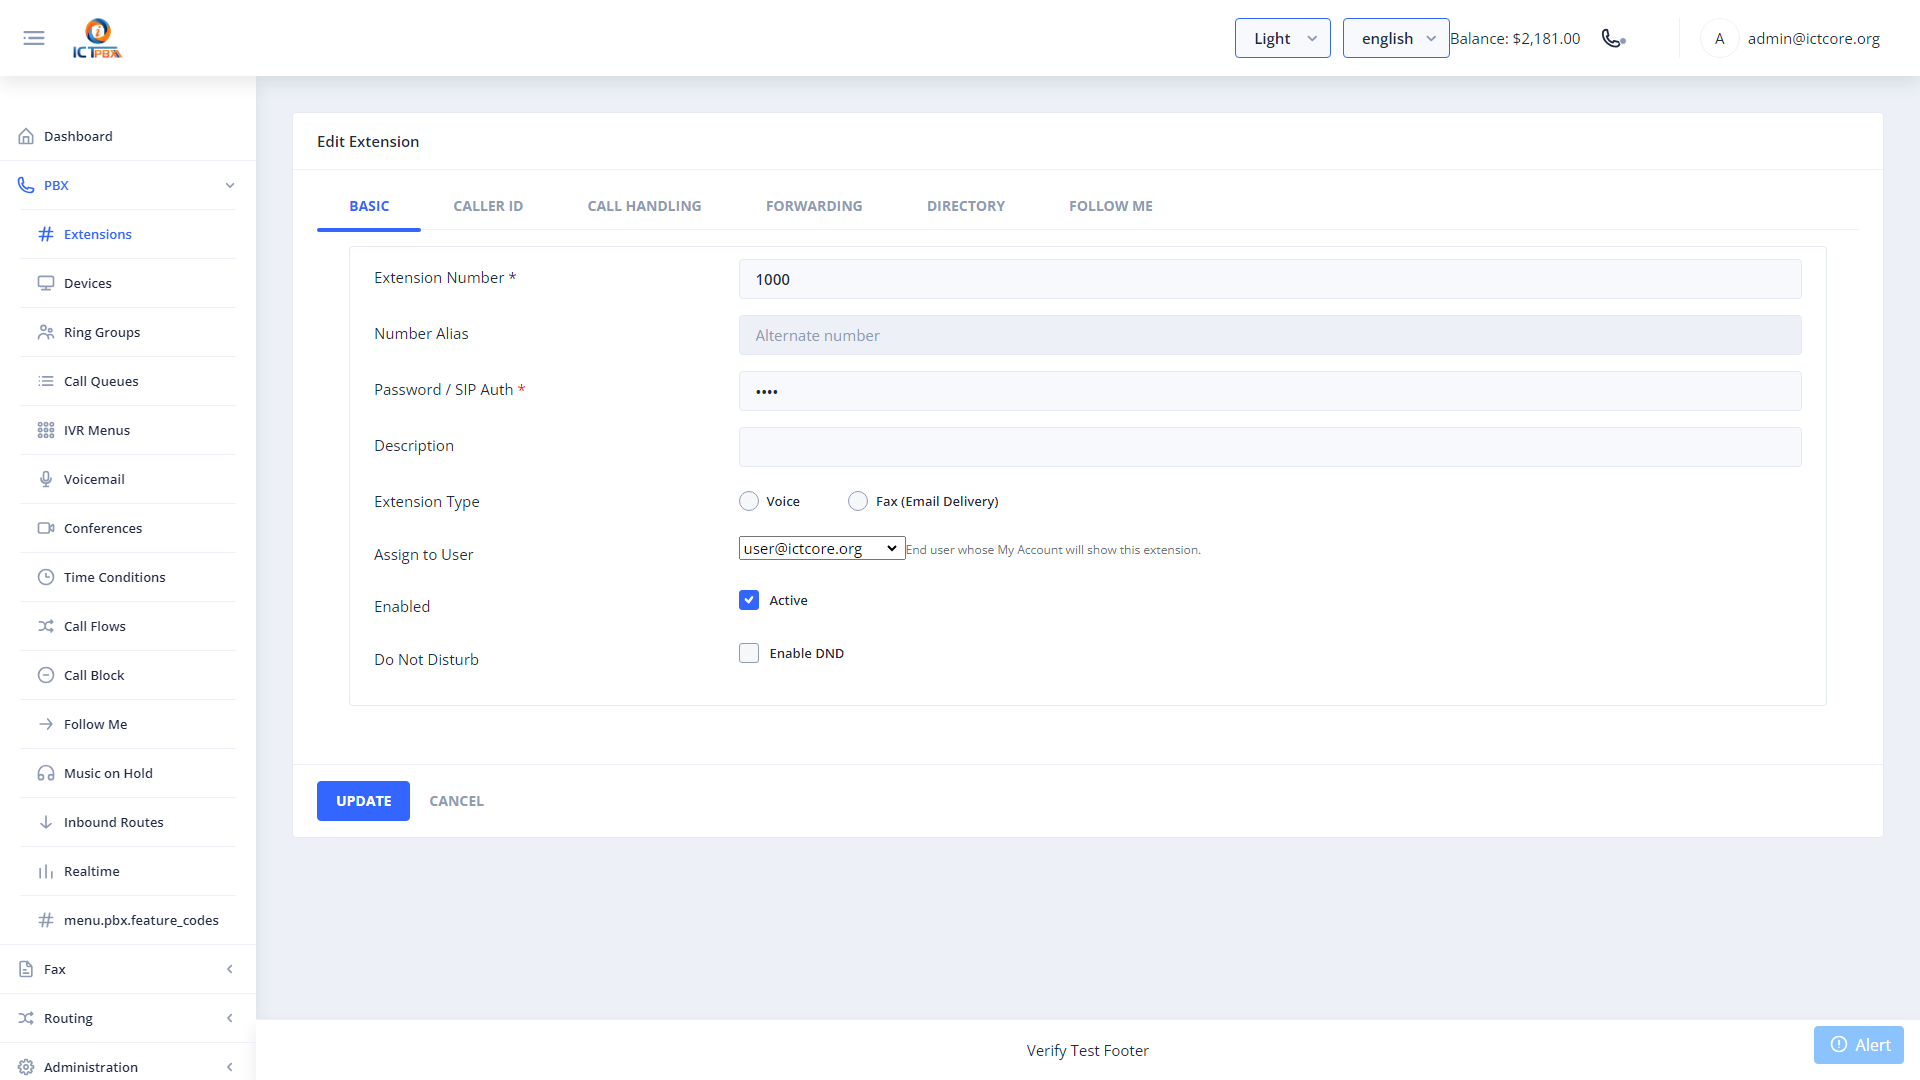
5. Extensions Management
Extensions are SIP accounts that register to FreeSWITCH. Each extension corresponds to a phone line within a tenant’s domain.
Navigate to PBX → Extensions.
5.1 Creating a New Extension
- Click New.
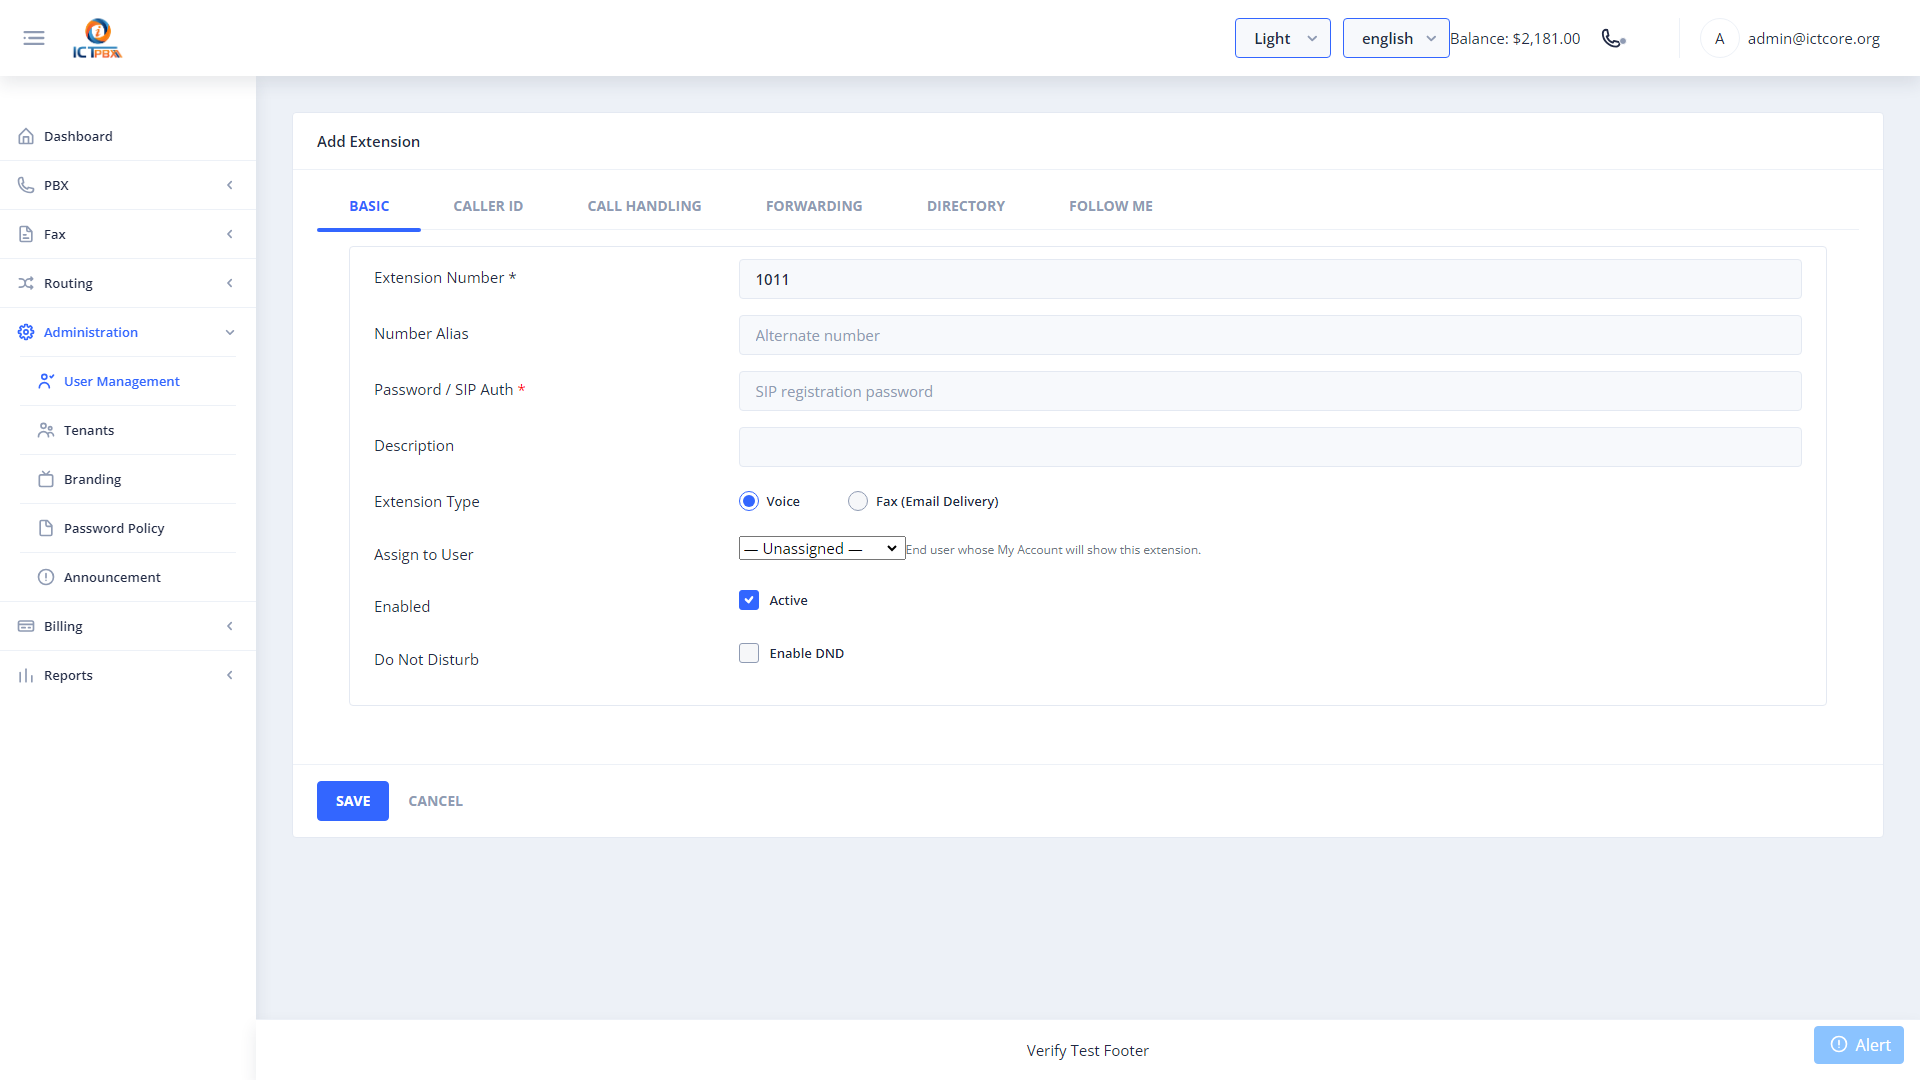
- Click Save. The extension is written to ICTCore PostgreSQL and synced to FreeSWITCH’s user directory immediately via
reloadxml.
Conflict prevention: ICTPBX checks for duplicate extension numbers across all PBX resource types. If a conflict is detected, a 409 error is shown and the save is blocked.
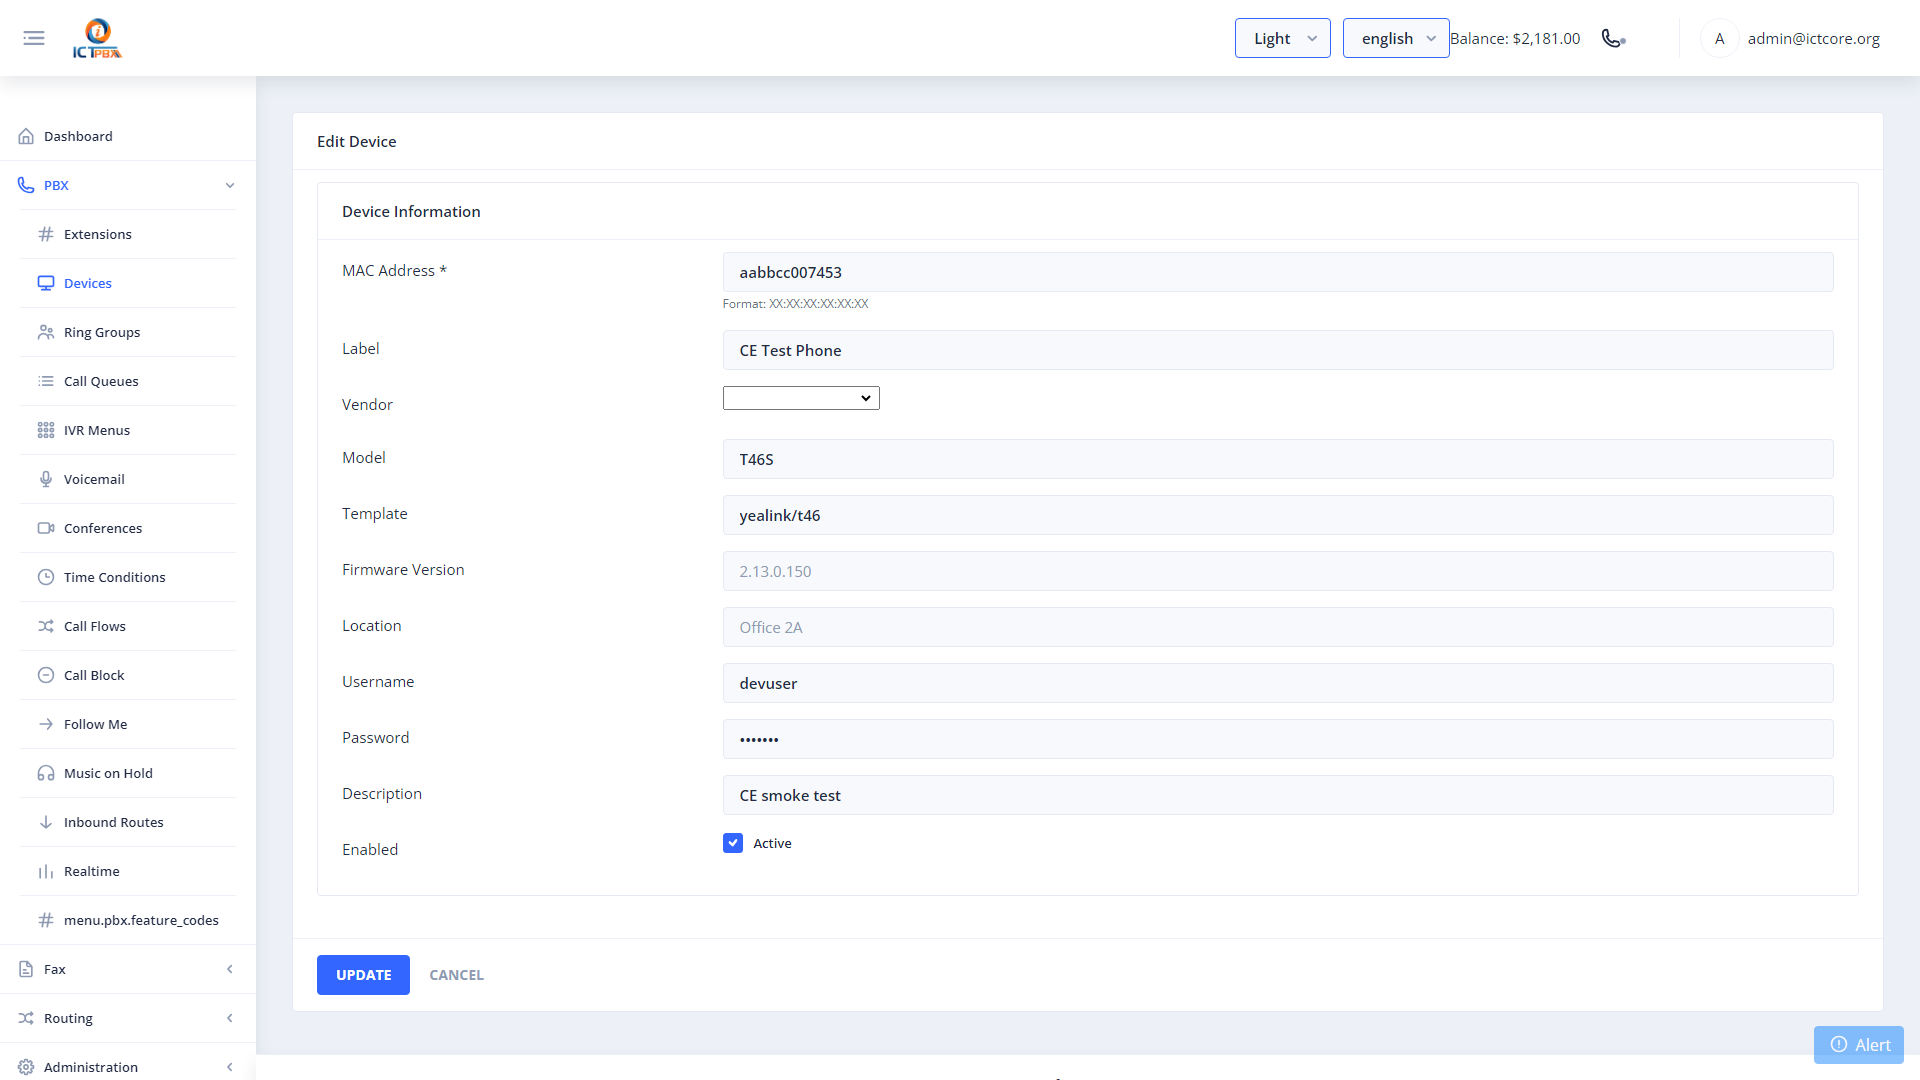
6. Device Management
Devices represent physical SIP endpoints — desk phones, ATA adapters, or softphones configured outside the portal.
Navigate to PBX → Devices.
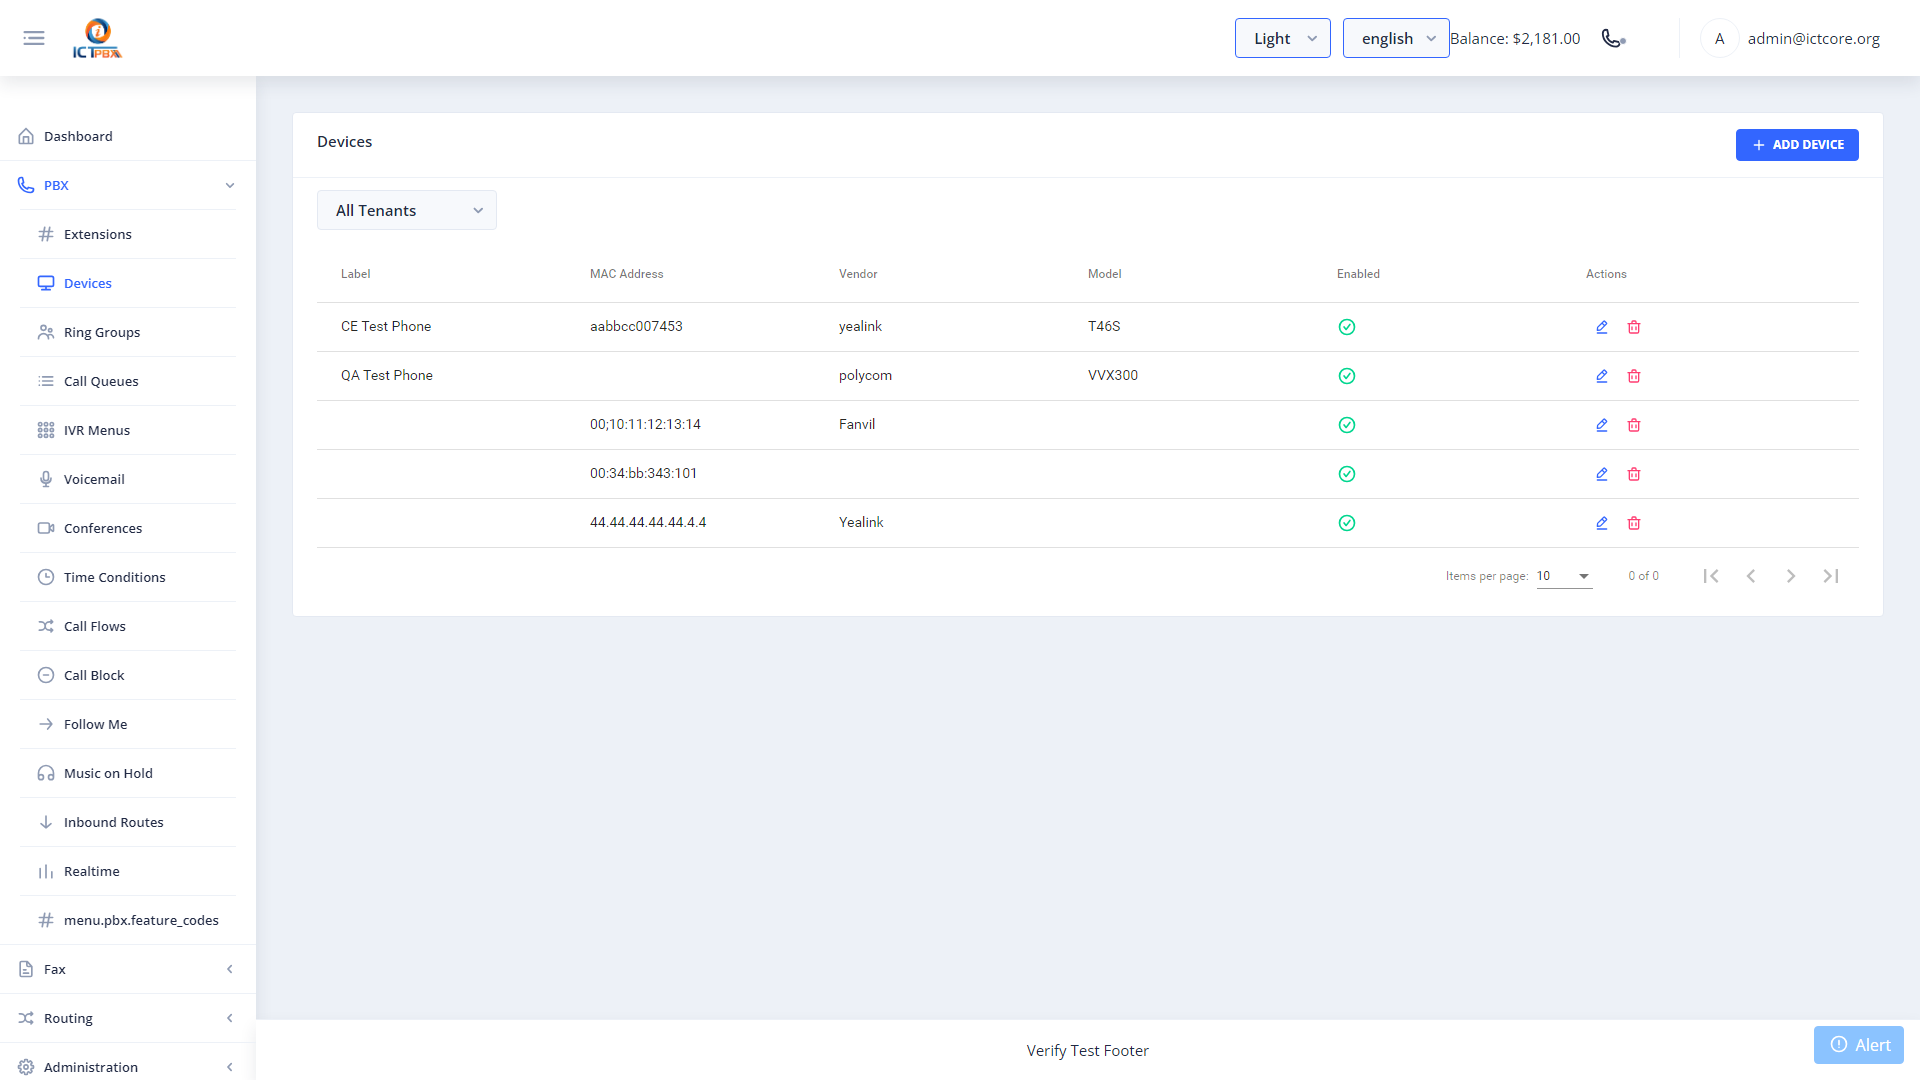
6.1 Adding a Device
- Click New.
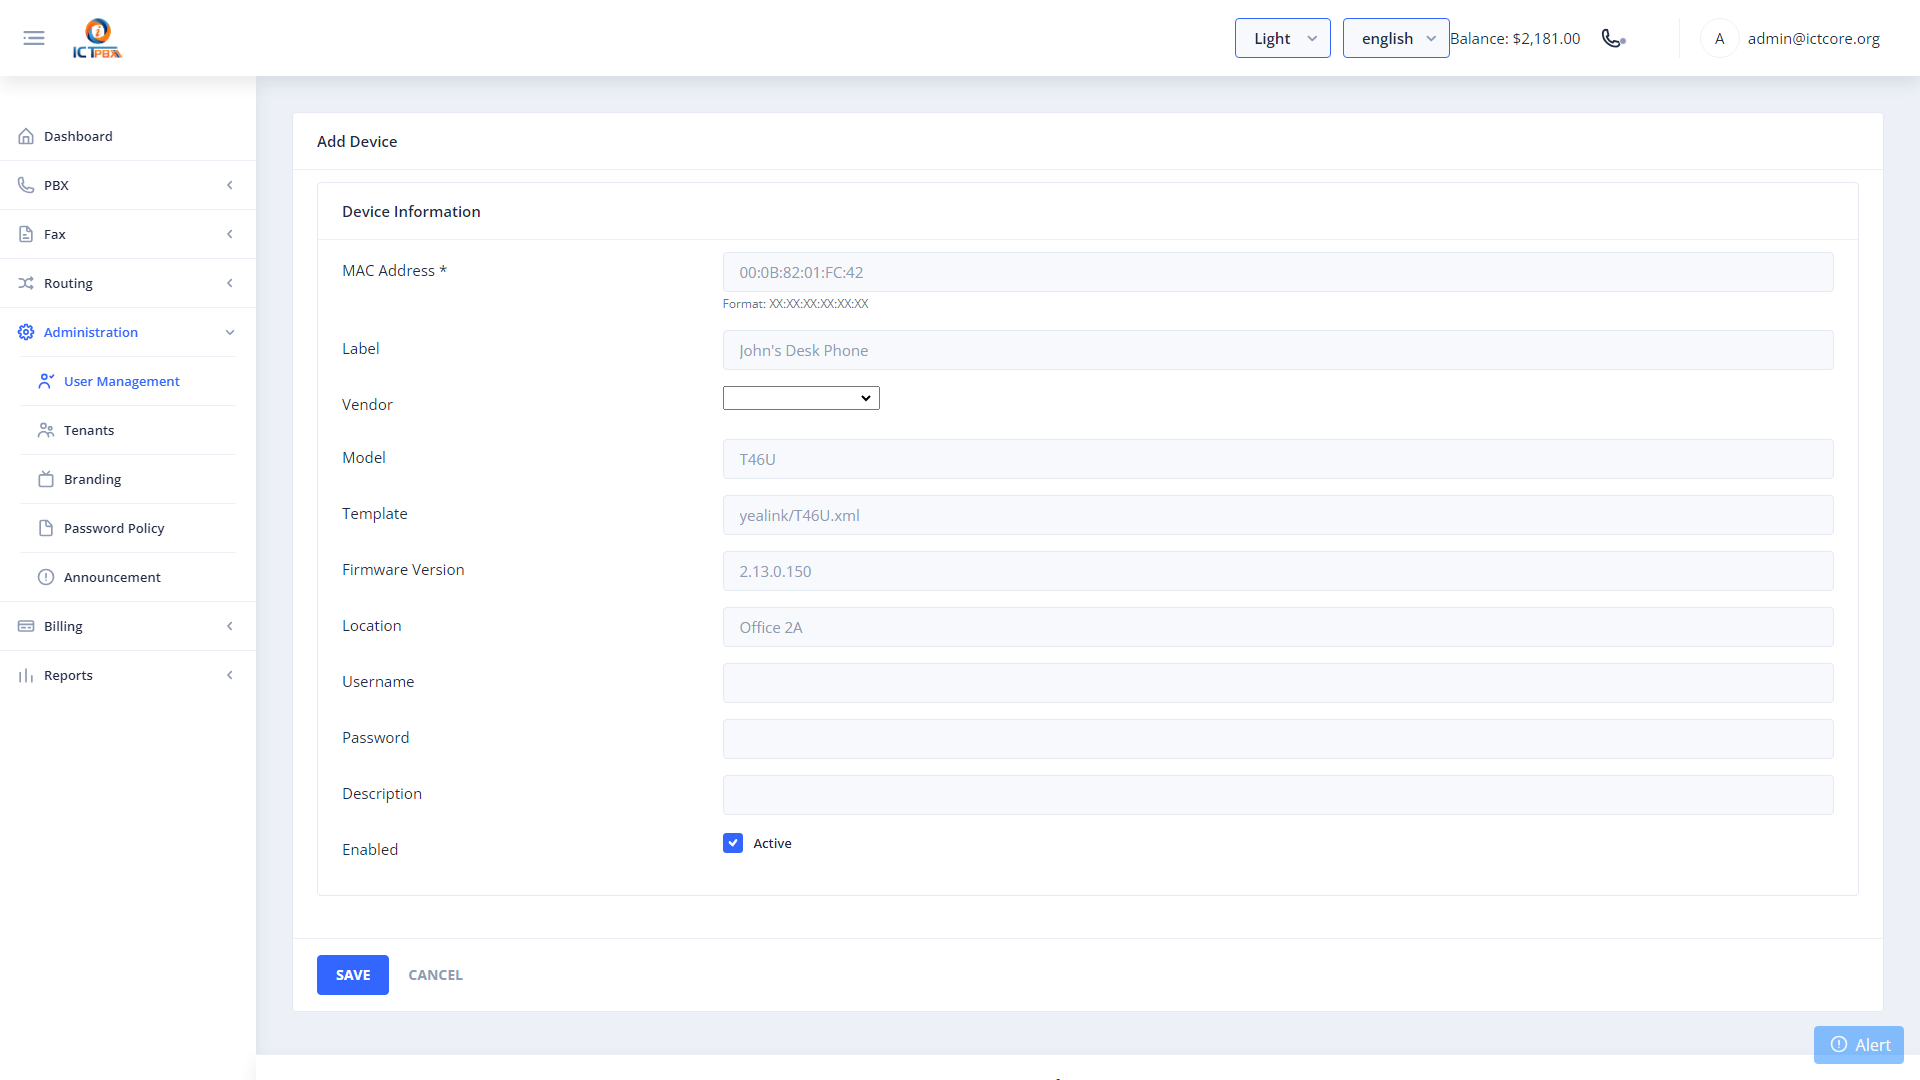
- Click Save.
6A. Device Profiles
Device profiles are reusable provisioning templates. Instead of configuring every desk phone by hand, you define a profile once, covering the shared settings for a phone brand or model, then apply it to any device you add. This keeps a fleet of handsets consistent and makes new rollouts much faster.
Navigate to PBX › Device Profiles.
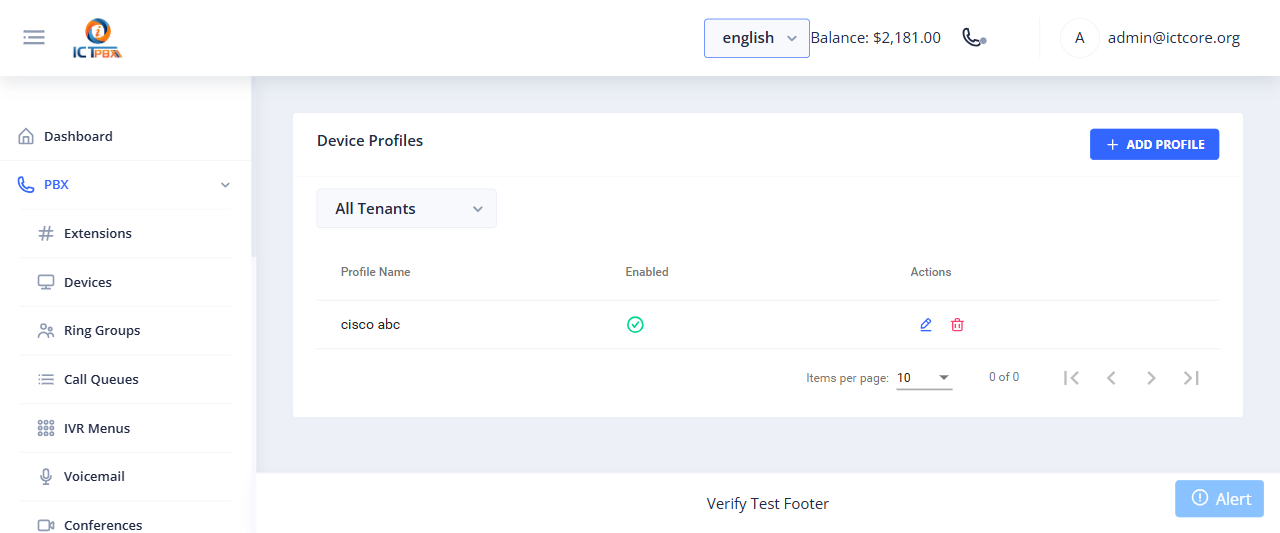
6A.1 Adding a Profile
- Click Add Profile.
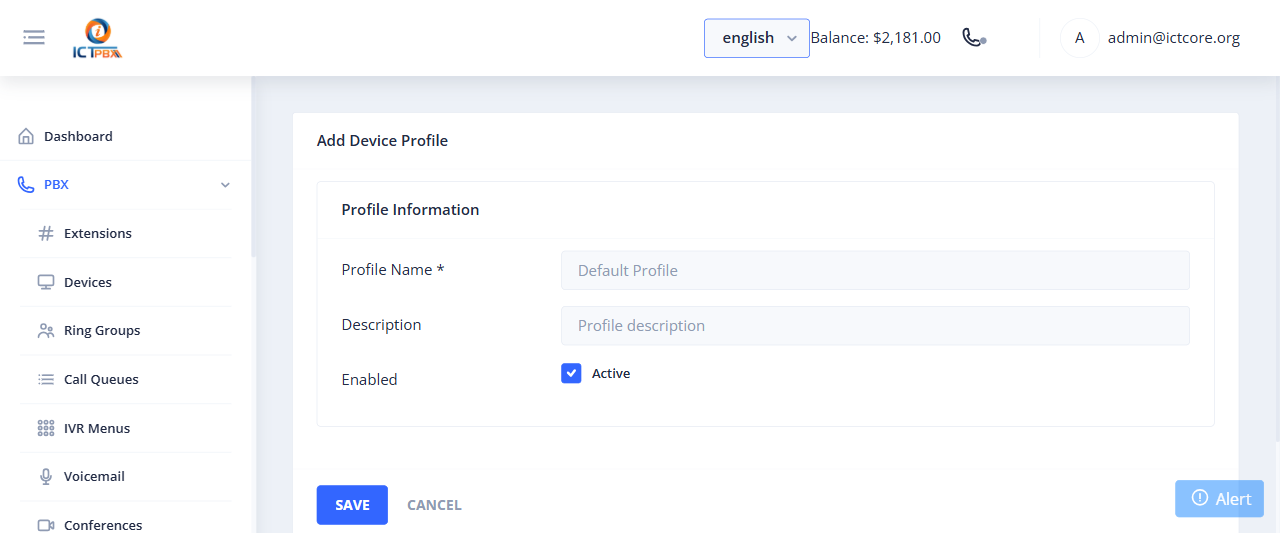
- Click Save. The profile appears in the list and can be selected when you provision a device.
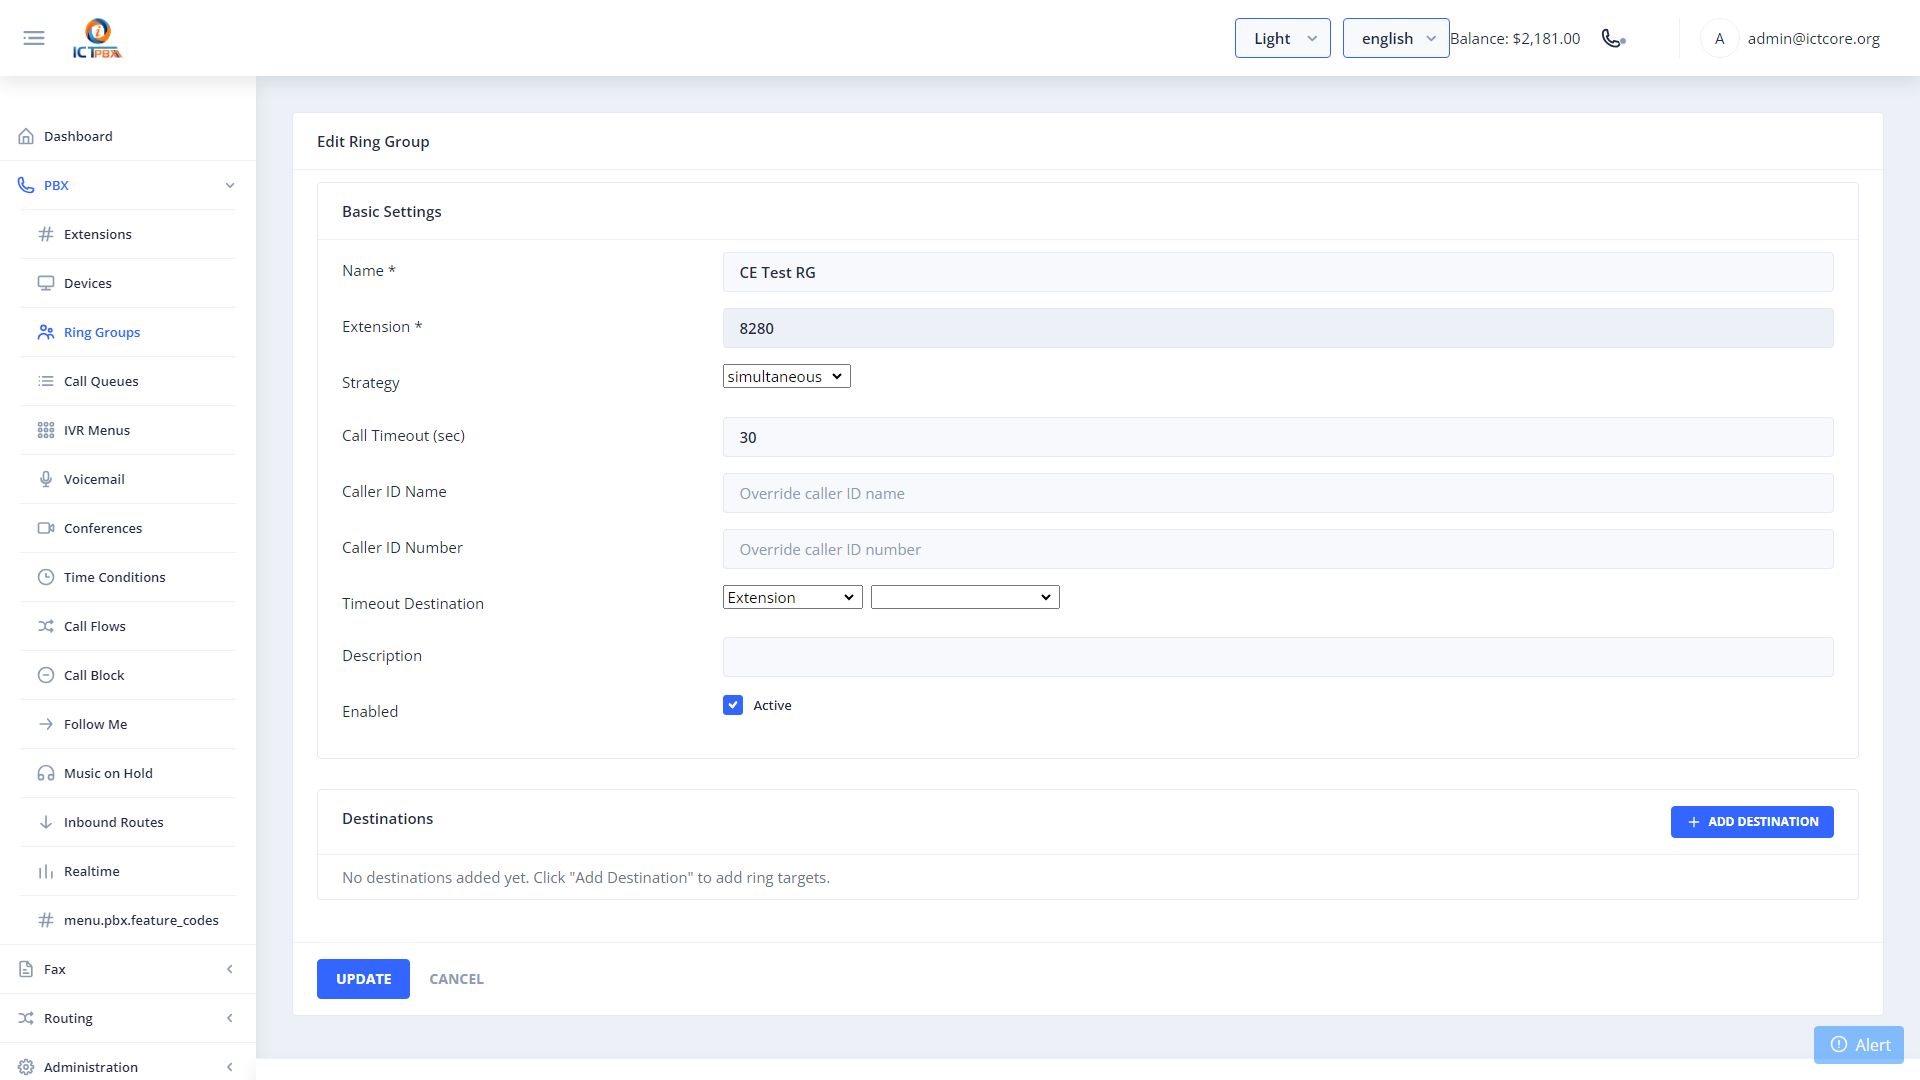
7. Ring Groups
Ring groups ring multiple extensions simultaneously or sequentially when a single number is dialed.
Navigate to PBX → Ring Groups.
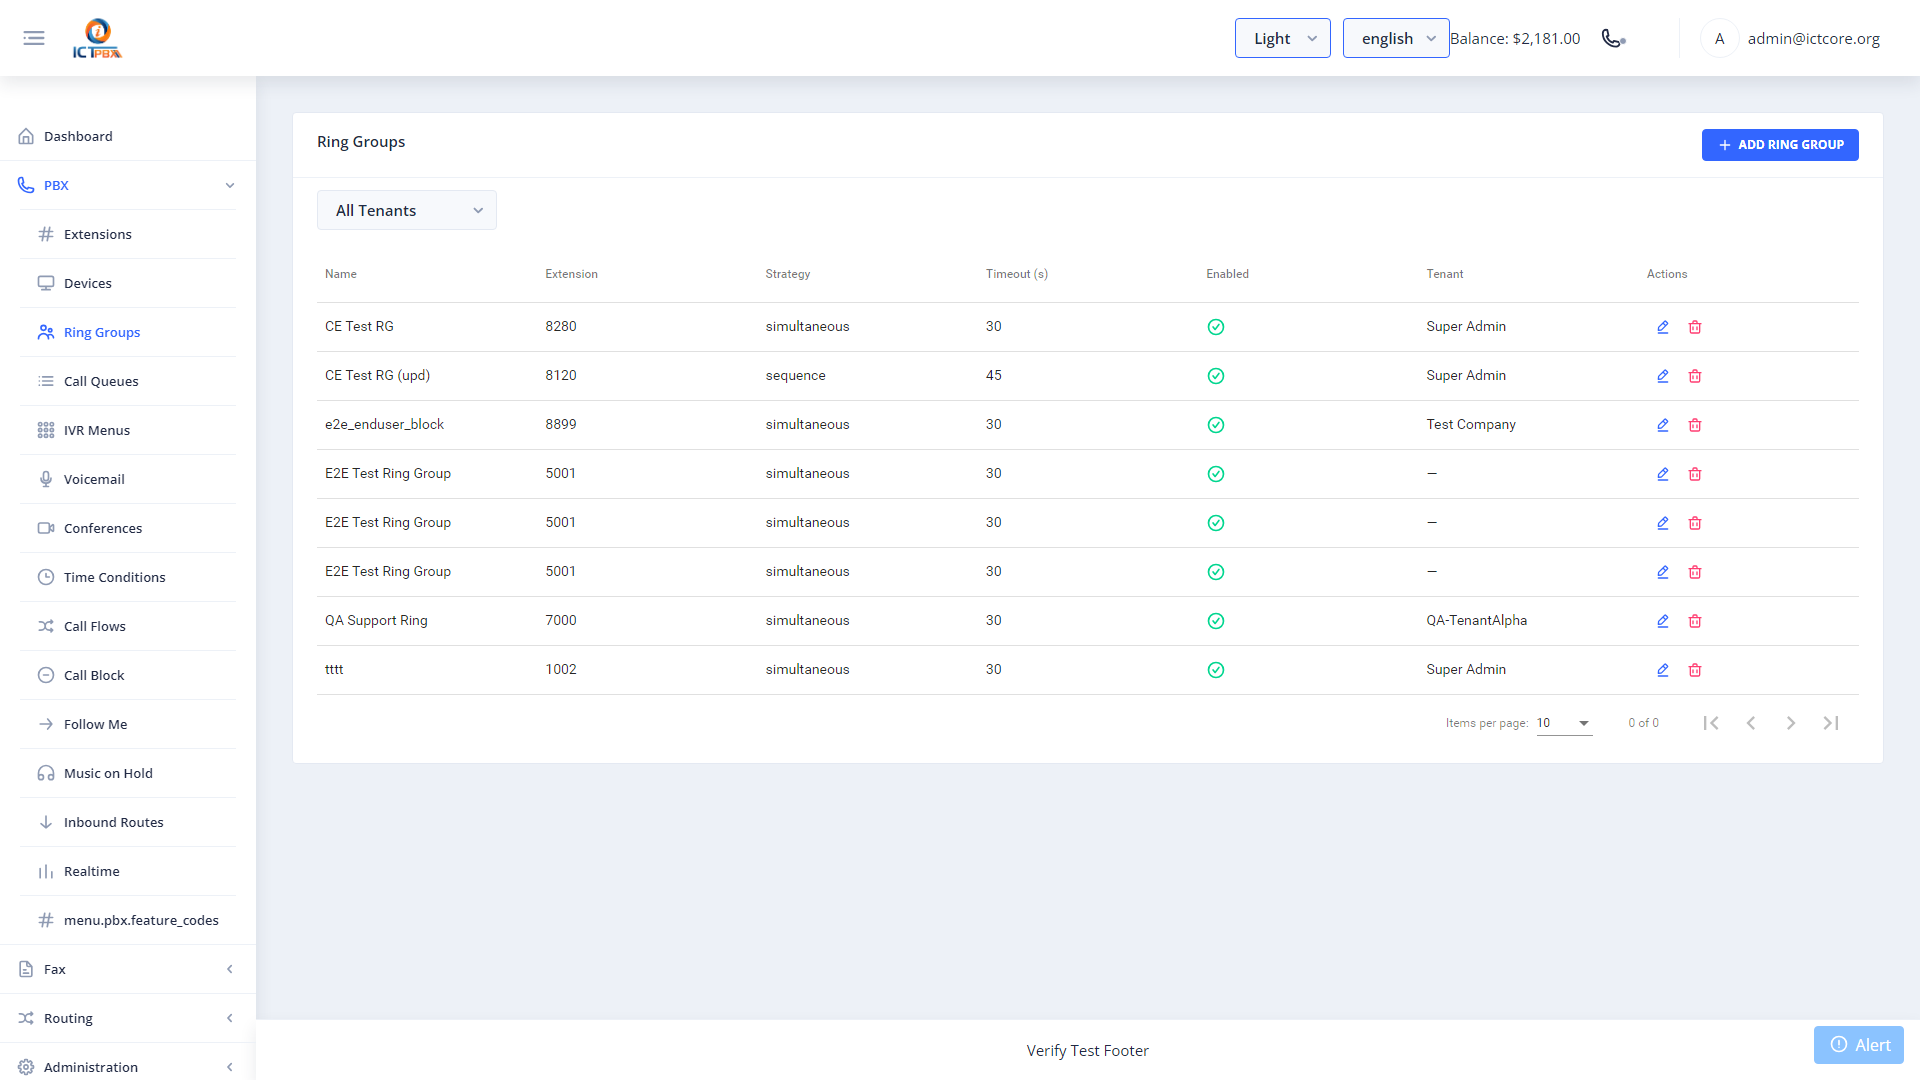
7.1 Creating a Ring Group
- Click New.
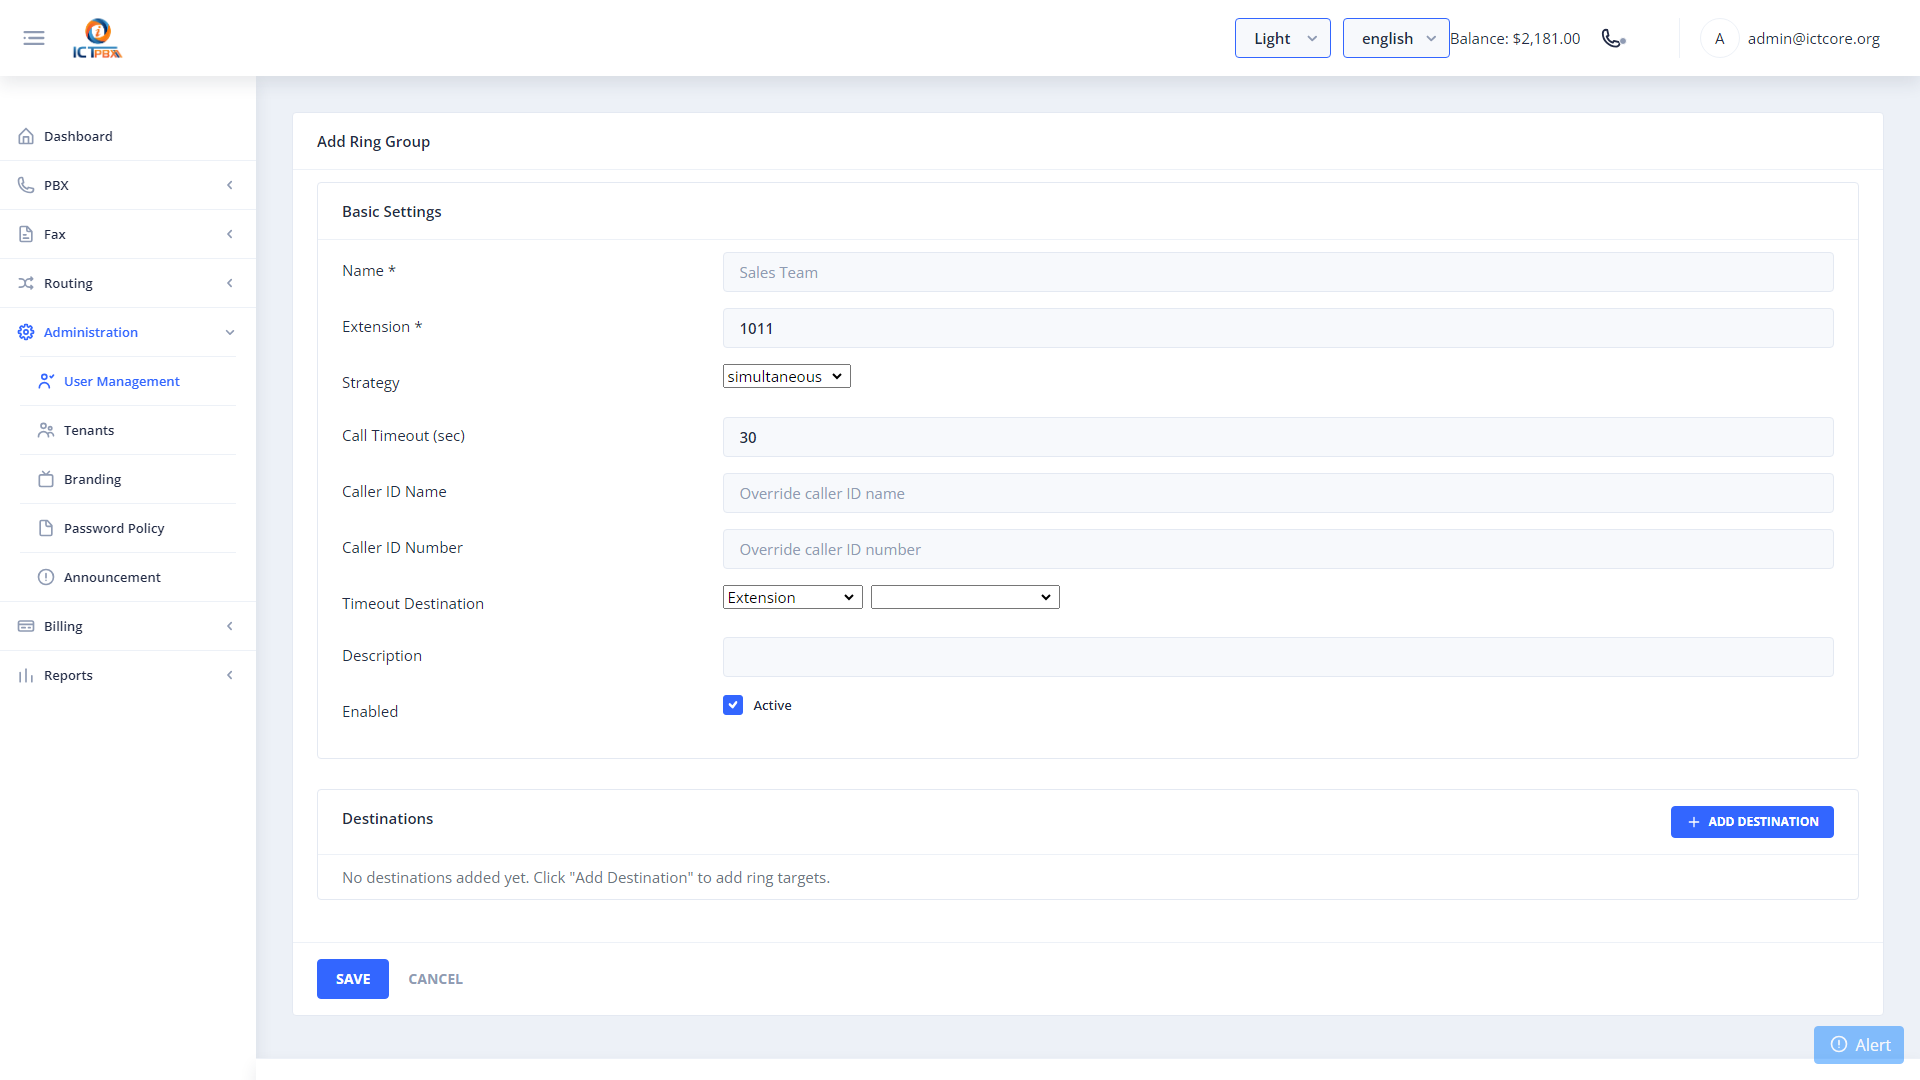
- Add member extensions in the Members section.
- Click Save.
8. Call Queues (ACD)
Call queues provide automatic call distribution — callers wait in a virtual queue until an available agent answers.
Navigate to PBX → Call Queues.
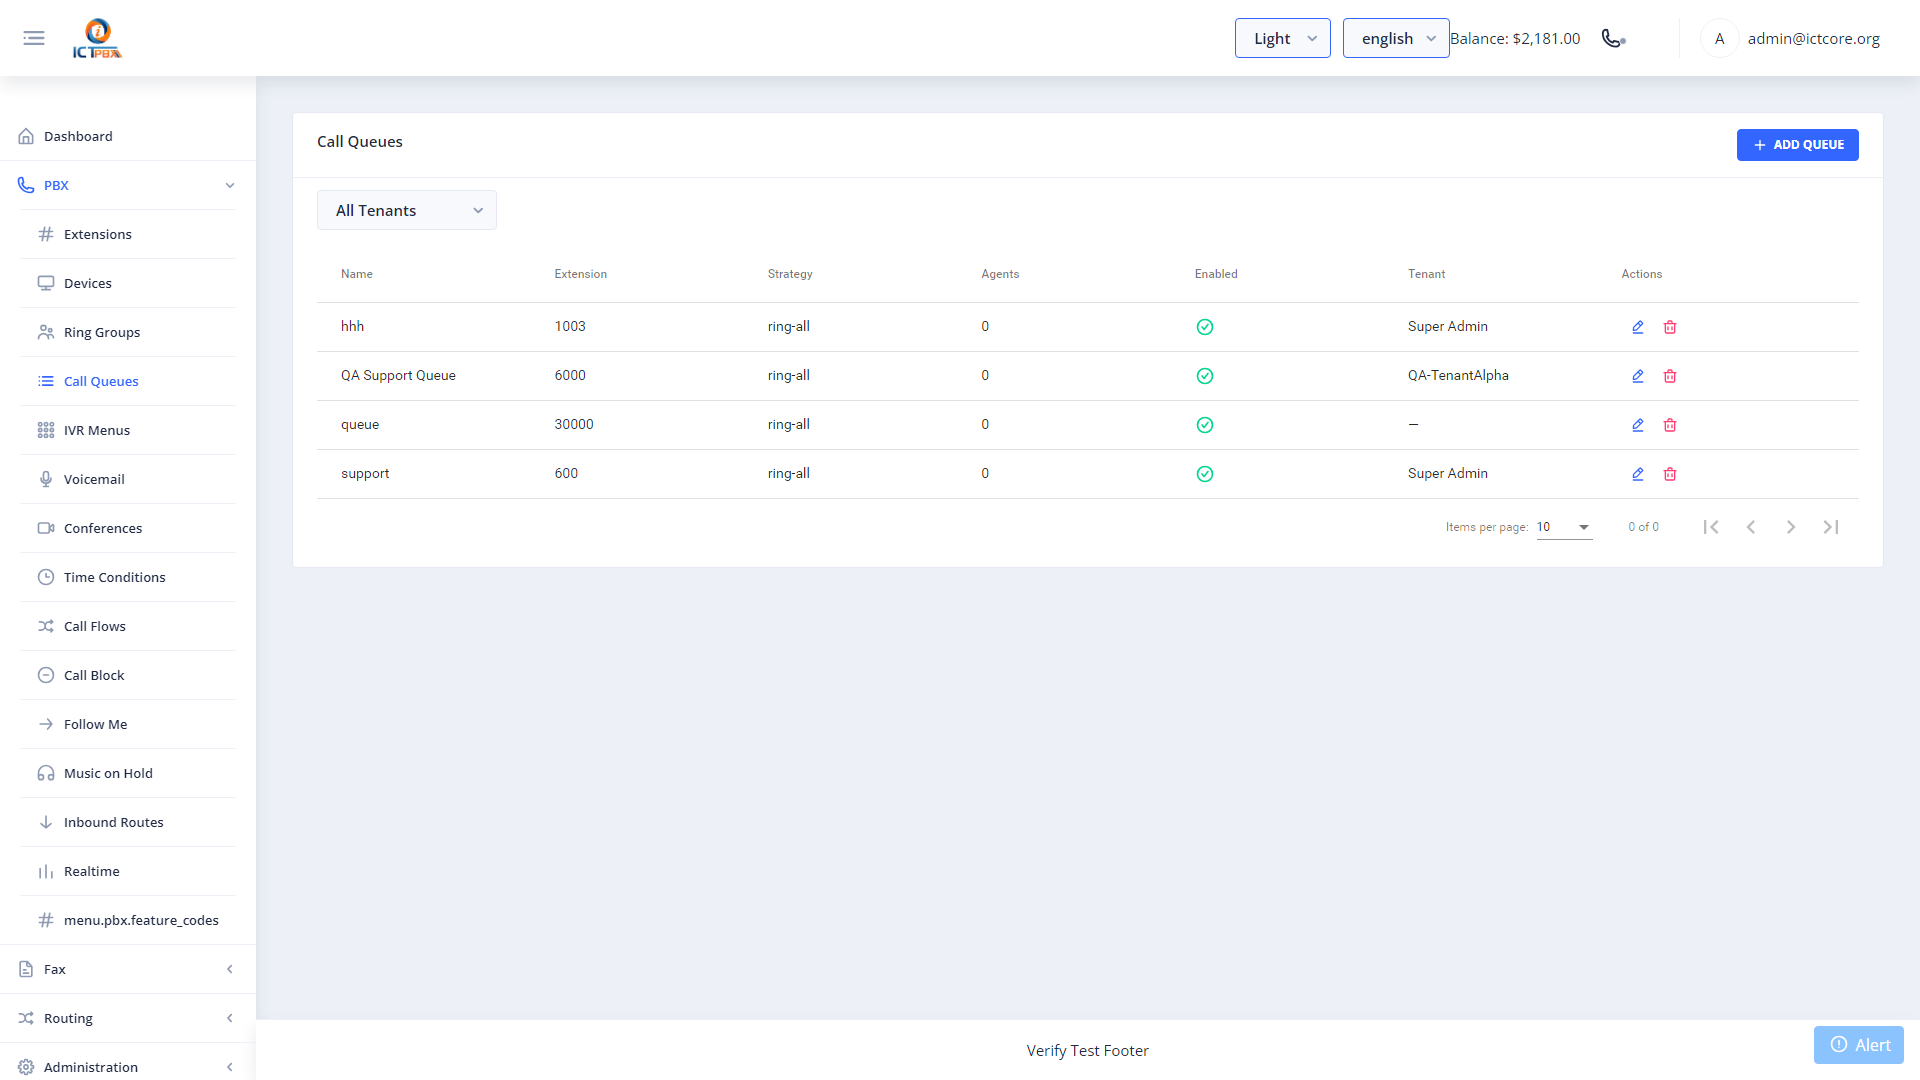
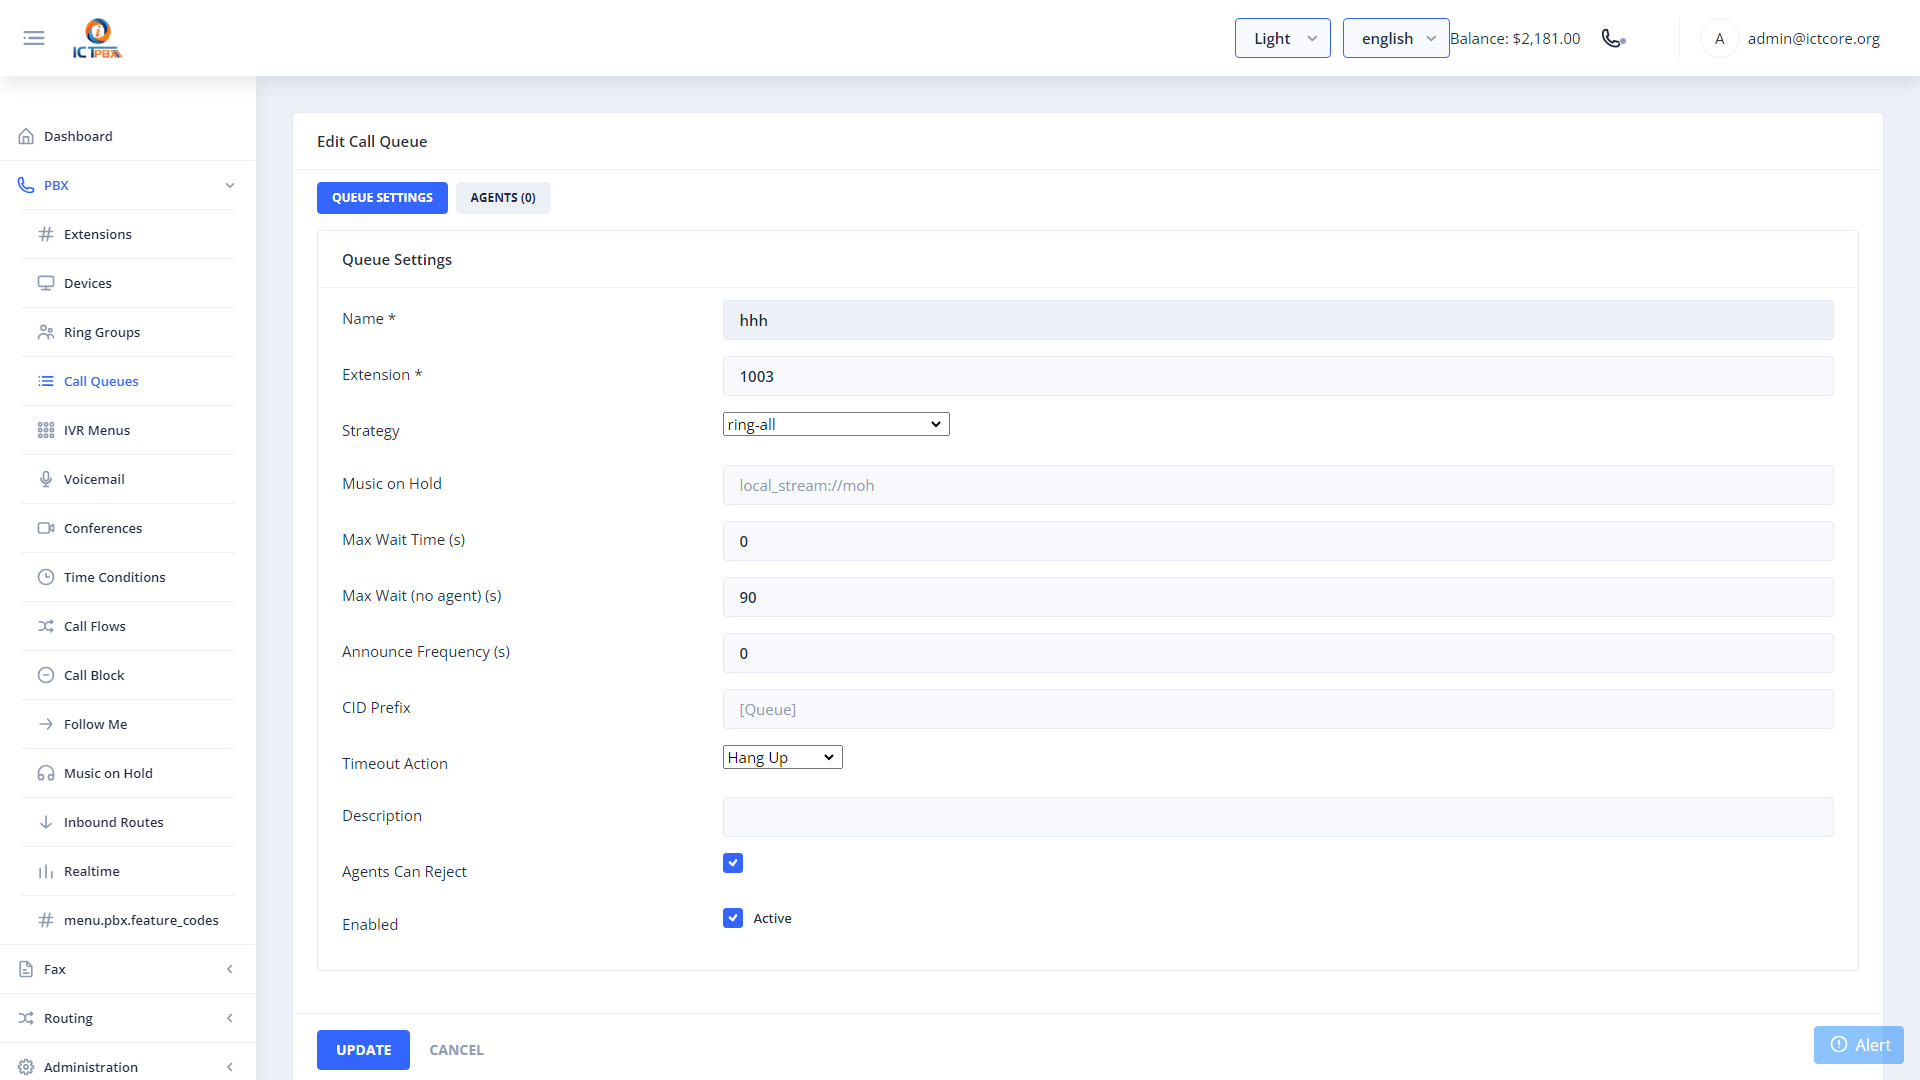
8.1 Creating a Call Queue
- Click New.

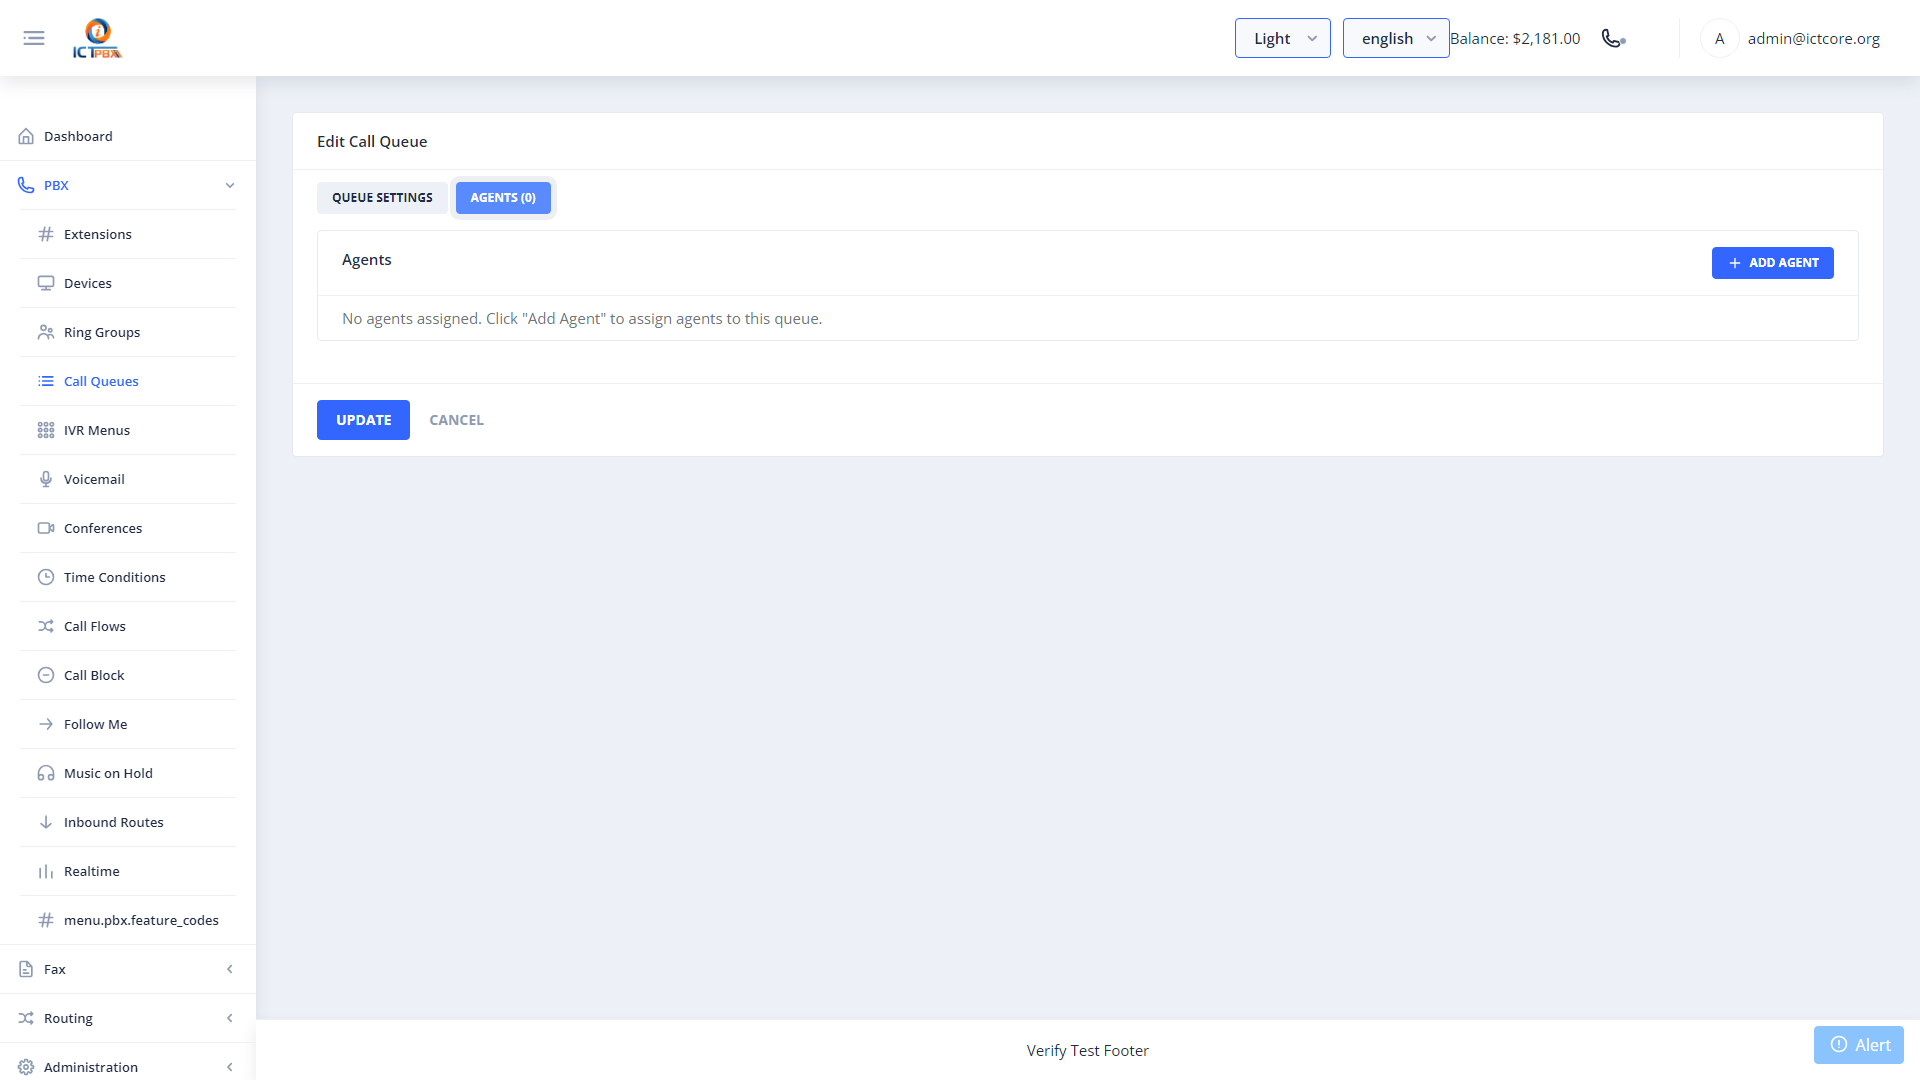
- Click Save, then open the queue and go to the Agents tab to add agent tiers.
8.2 Adding Agents
In the Agents/Tiers tab:
- Select an extension from the agent dropdown.
- Set Tier Level and Tier Position (priority order).
- Click Add Agent.
- Repeat for all agents.
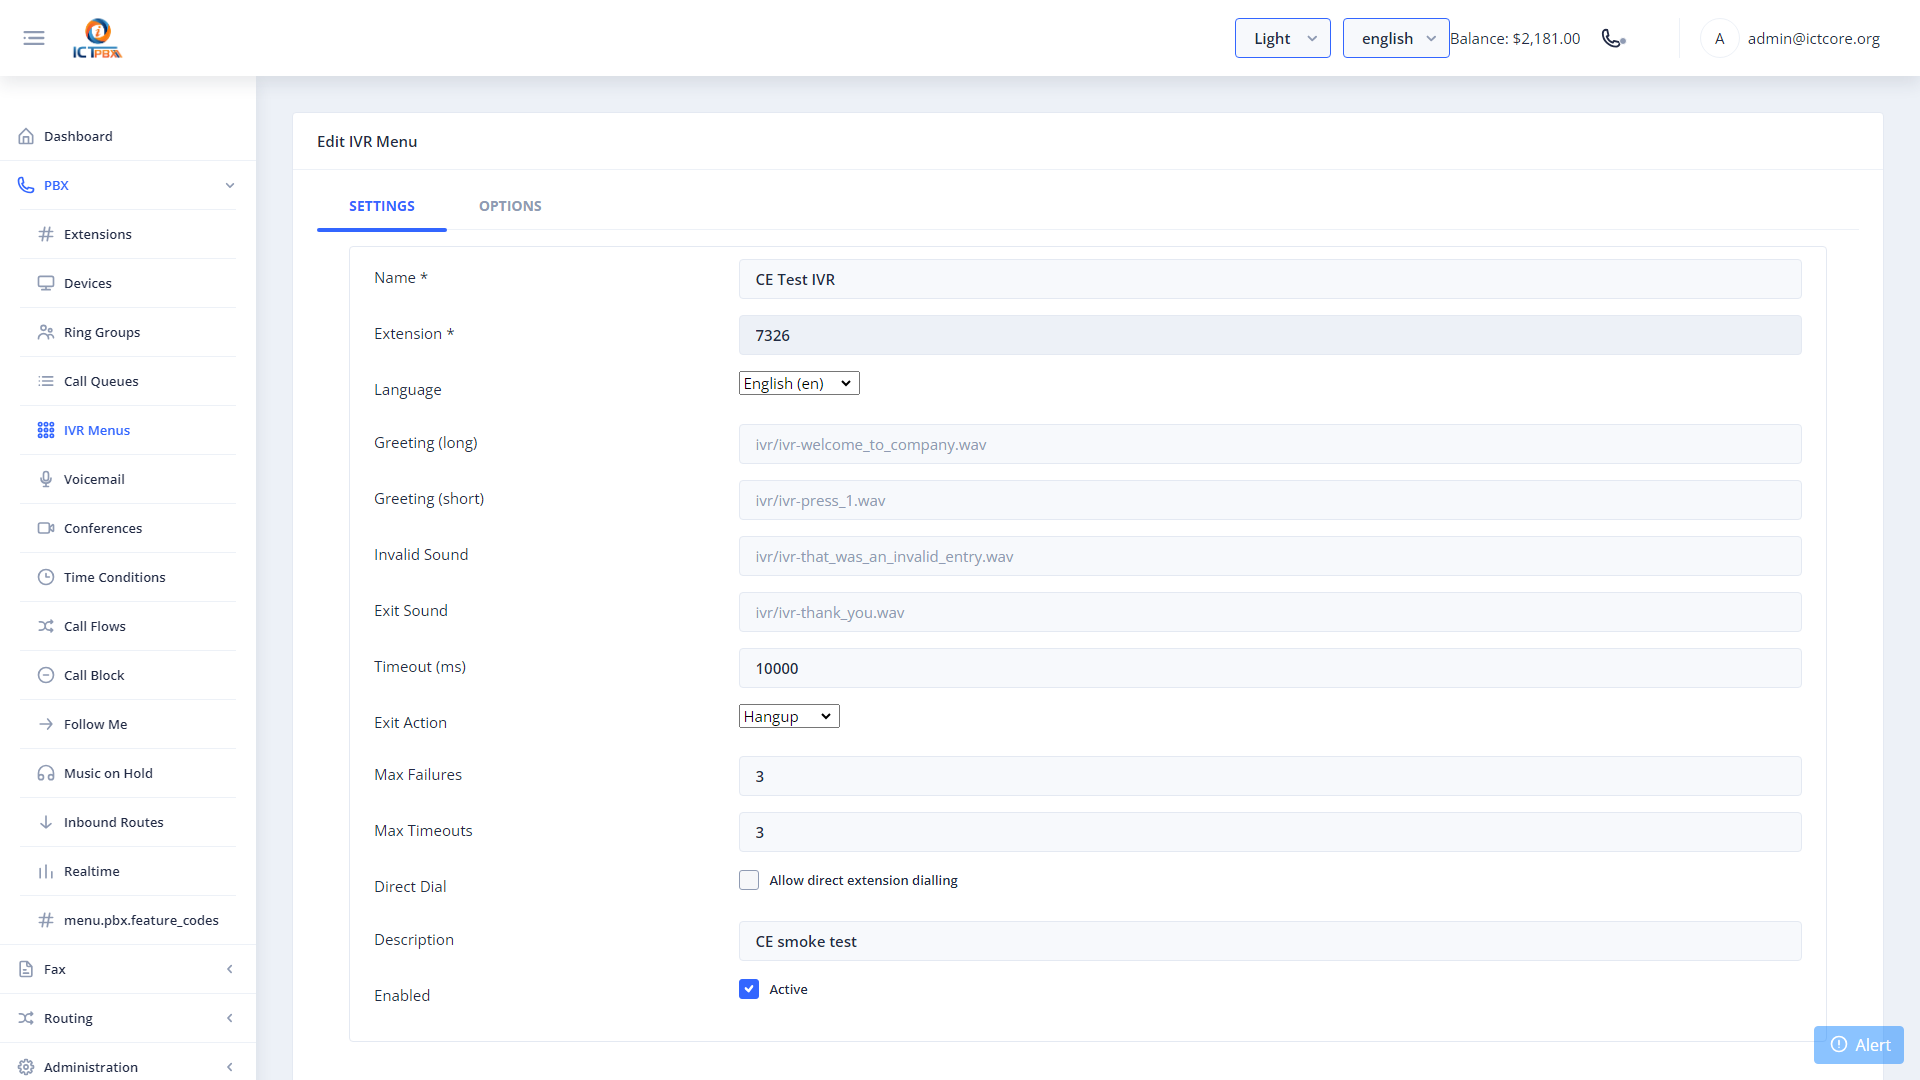
9. IVR Menus (Auto-Attendant)
IVR menus let callers navigate by pressing digits — routing themselves to the right department without speaking to a person.
Navigate to PBX → IVR Menus.
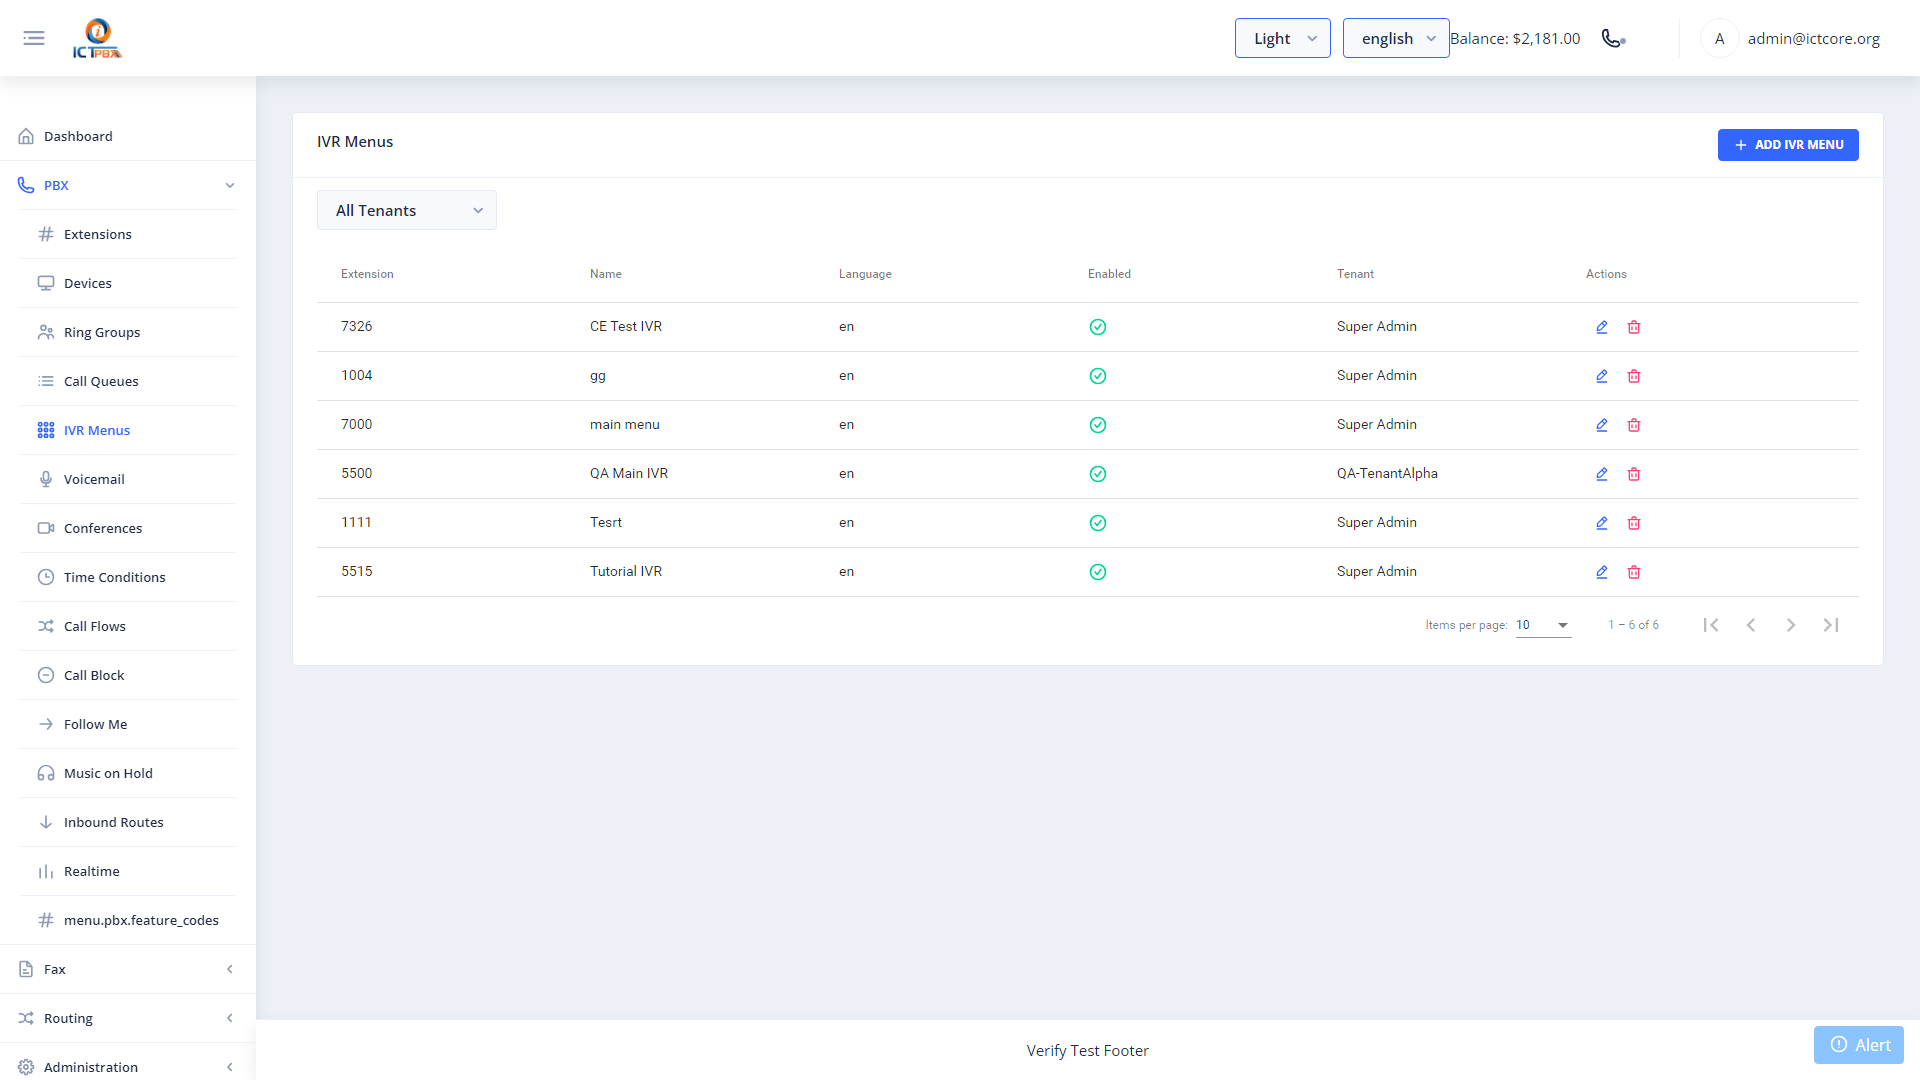
9.1 Creating an IVR Menu
- Click New.
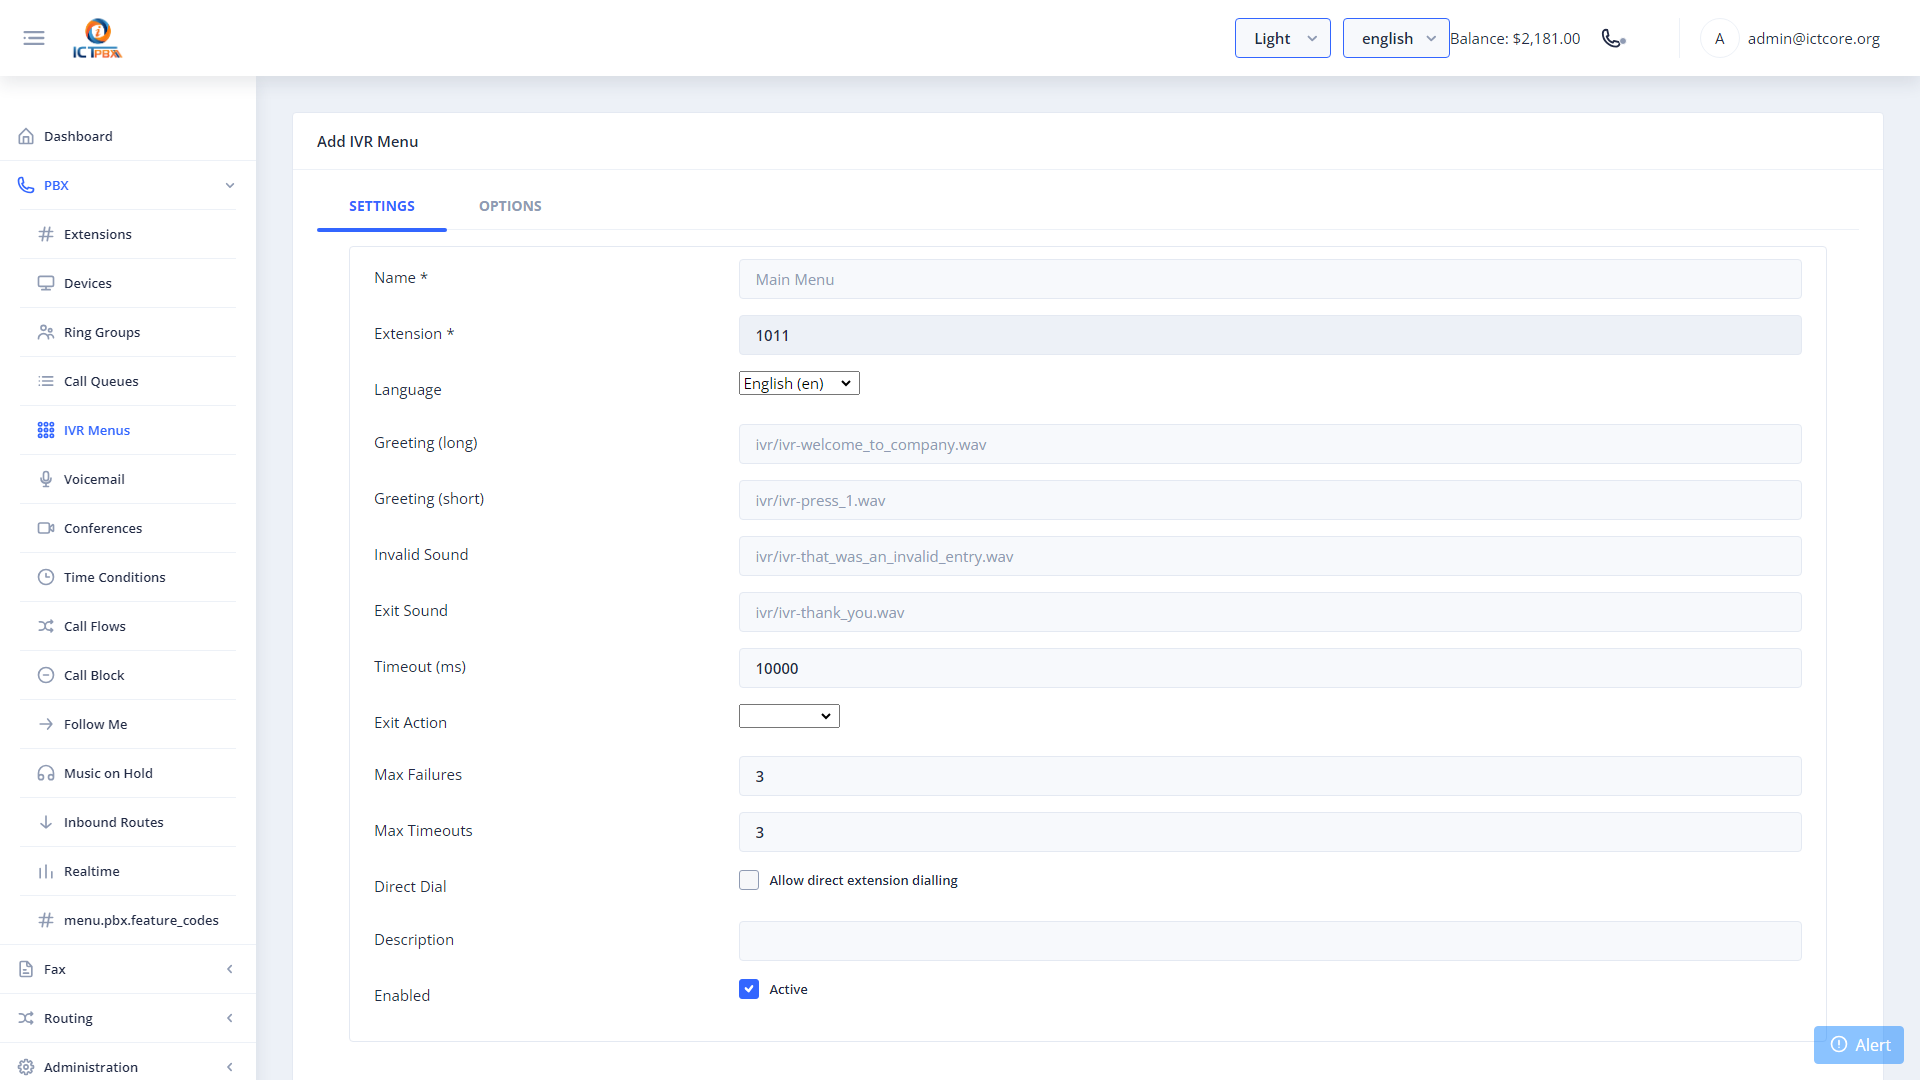
- In the Options section, add digit mappings:

- Click Save.
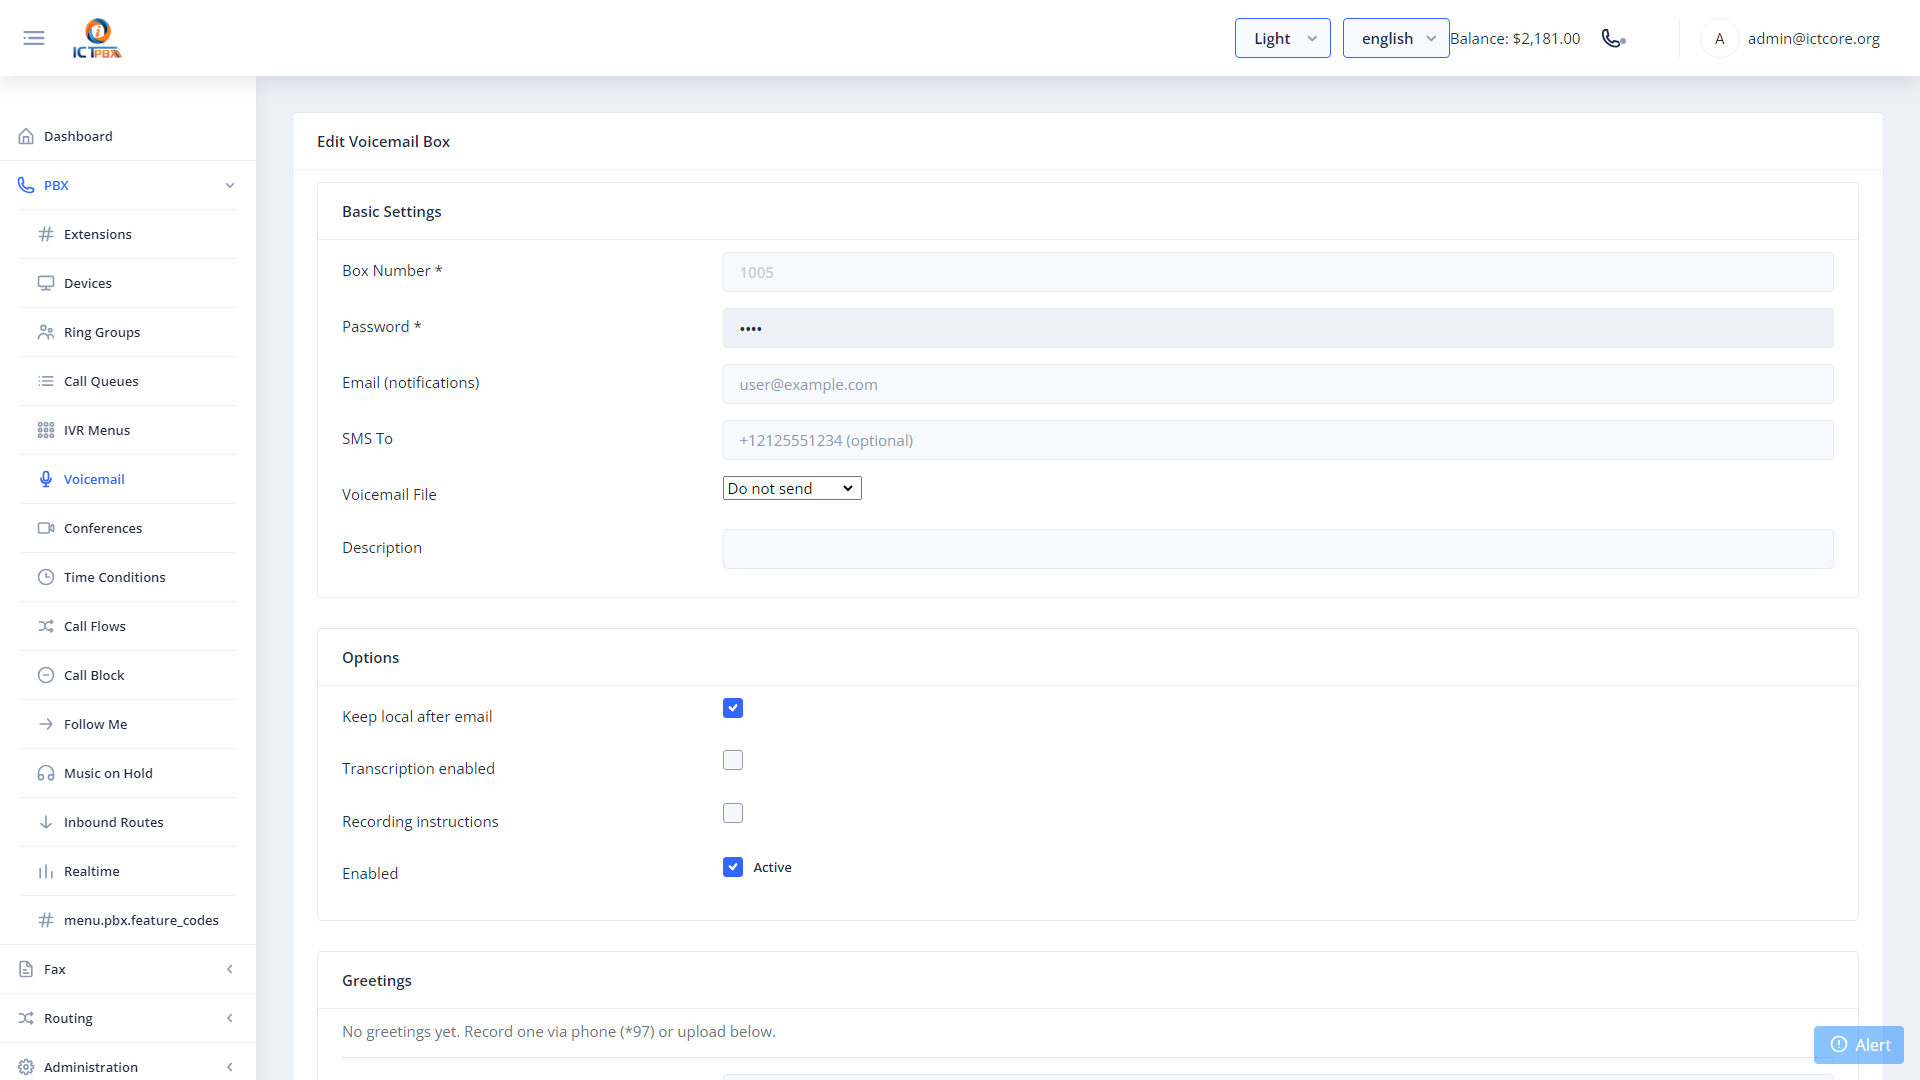
10. Voicemail Boxes
Voicemail boxes capture calls when extensions are unavailable and email the recording to the user.
Navigate to PBX → Voicemails.

10.1 Creating a Voicemail Box
- Click New.
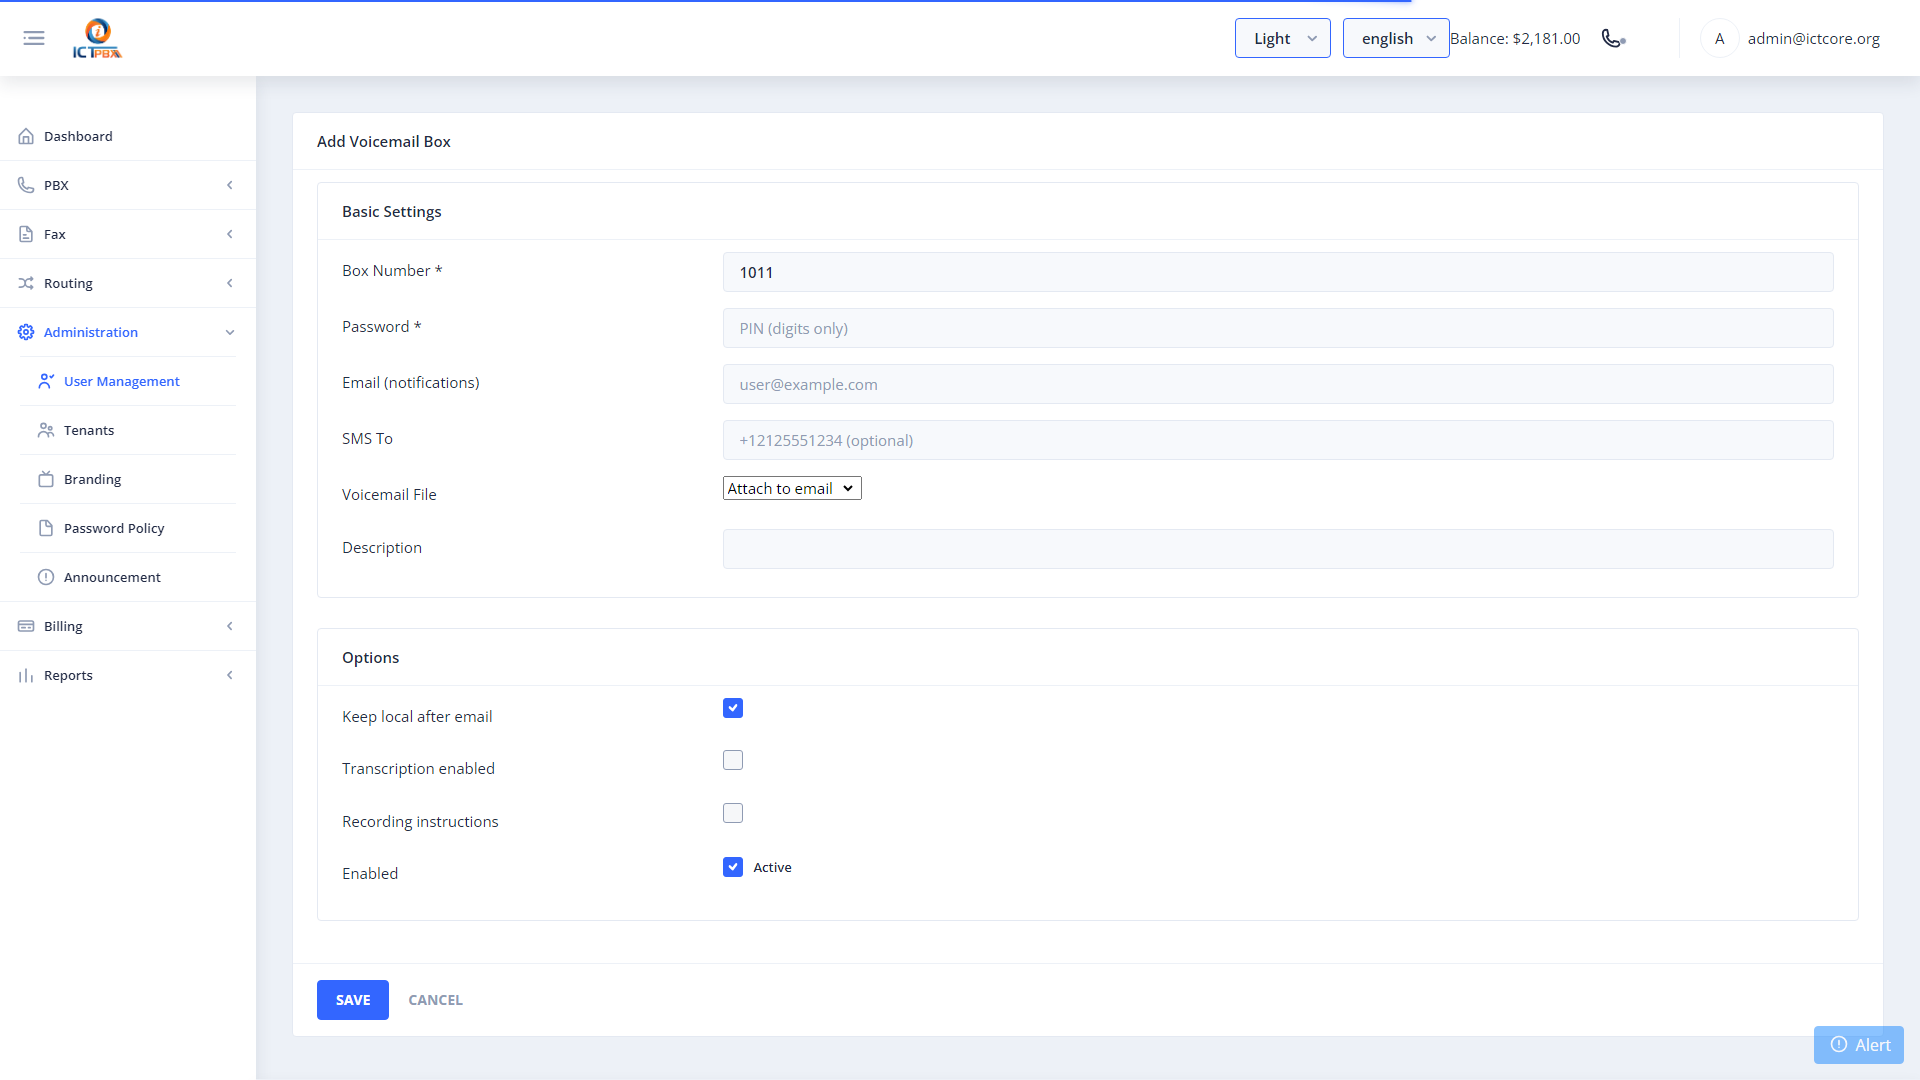
- Click Save.
11. Conference Rooms
Conference rooms allow multiple participants to join a shared audio bridge by dialing an extension.
Navigate to PBX → Conferences.
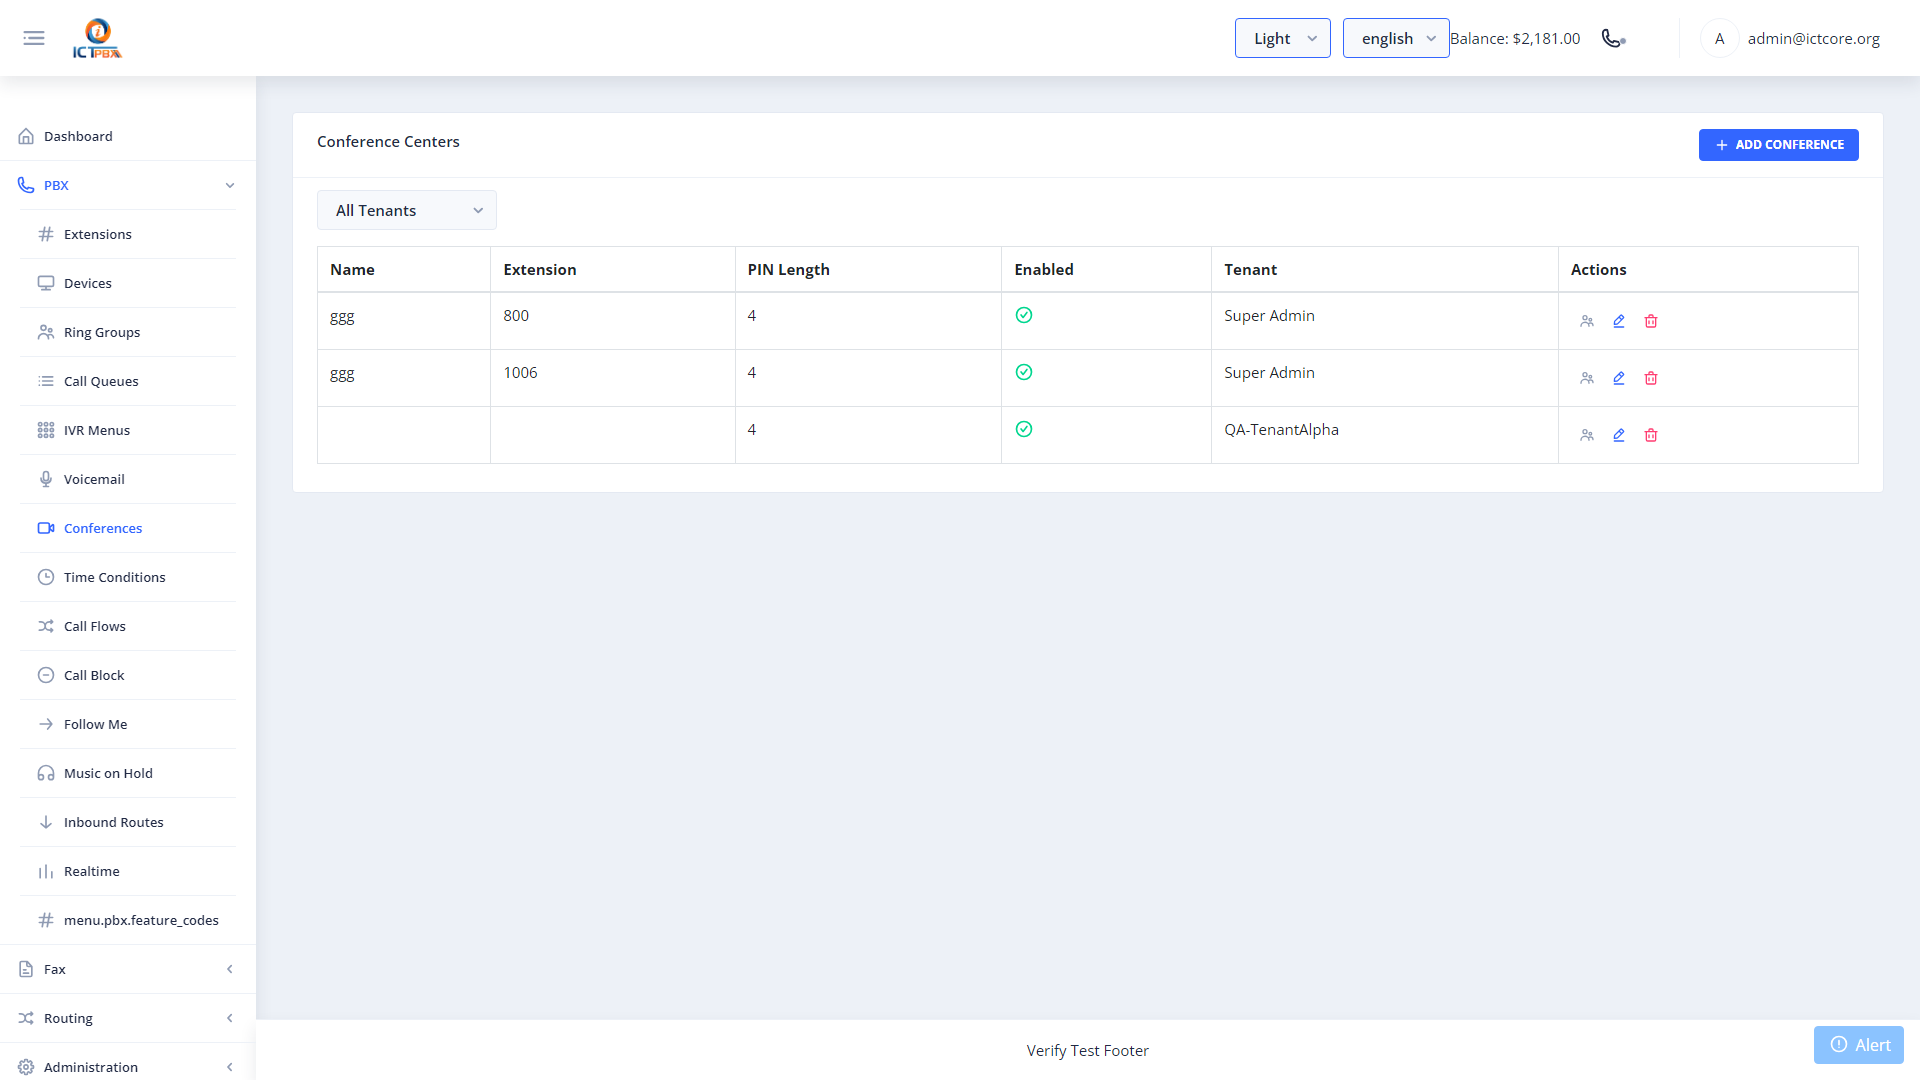
11.1 Creating a Conference Room
- Click New.
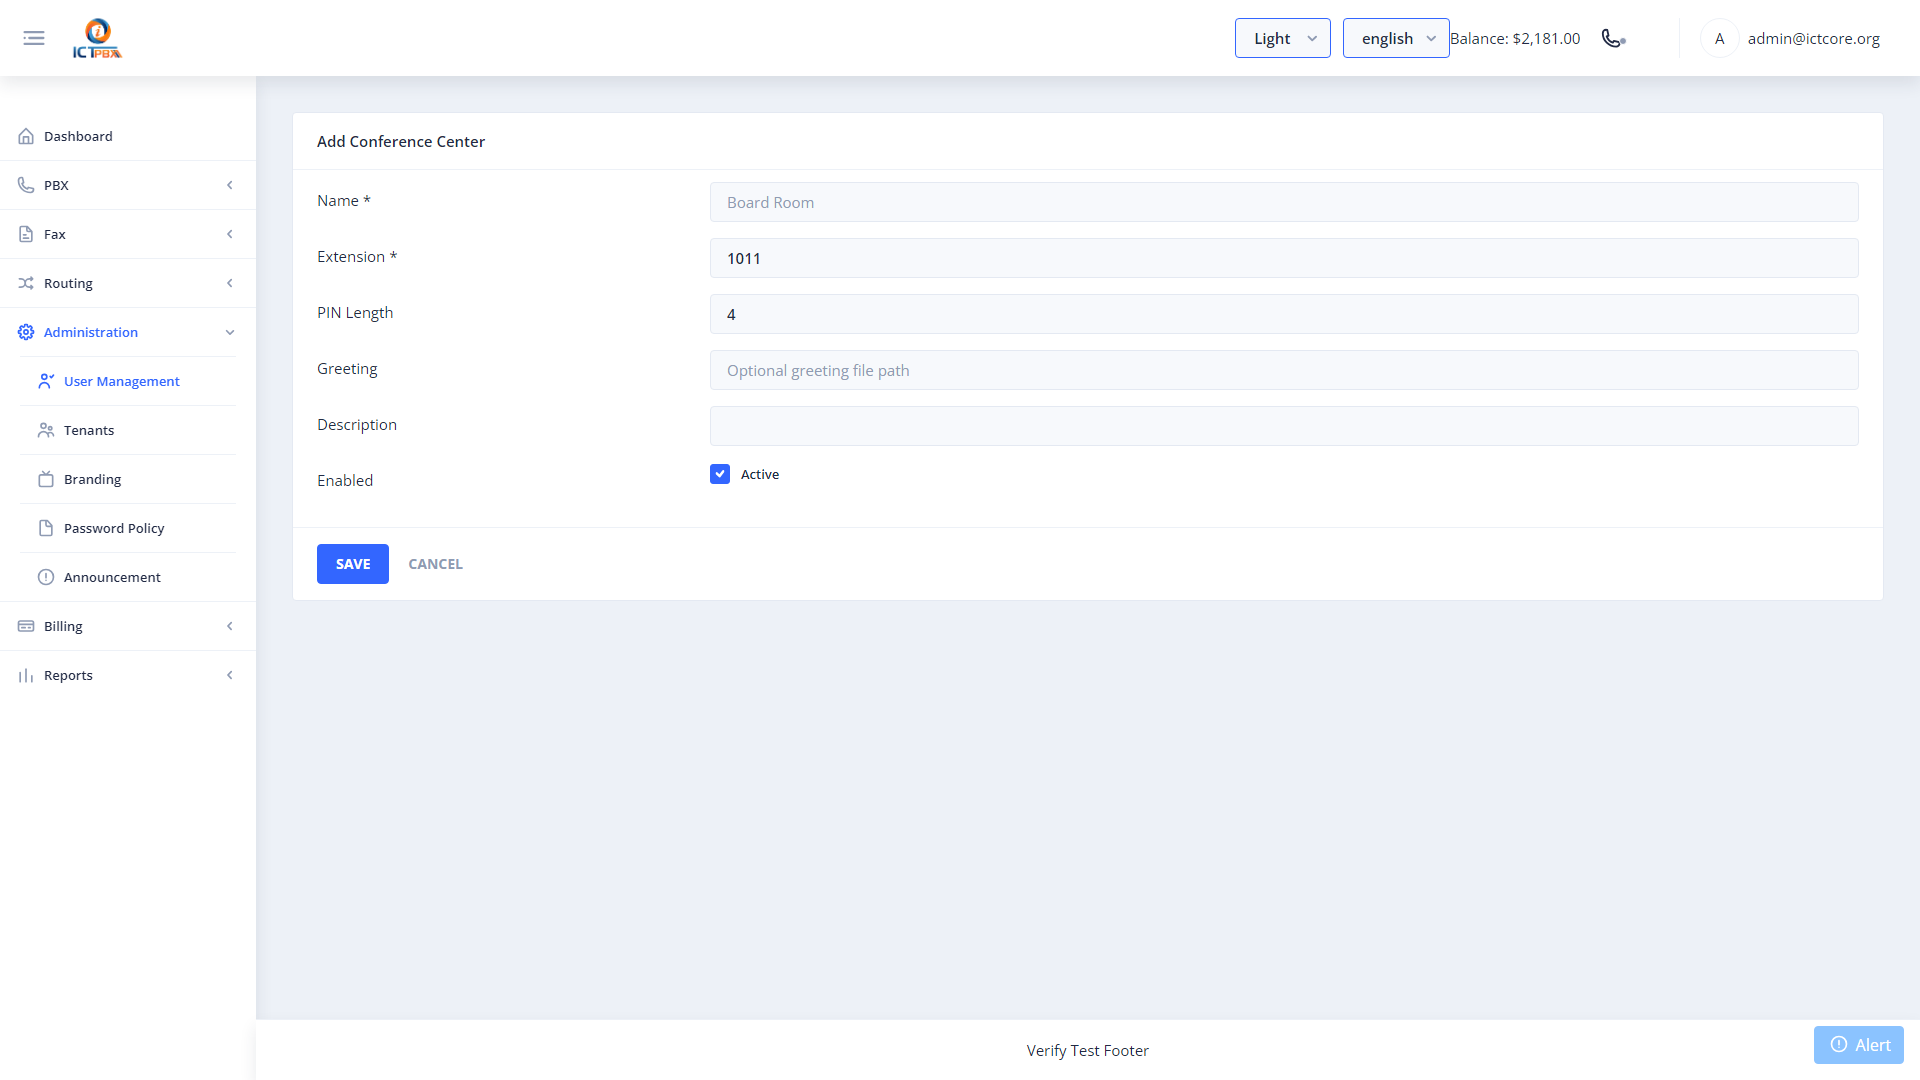
- Click Save.
12. Inbound Routes (DID Routing)
Inbound routes map incoming DID phone numbers to PBX destinations — determining what happens when a call arrives on a specific number.
Navigate to PBX → Inbound Routes.

12.1 Creating an Inbound Route
- Click New.
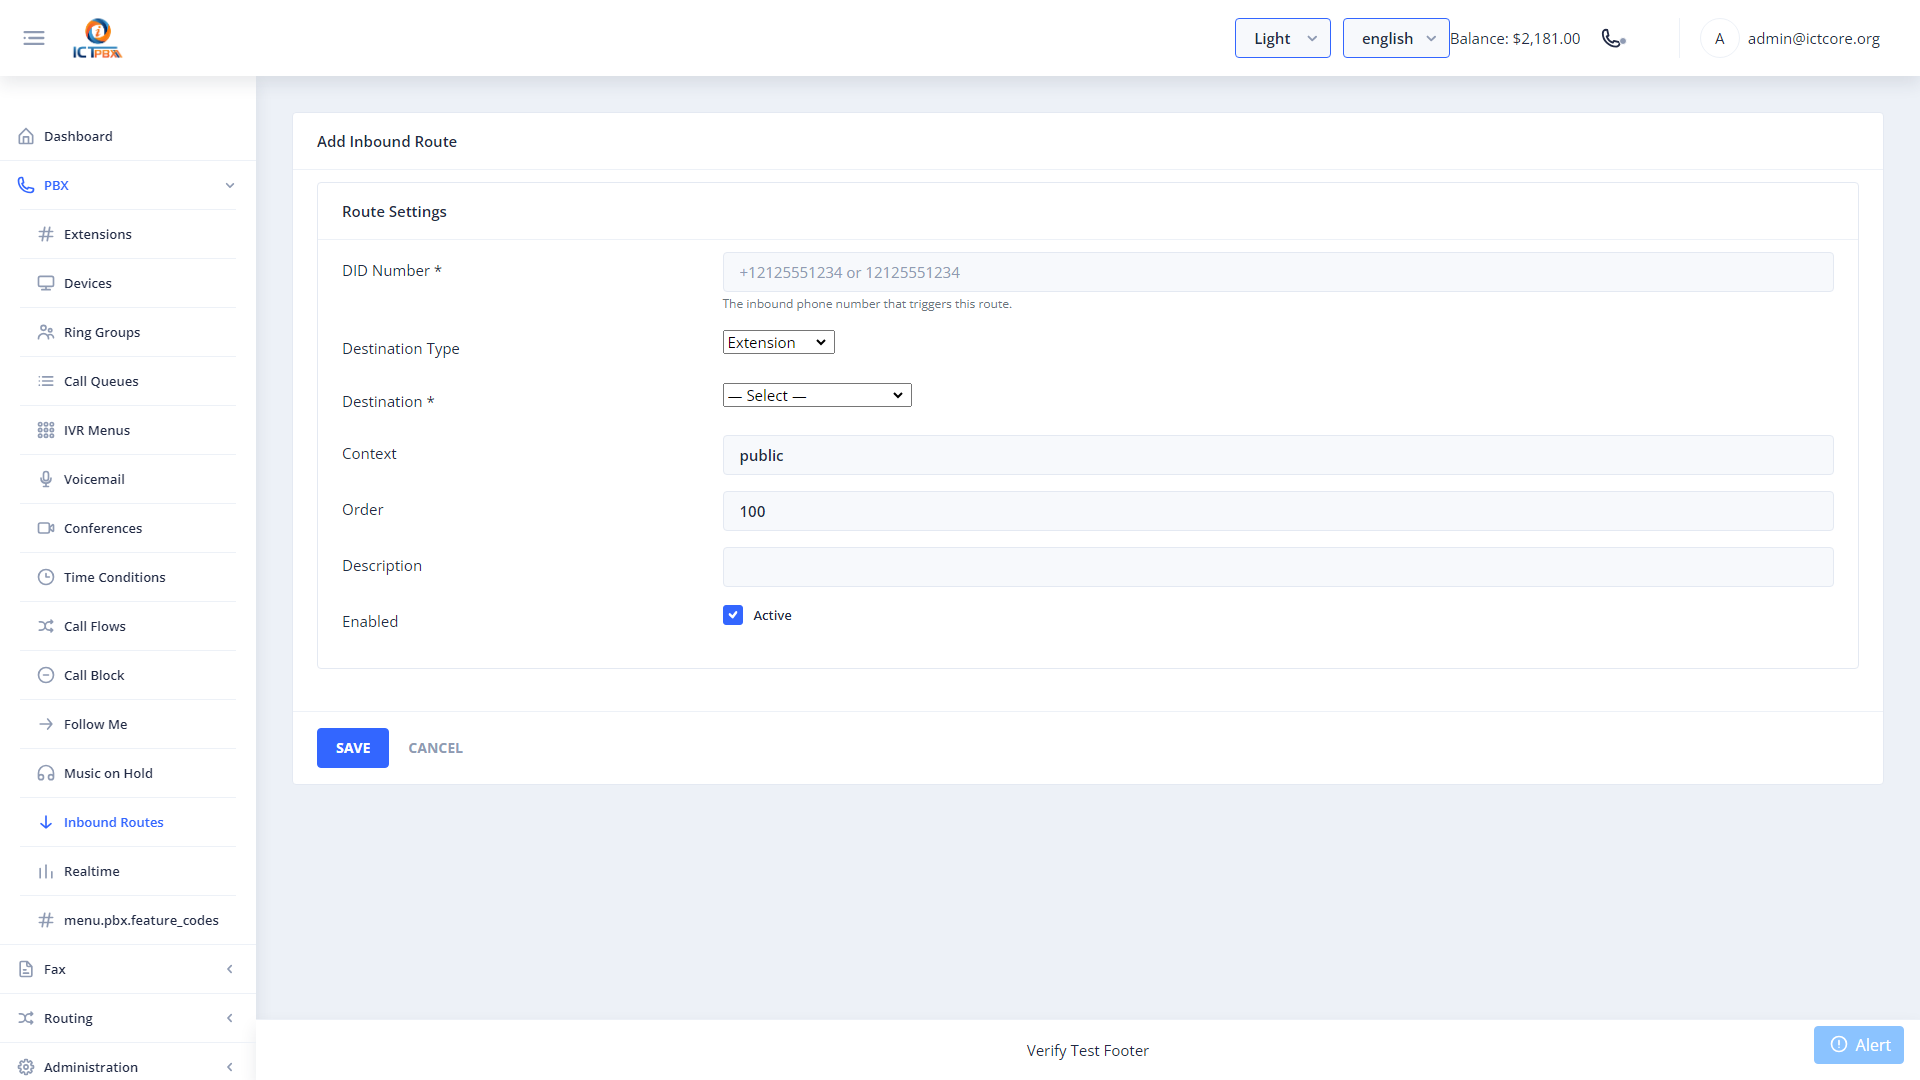
- Click Save. The route is written to the ICTCore dialplan and takes effect immediately.
13. Call Flows & Time Conditions
Call flows route calls differently based on time of day — business hours vs. after hours.
13.1 Time Conditions
Navigate to PBX → Time Conditions.

Create a Time Condition defining your business hours schedule (e.g. Monday–Friday 09:00–17:00).
13.2 Call Flows
Navigate to PBX → Call Flows.
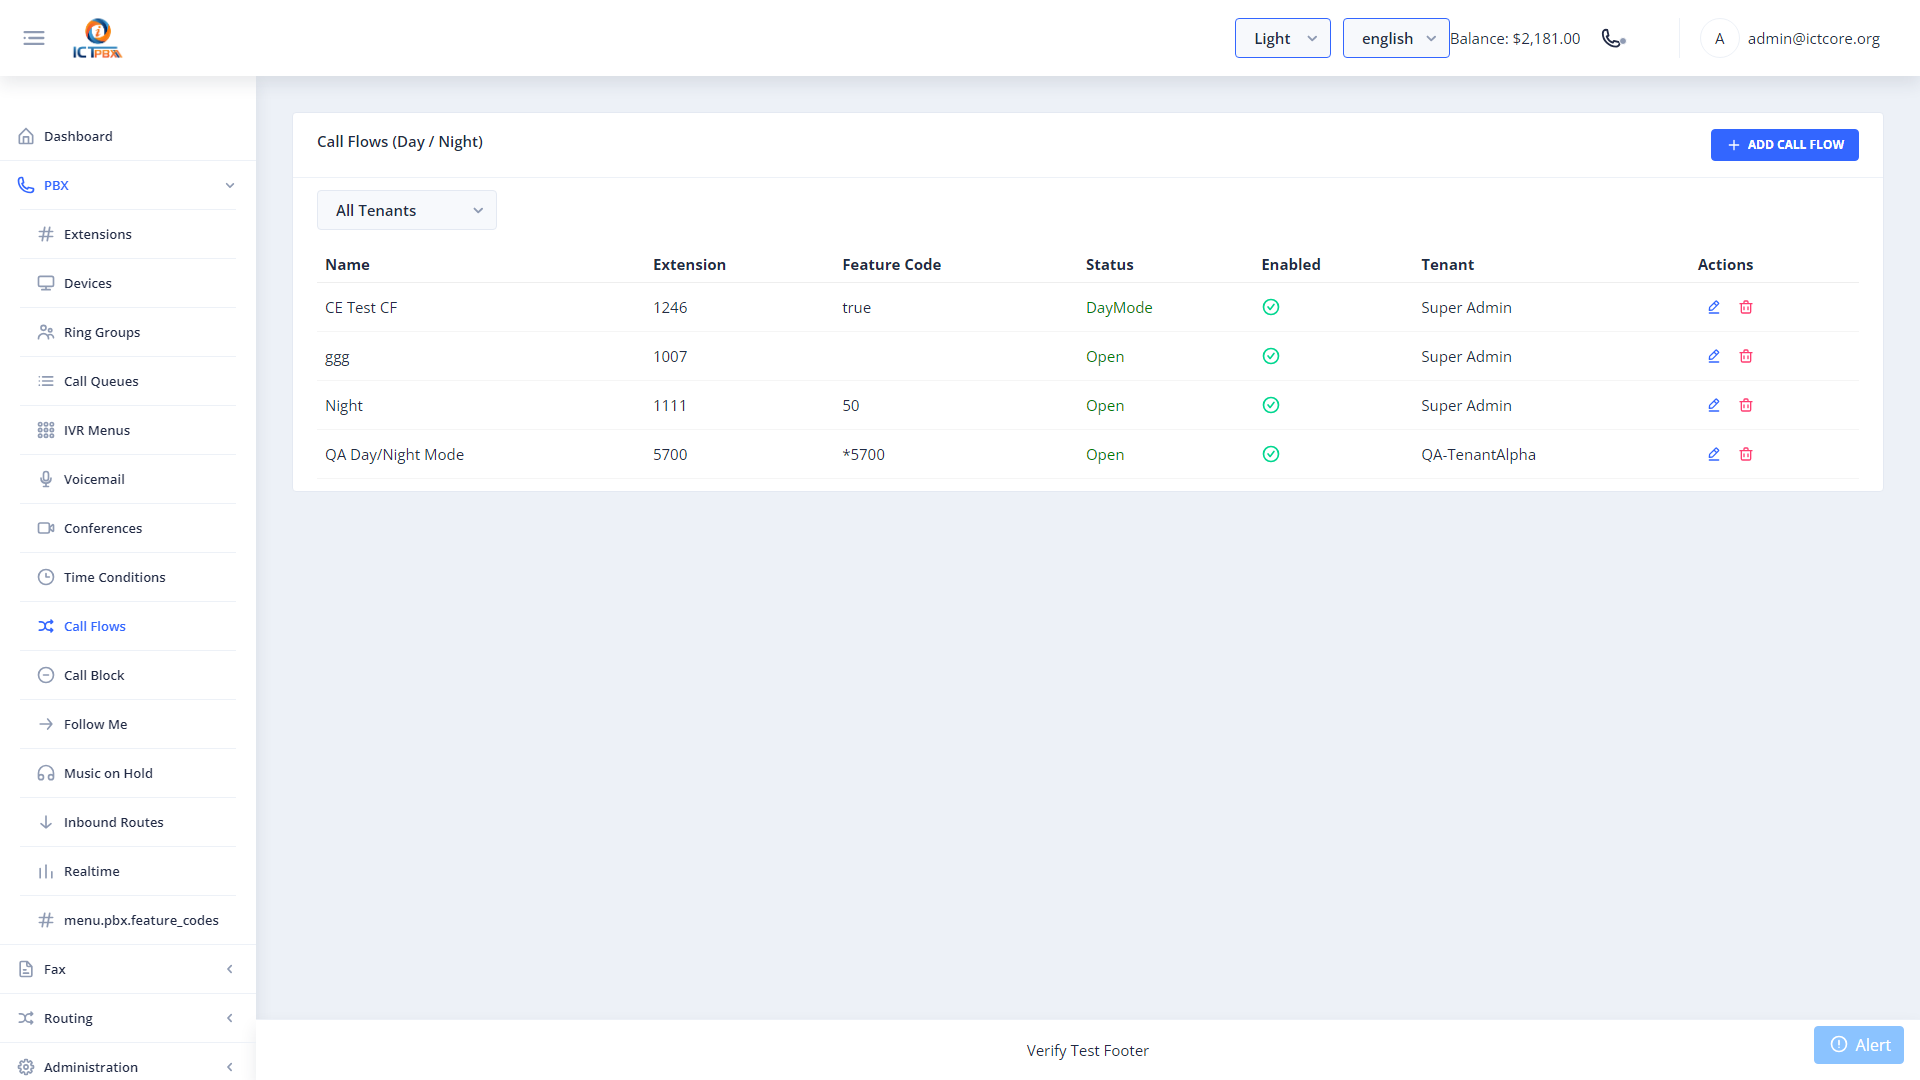
- Click New.
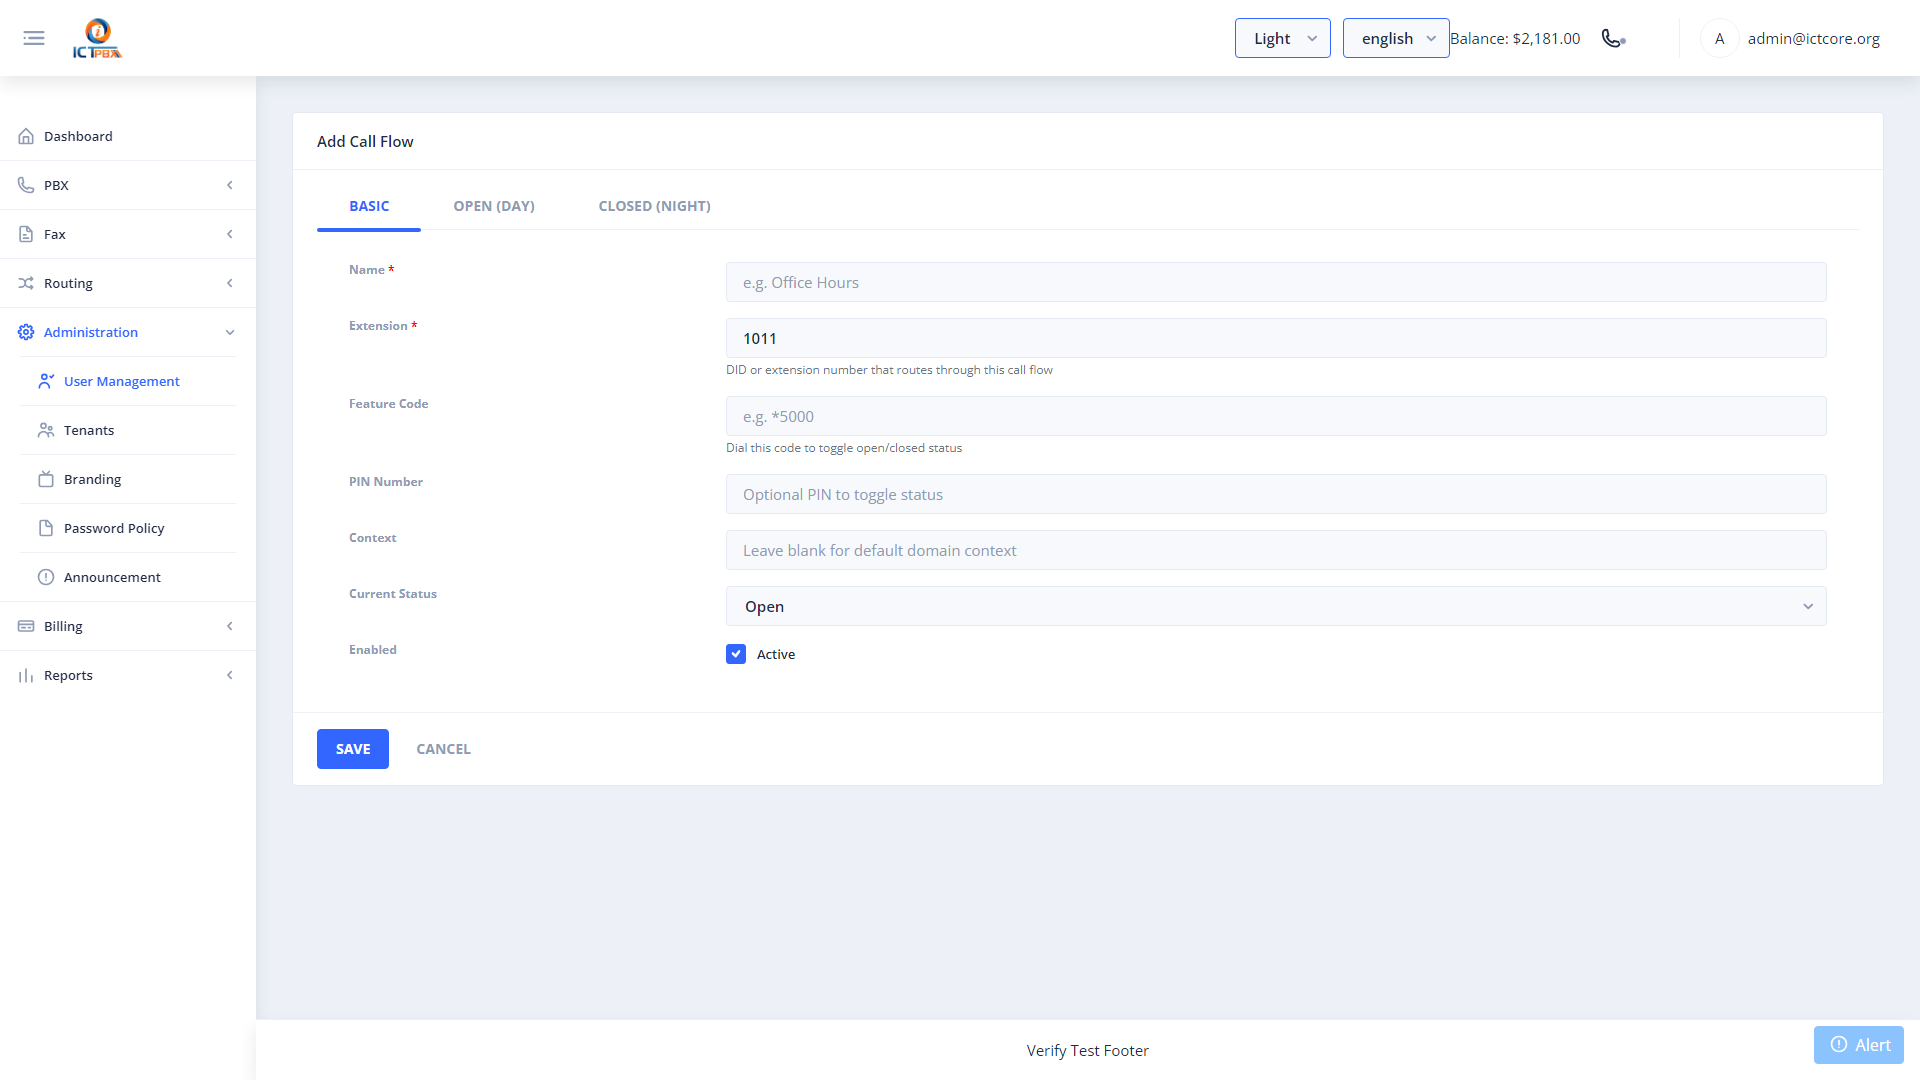
- Click Save. Link your DID’s inbound route to this call flow extension.
14. Follow Me
Navigate to PBX → Follow Me.
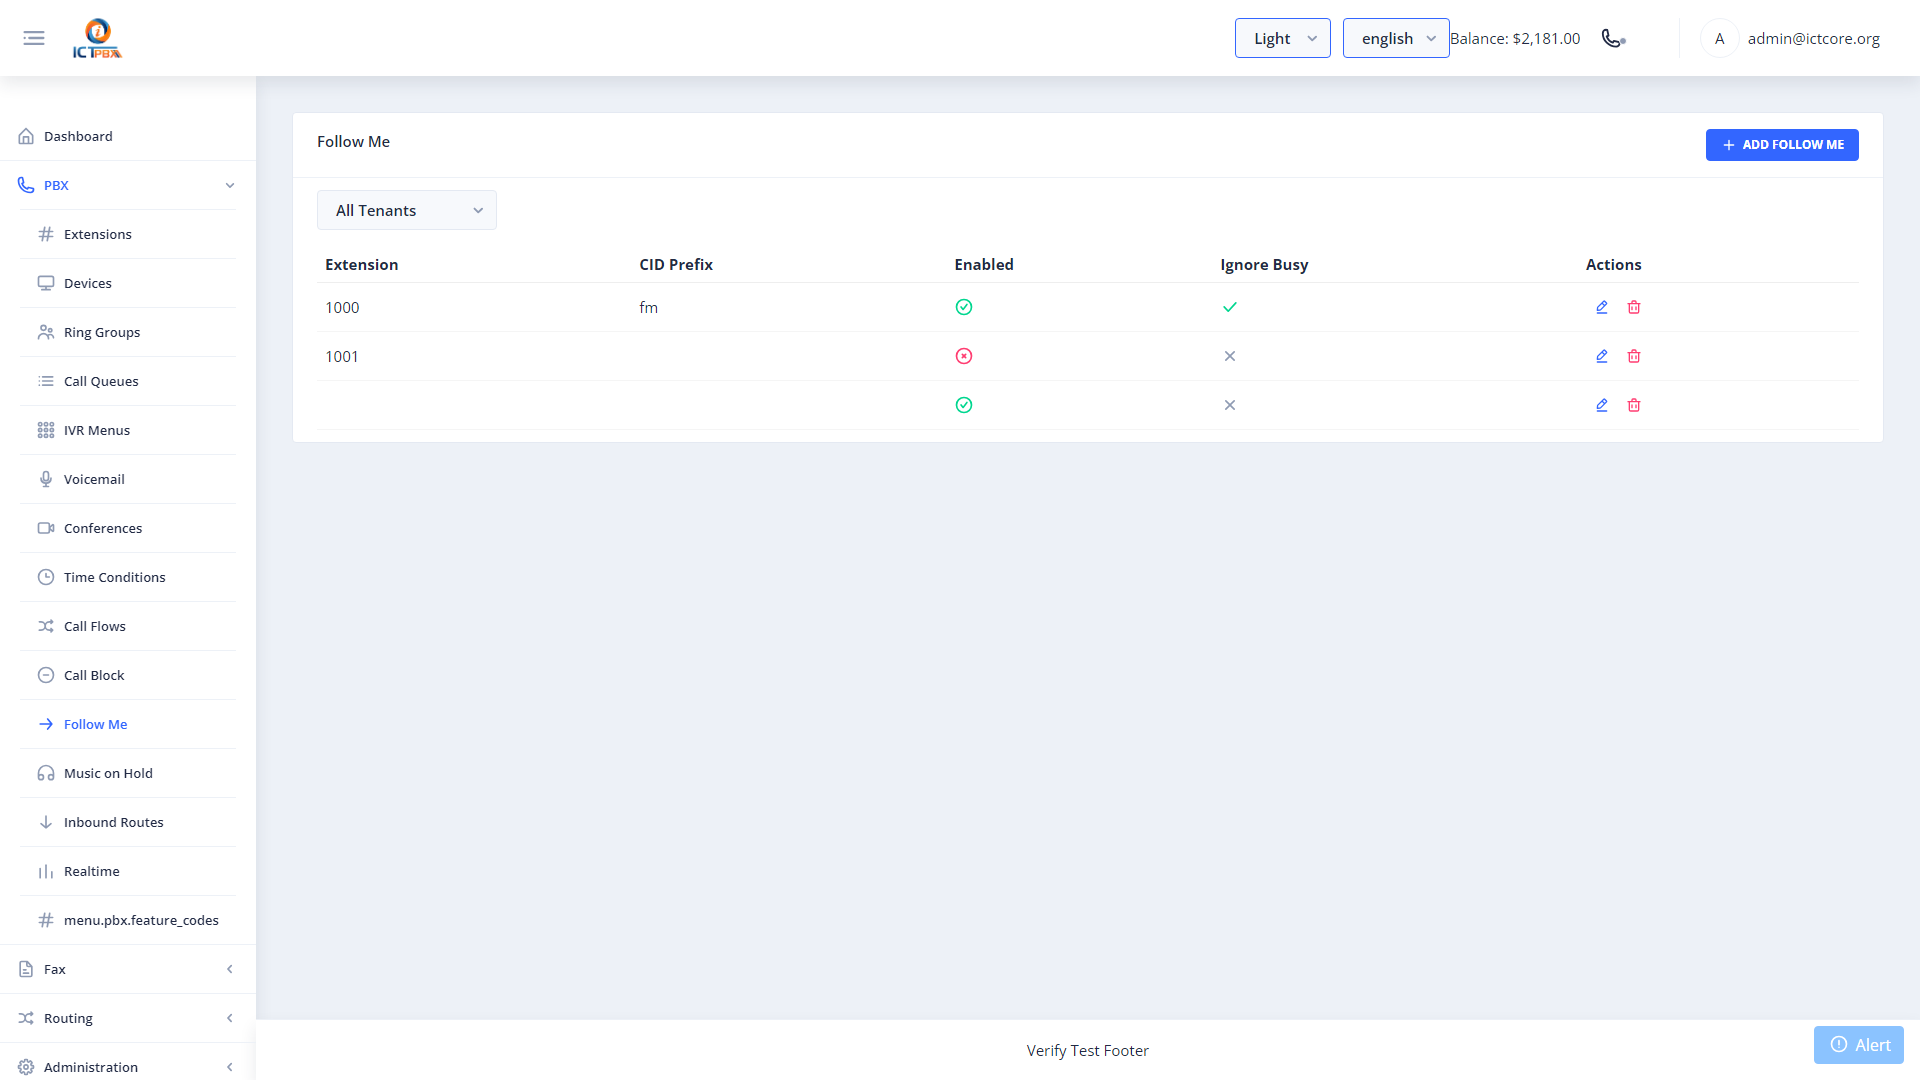
Follow Me adds external forwarding destinations to any extension. When a call arrives on the extension, it simultaneously (or sequentially) rings the configured external numbers.
- Click New and select the extension to configure.
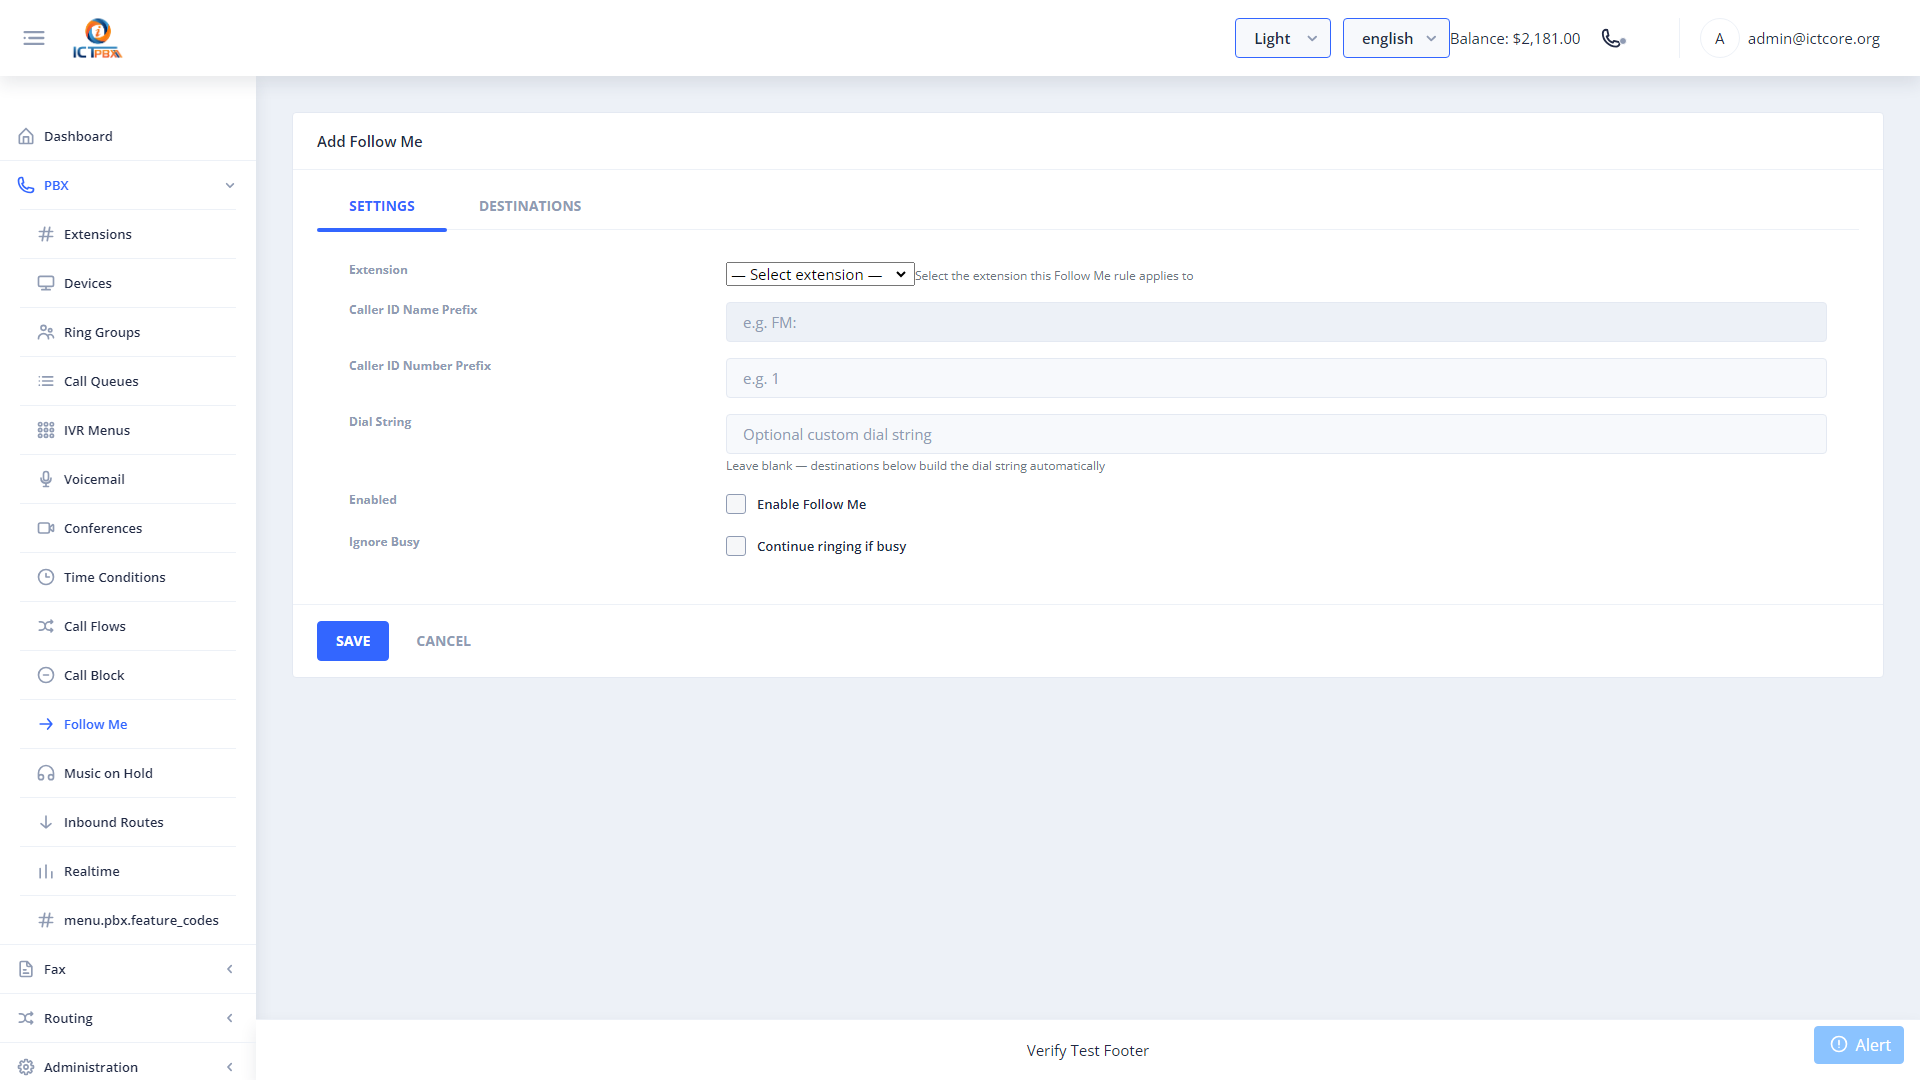
- Enable Follow Me and add destination numbers with delay and timeout values.
- Click Save.
15. Call Block
Navigate to PBX → Call Block.
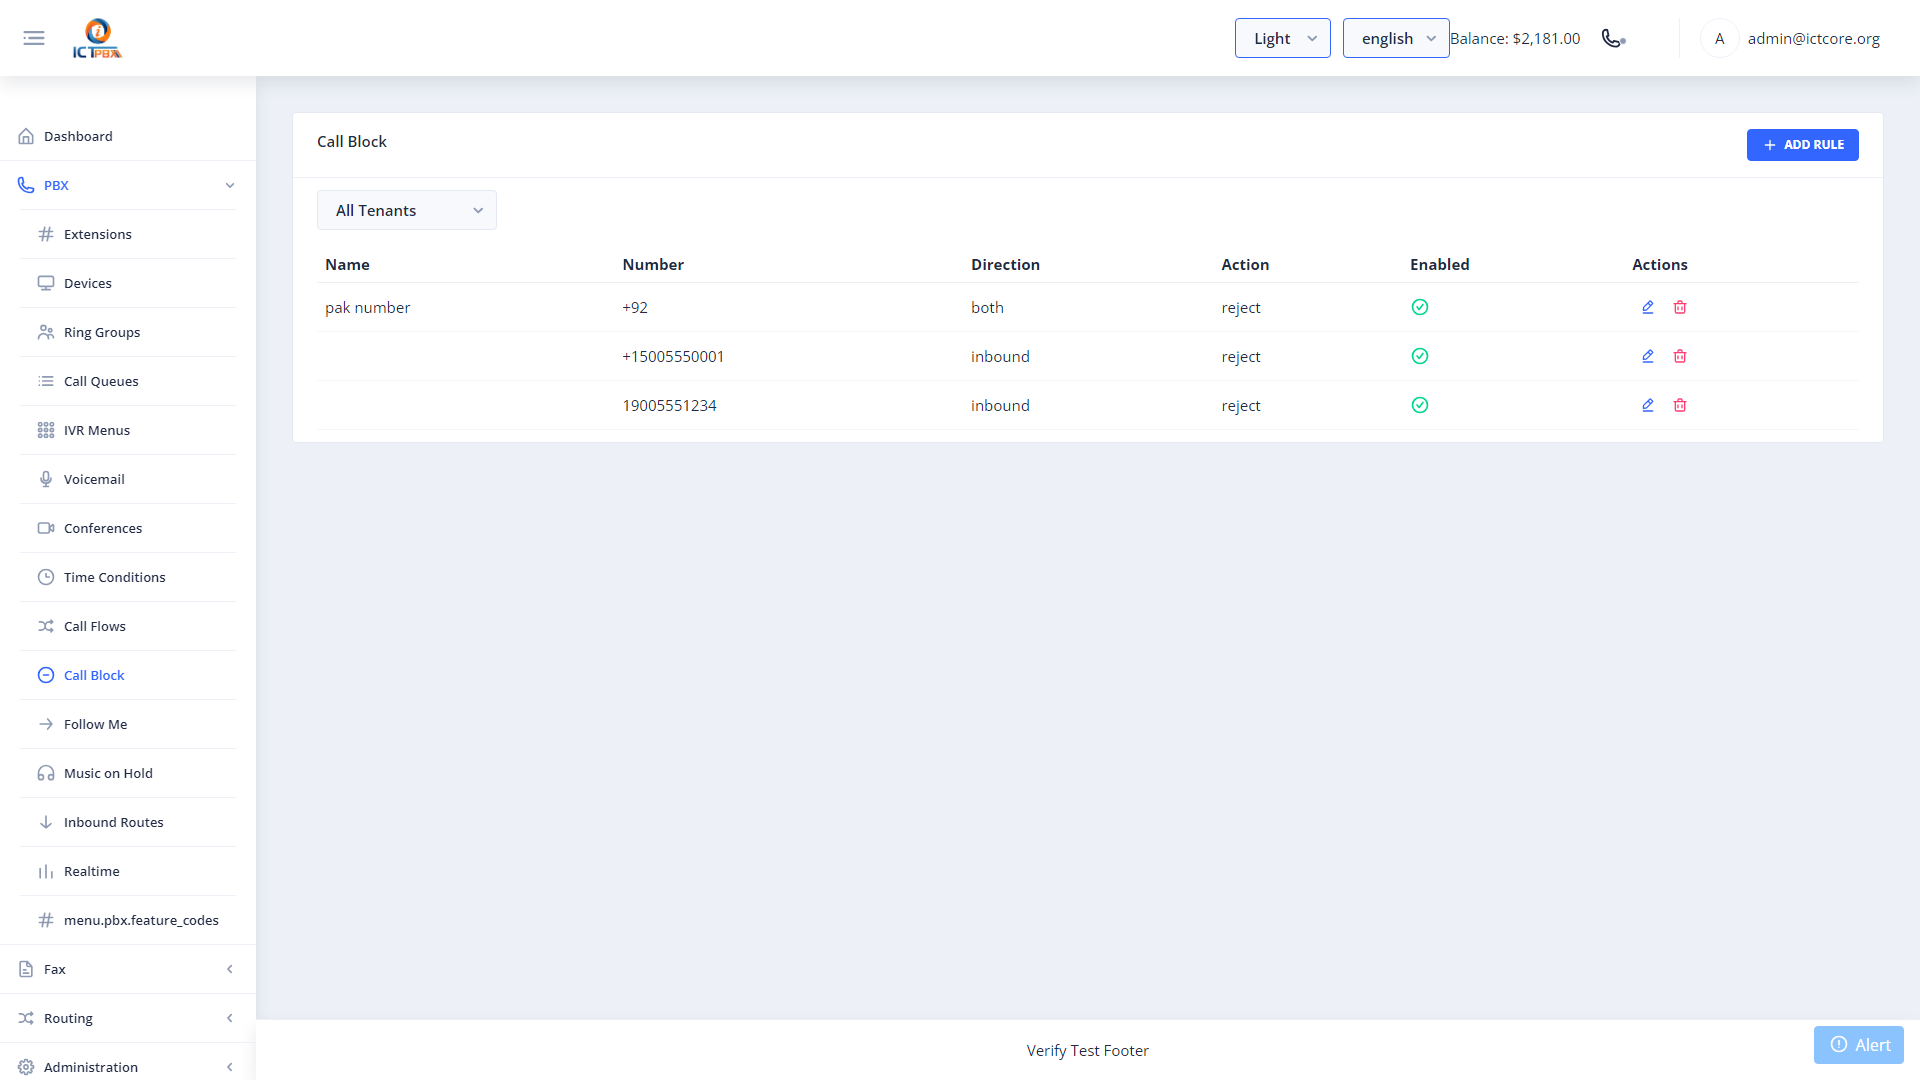
Add numbers or patterns to block specific callers system-wide. Blocked calls are rejected at the FreeSWITCH dialplan before reaching any extension.
- Click New.
- Enter the number or pattern to block.
- Set the block action (reject, busy, ignore).
- Click Save.
16. Music on Hold
Navigate to PBX → Music on Hold.
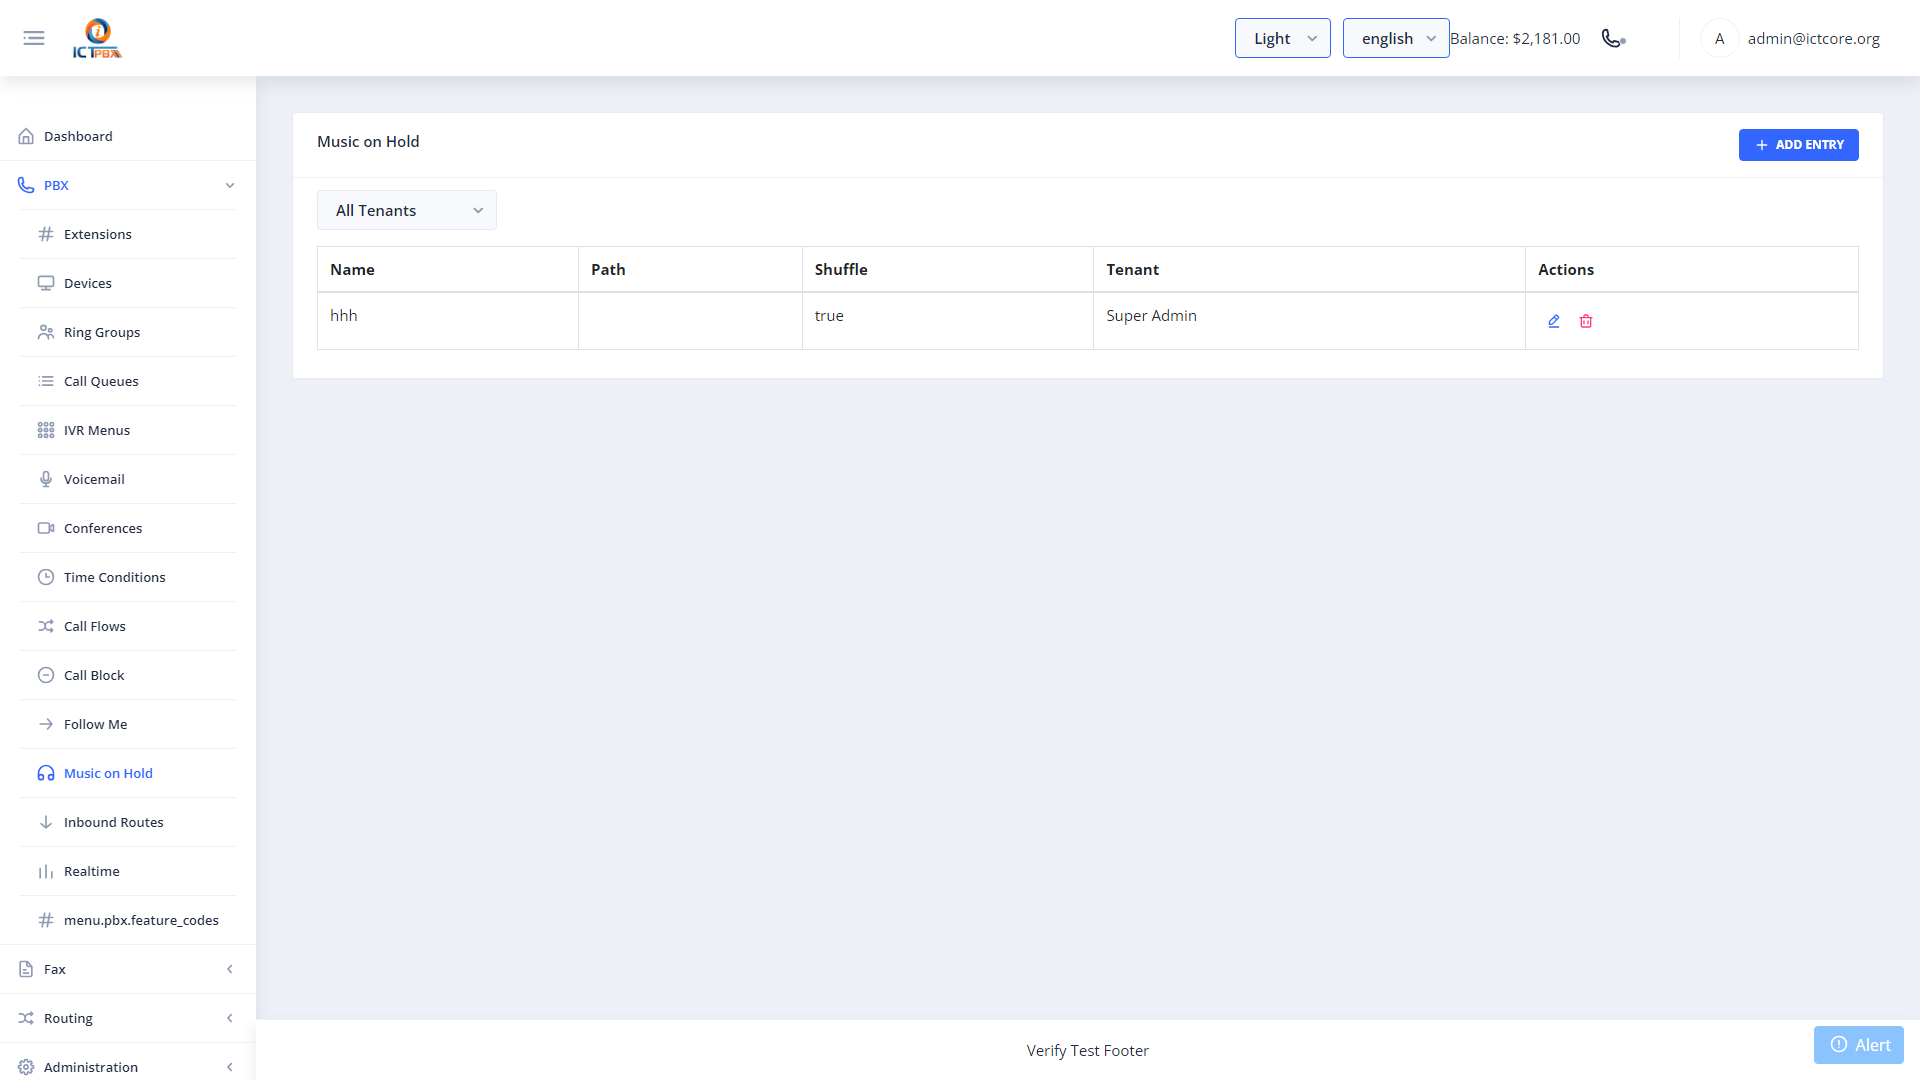
16.1 Uploading Audio
- Click New.
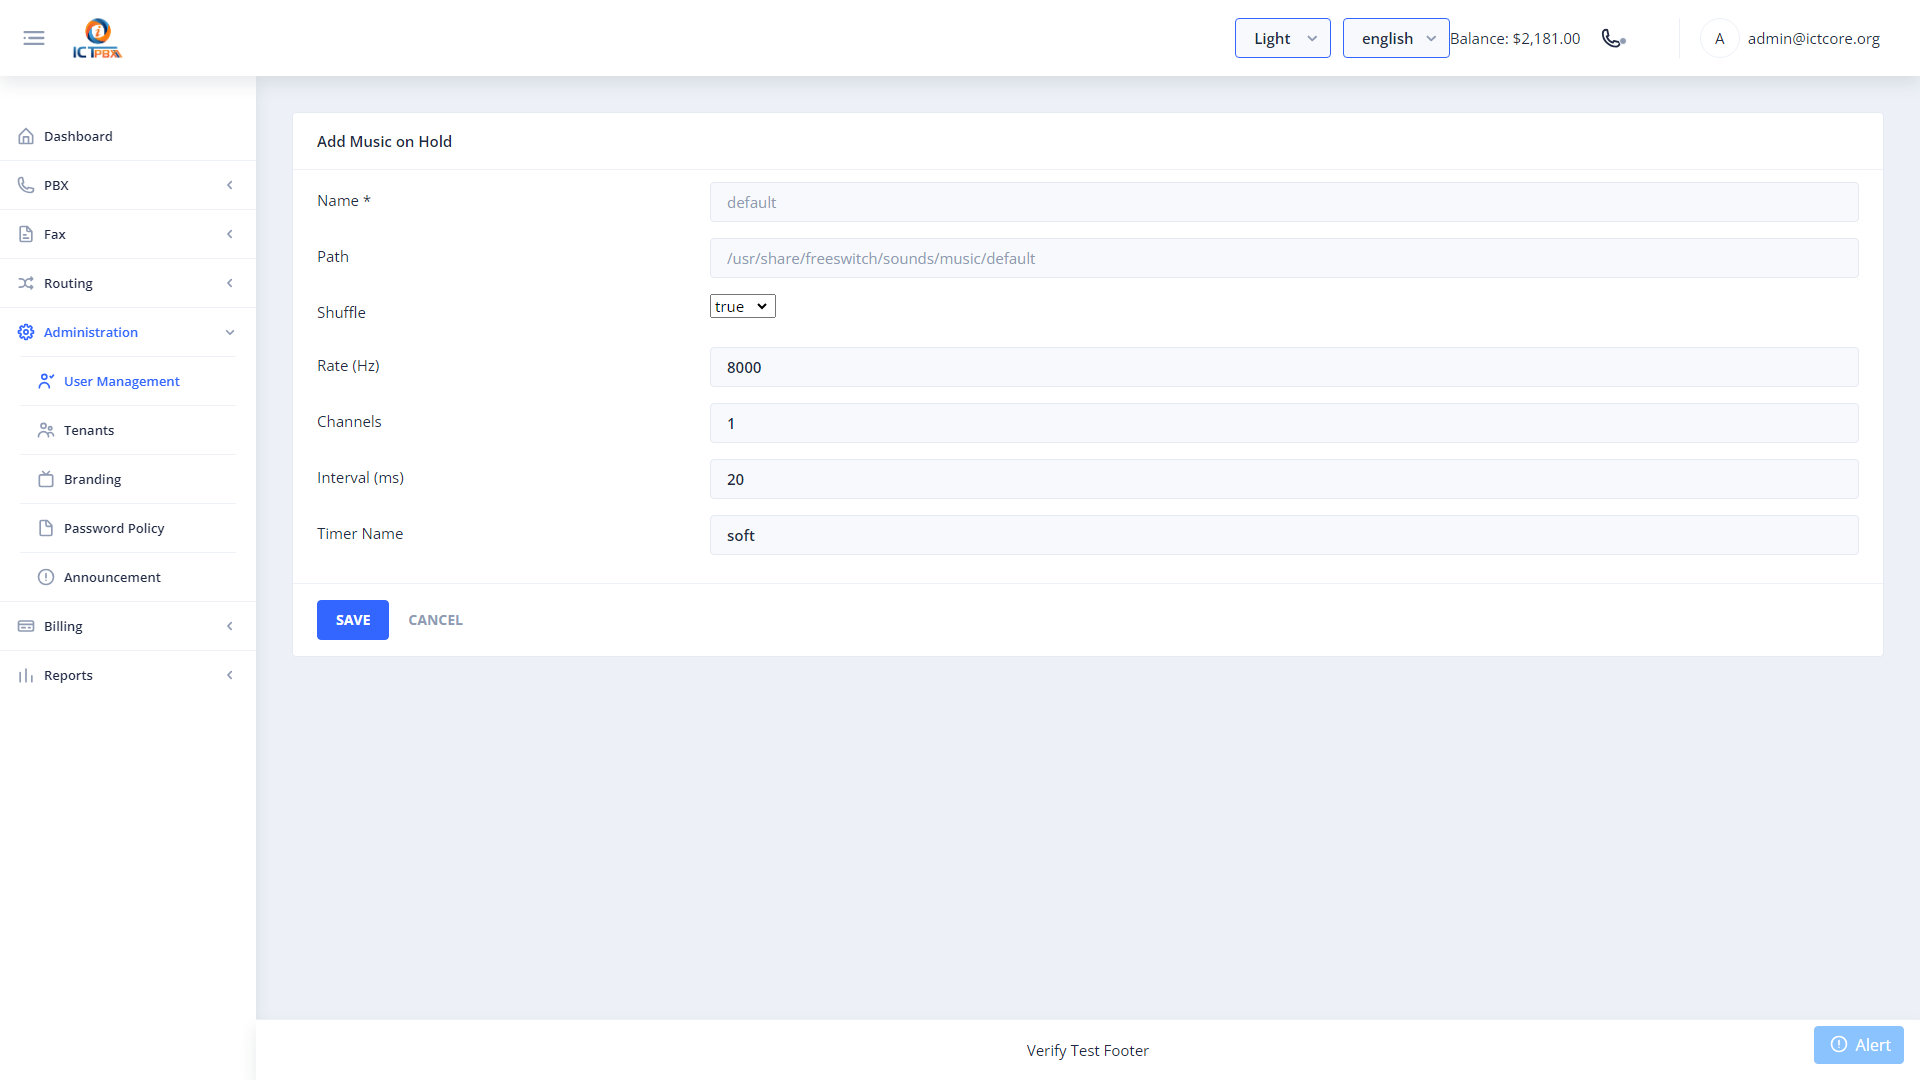
- Enter a Name for the MOH class.
- Upload an audio file (MP3 or WAV recommended).
- Click Save.
Assign the MOH class to call queues or ring groups from their respective edit forms.
17. Feature Codes
Navigate to PBX → Feature Codes for a read-only reference of all FreeSWITCH star codes available in the system.
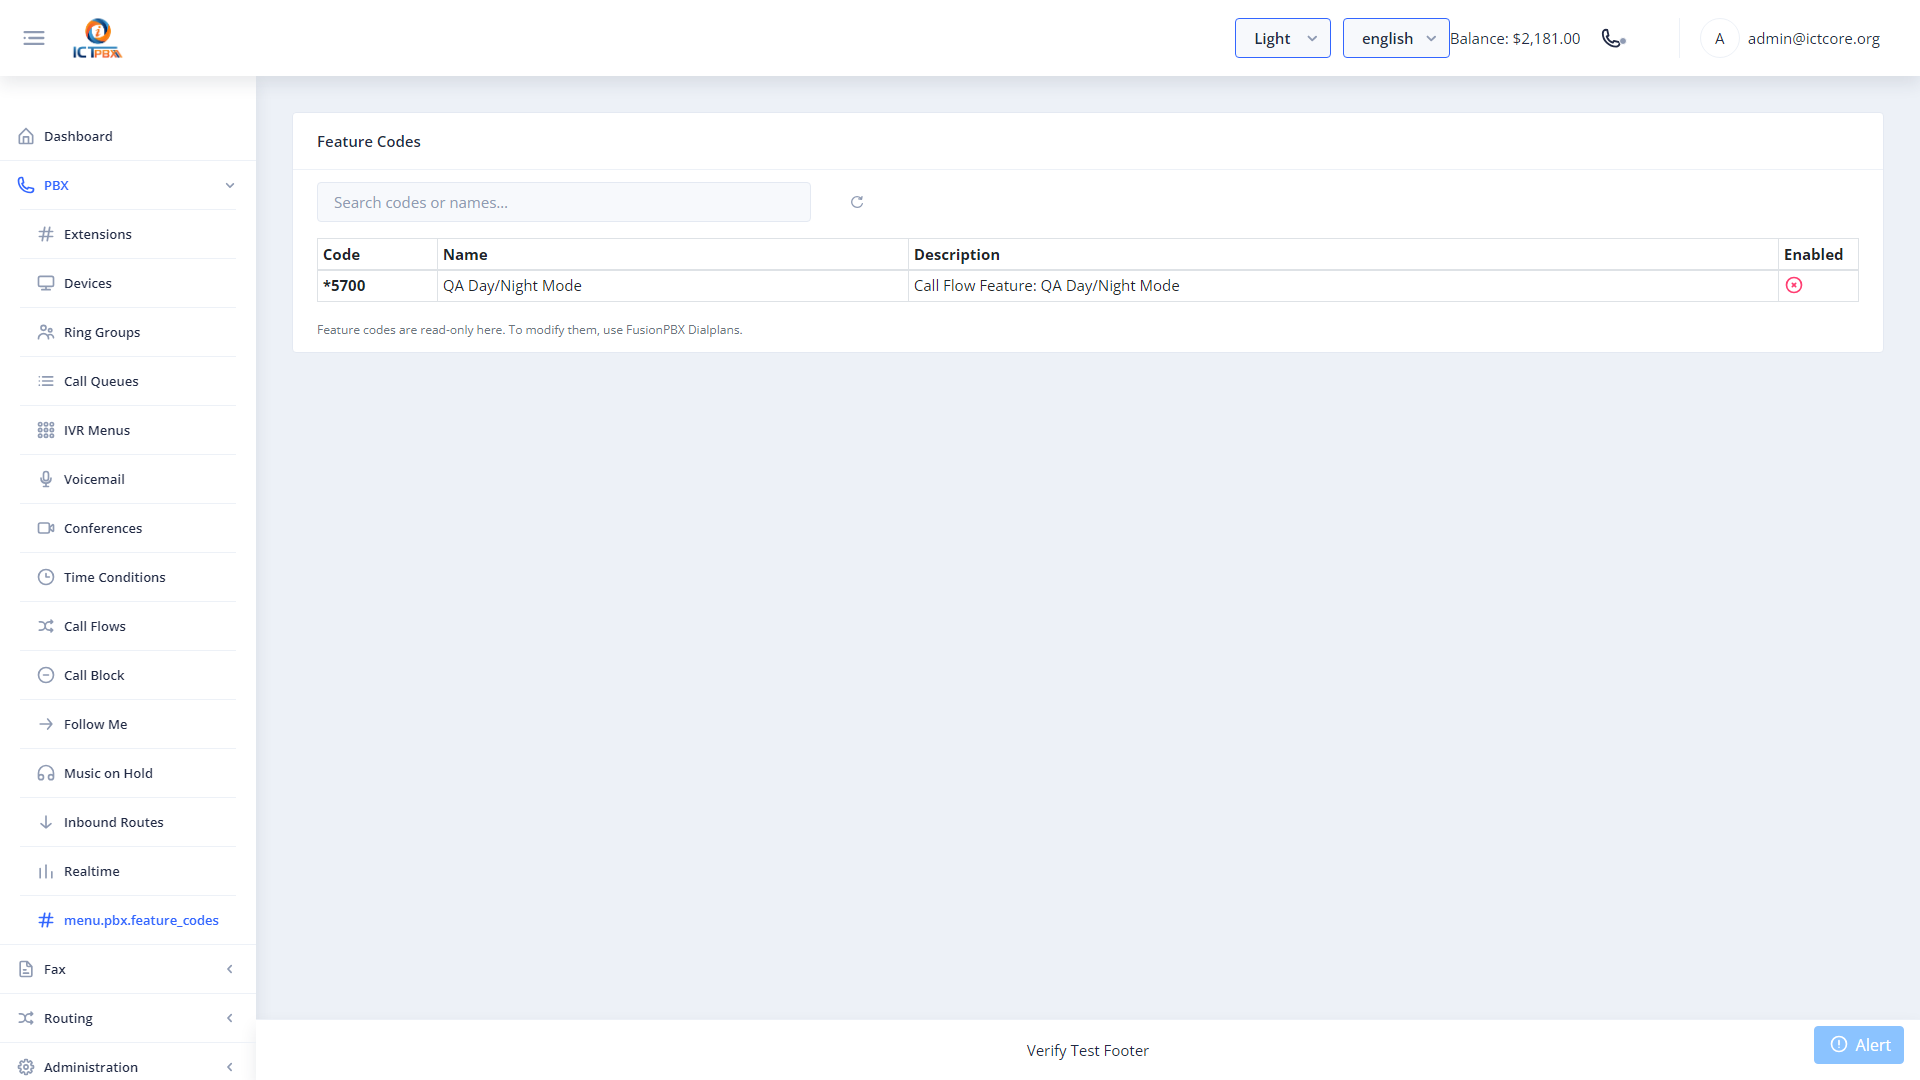
Share this list with users so they can use features from their desk phones or softphone dialpad.
18. SIP Trunks / Gateways
SIP trunks connect ICTPBX to the PSTN via a SIP provider, enabling inbound and outbound calls to regular phone numbers.
Navigate to Routing → Gateways.
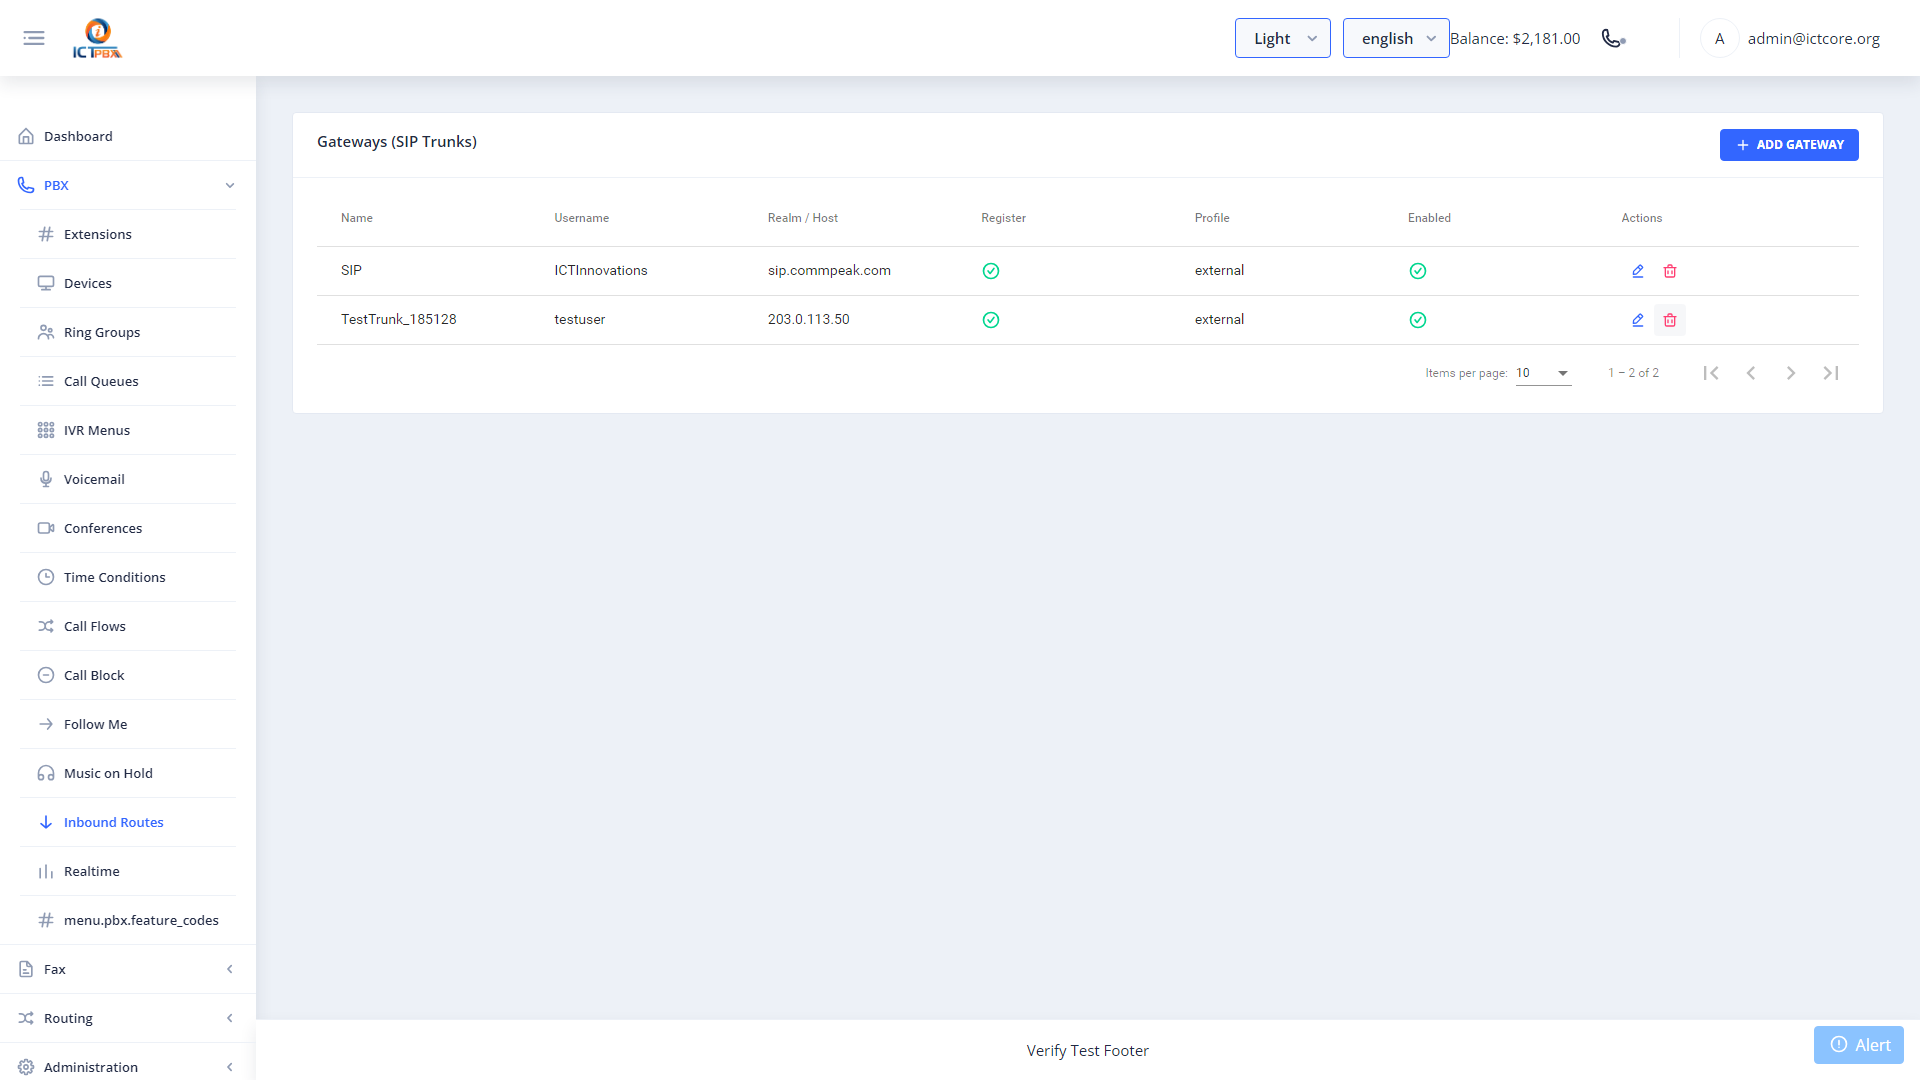
18.1 Adding a SIP Trunk
- Click New.

- Click Save. The gateway is registered with FreeSWITCH immediately.
You can also manage providers (which map to gateways) via Routing → Providers:
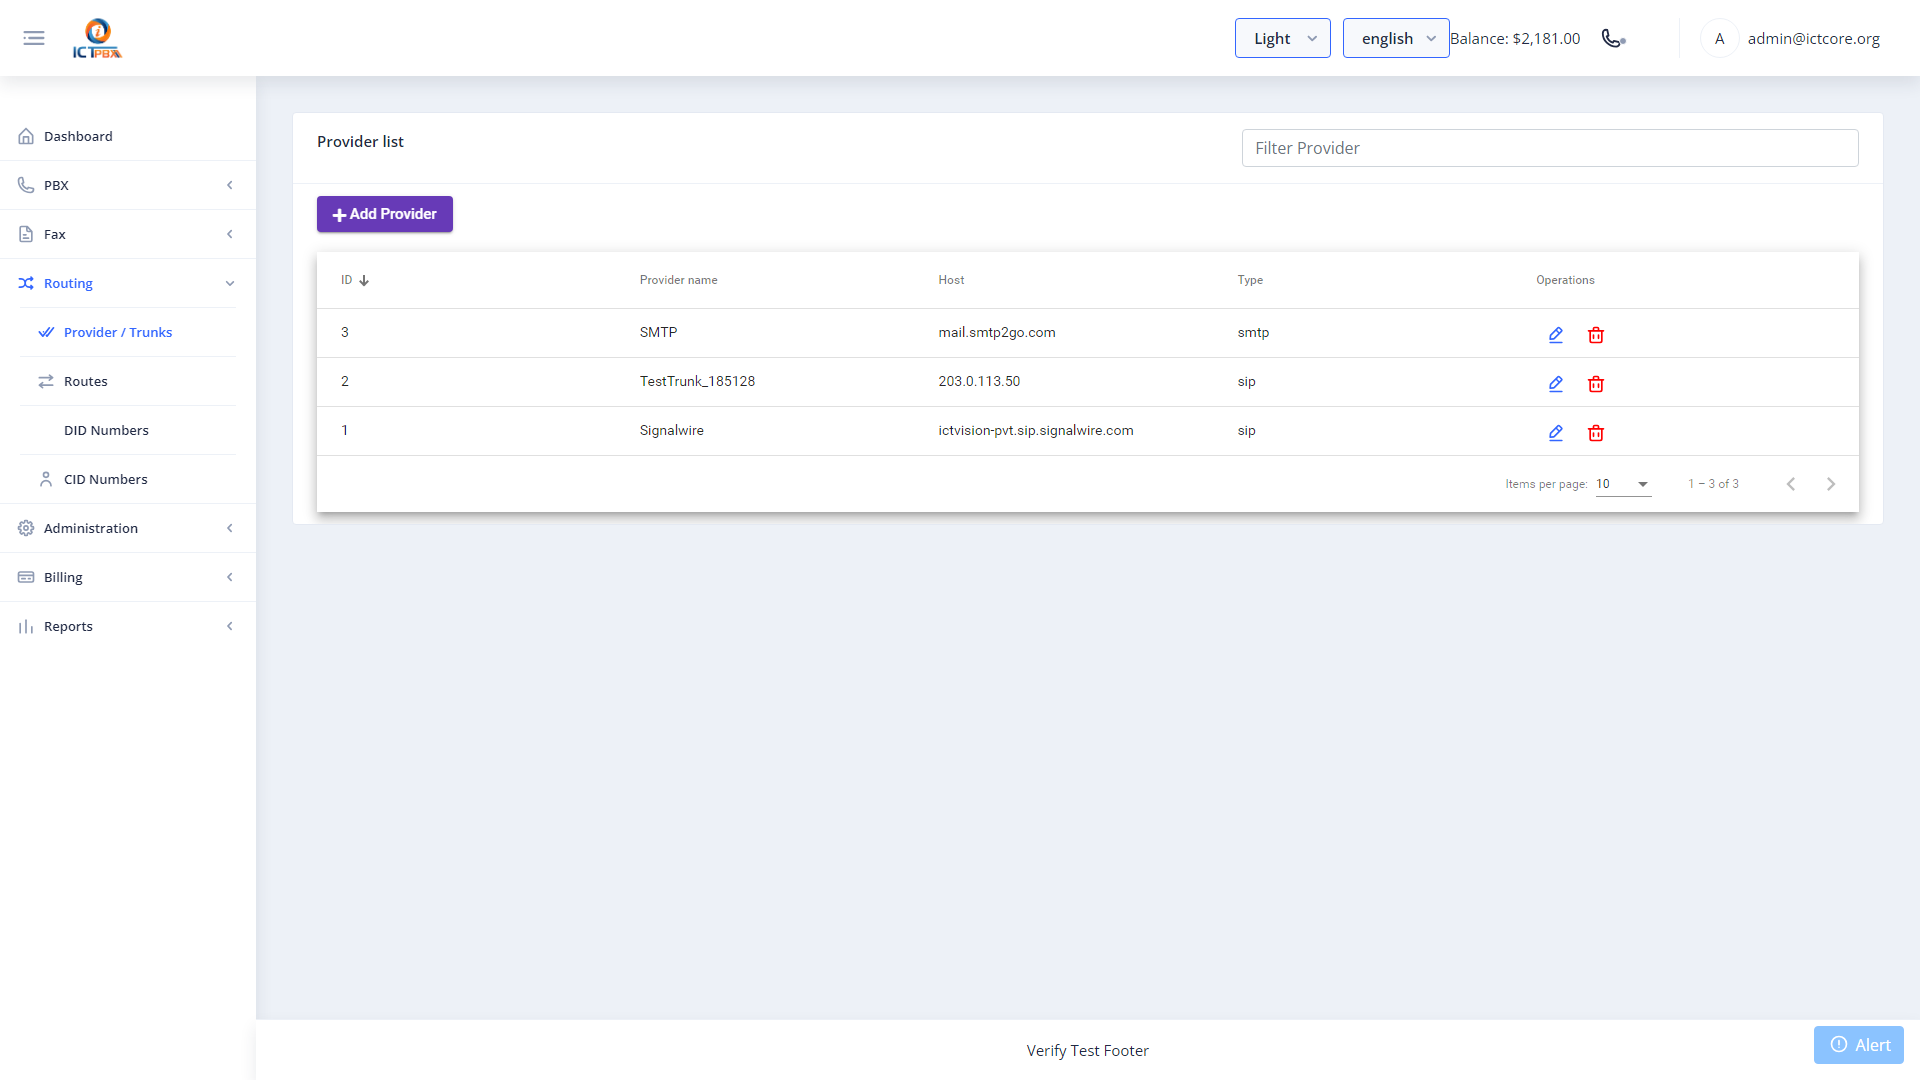
18A. Outbound Routes
Outbound routes decide which trunk carries a call or fax to a given destination. When a user dials out, ICTPBX matches the number against your routes and hands the traffic to the provider you mapped for that region. This lets you send domestic traffic over one carrier and international over another, or keep voice and fax on separate trunks.
Navigate to Routing › Routes.
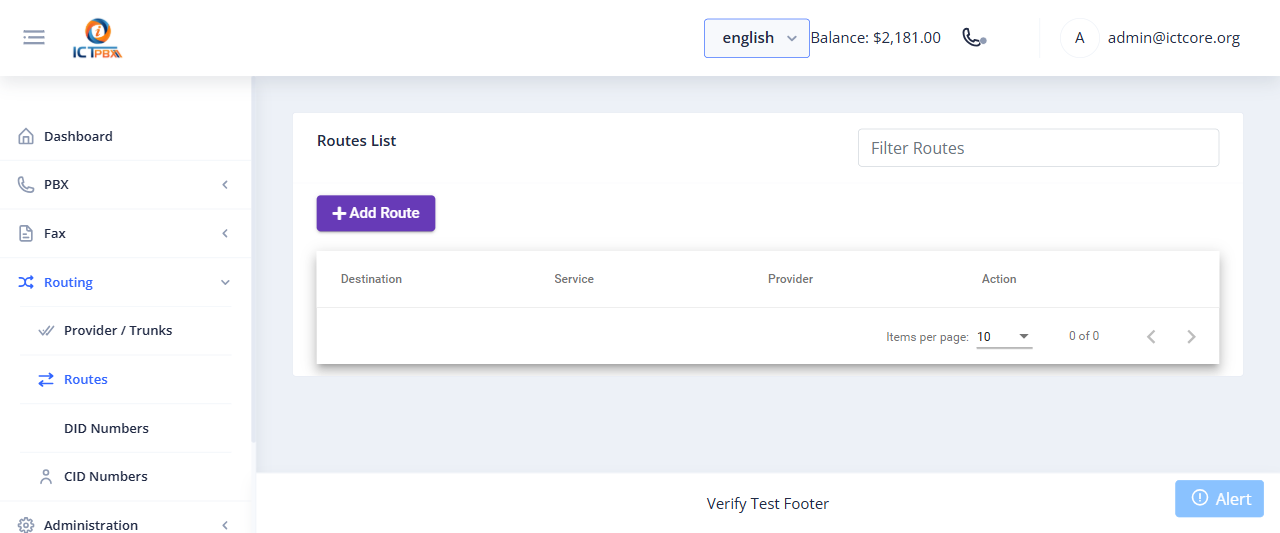
18A.1 Adding a Route
- Click Add Route.
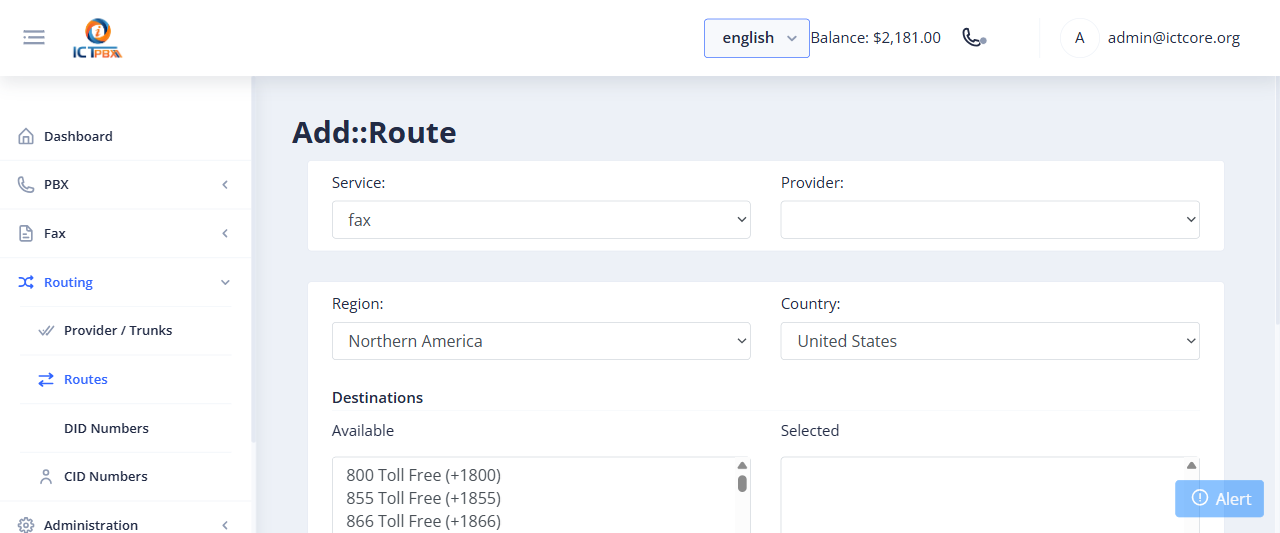
- Click Submit.
19. DID Number Management
DIDs are phone numbers assigned to the system and routed to tenant extensions.
Navigate to Routing → DIDs.
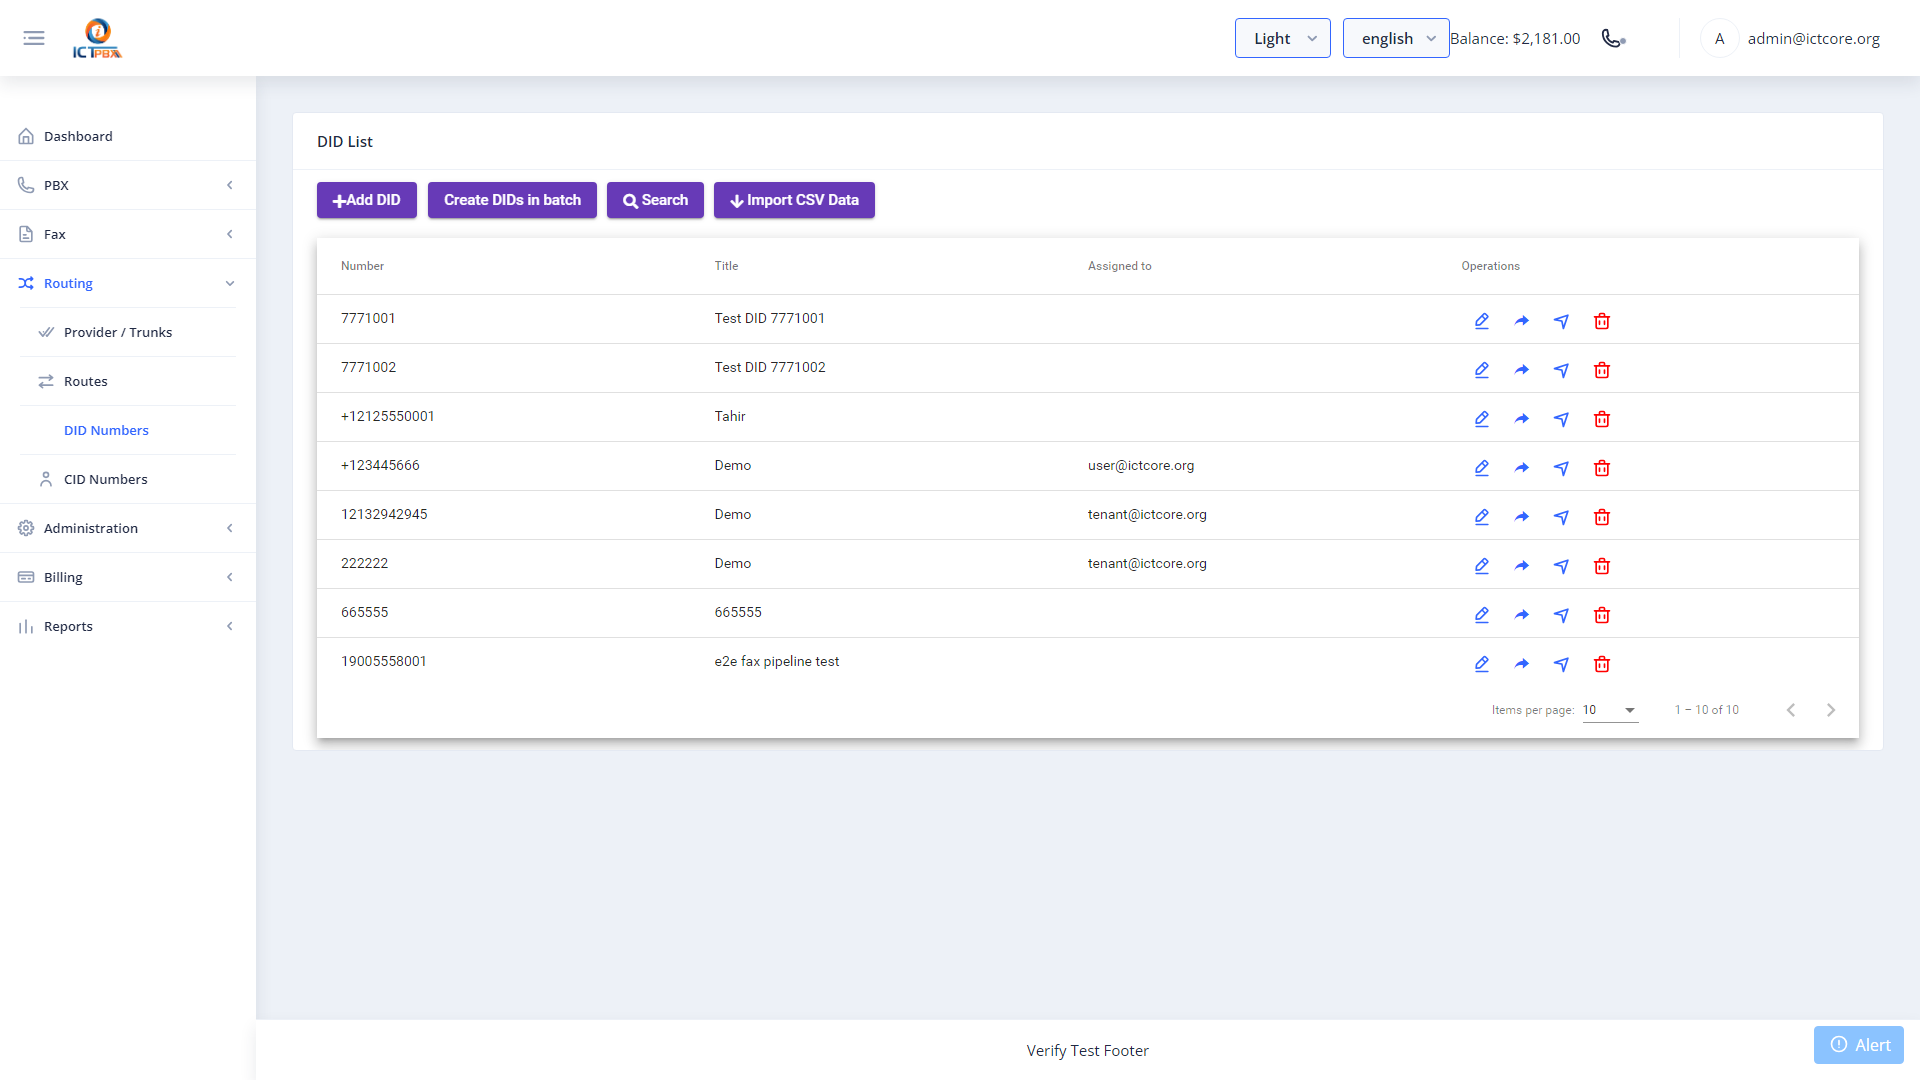
19.1 Adding a DID
- Click New.
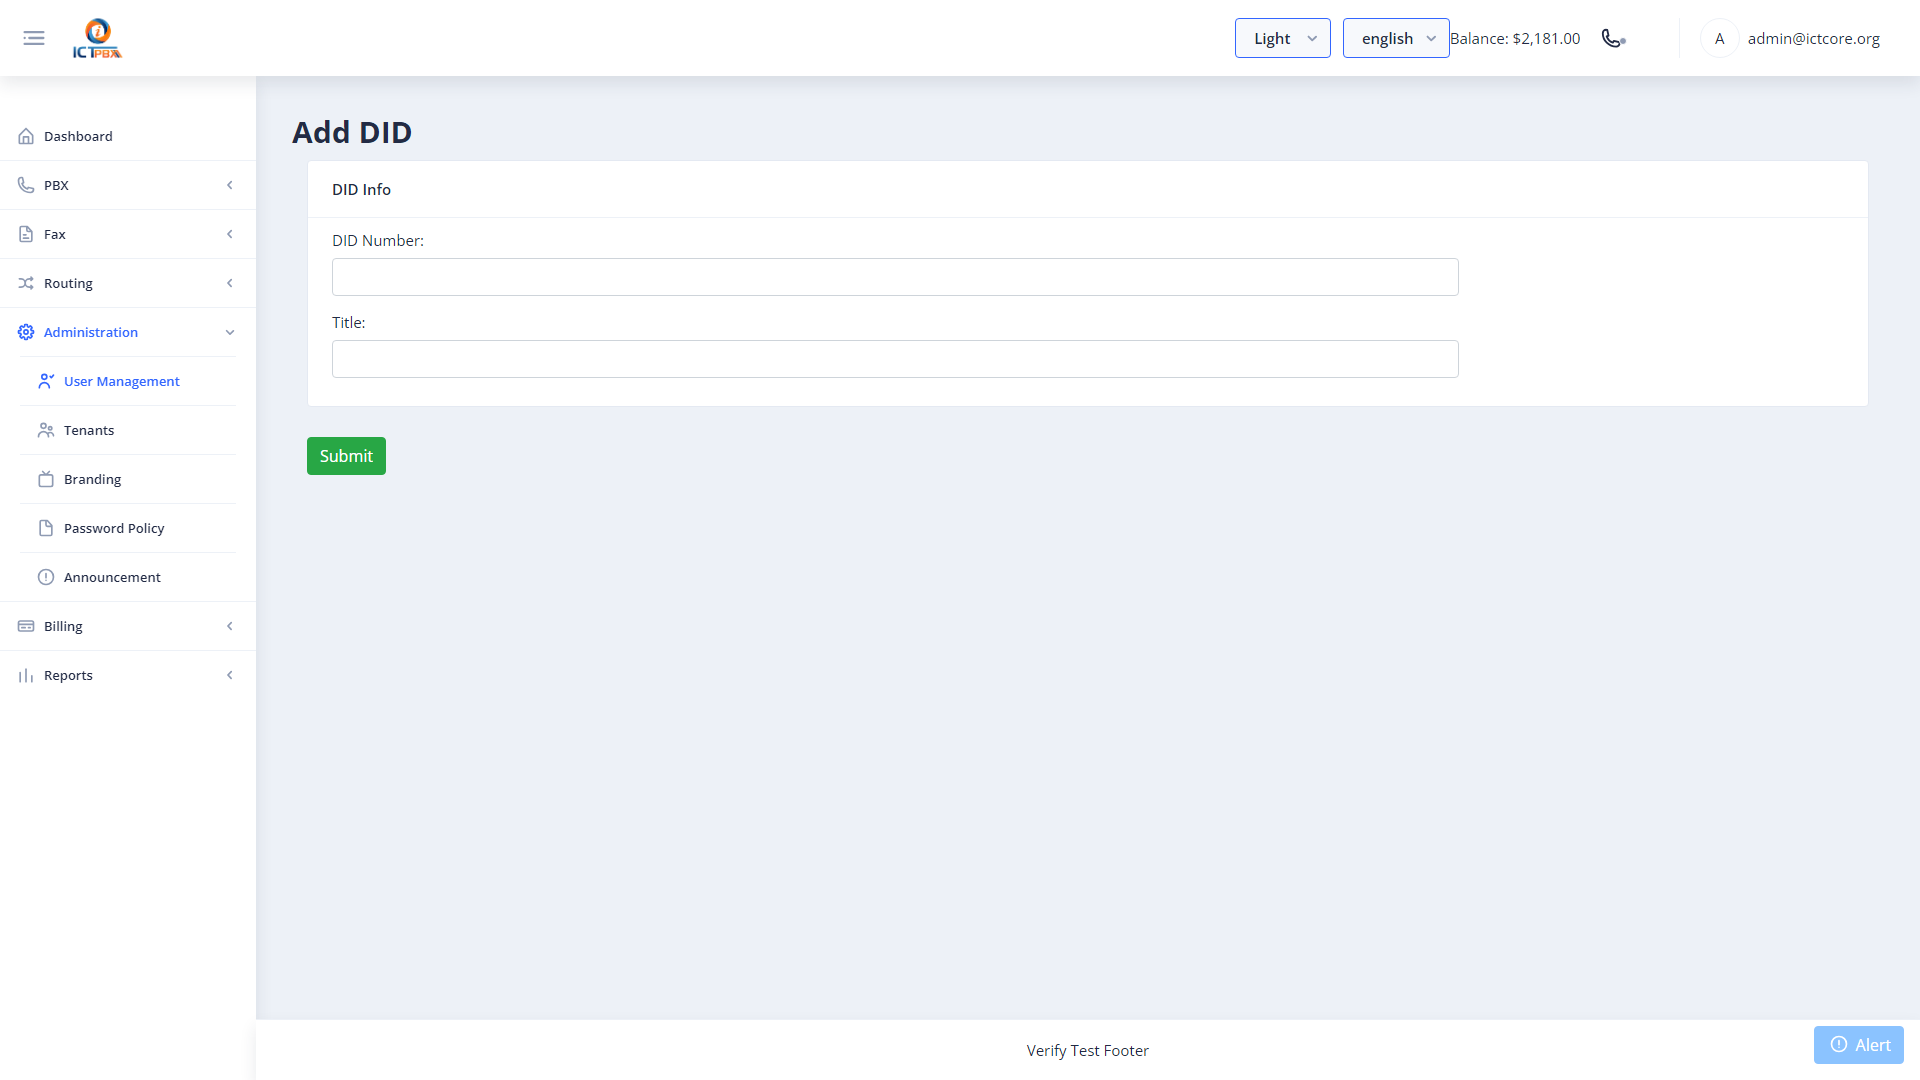
- Click Save.
- Then create an Inbound Route (Section 12) to map this DID to a destination.
20. Fax Management
20.1 Sending a Fax
Navigate to Fax → Send Fax.
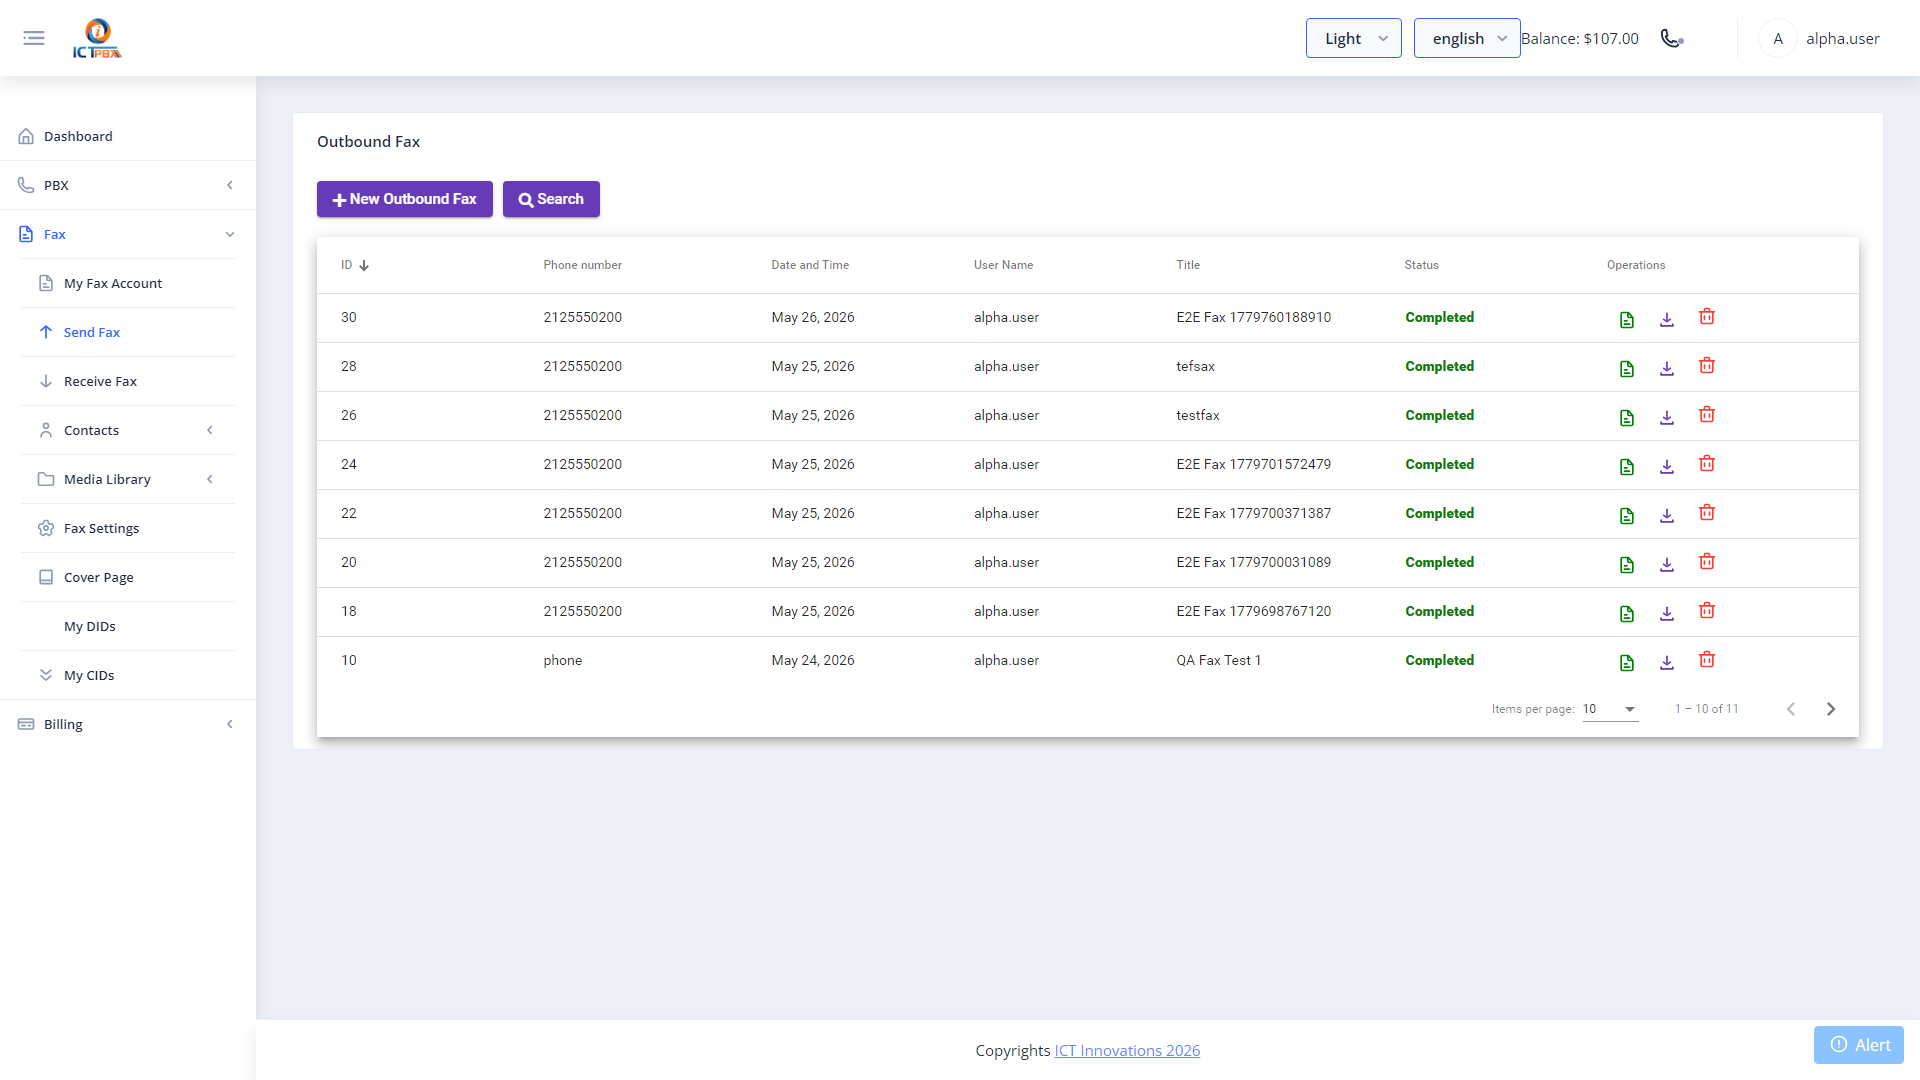
- Enter the recipient fax number.
- Select a cover page template (optional).
- Upload the PDF document.
- Click Send Fax.
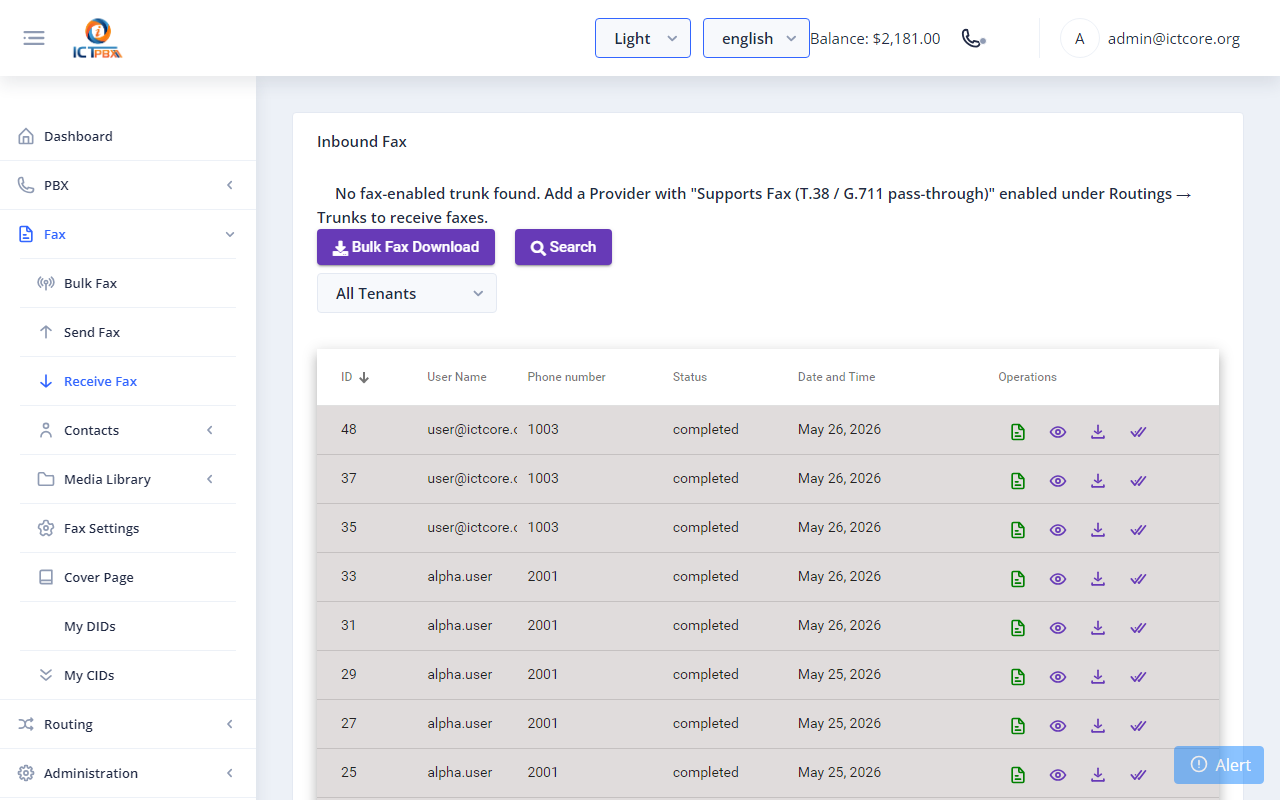
20.2 Inbound Fax Log
Navigate to Fax → Inbound Fax to see all received faxes across all tenants.
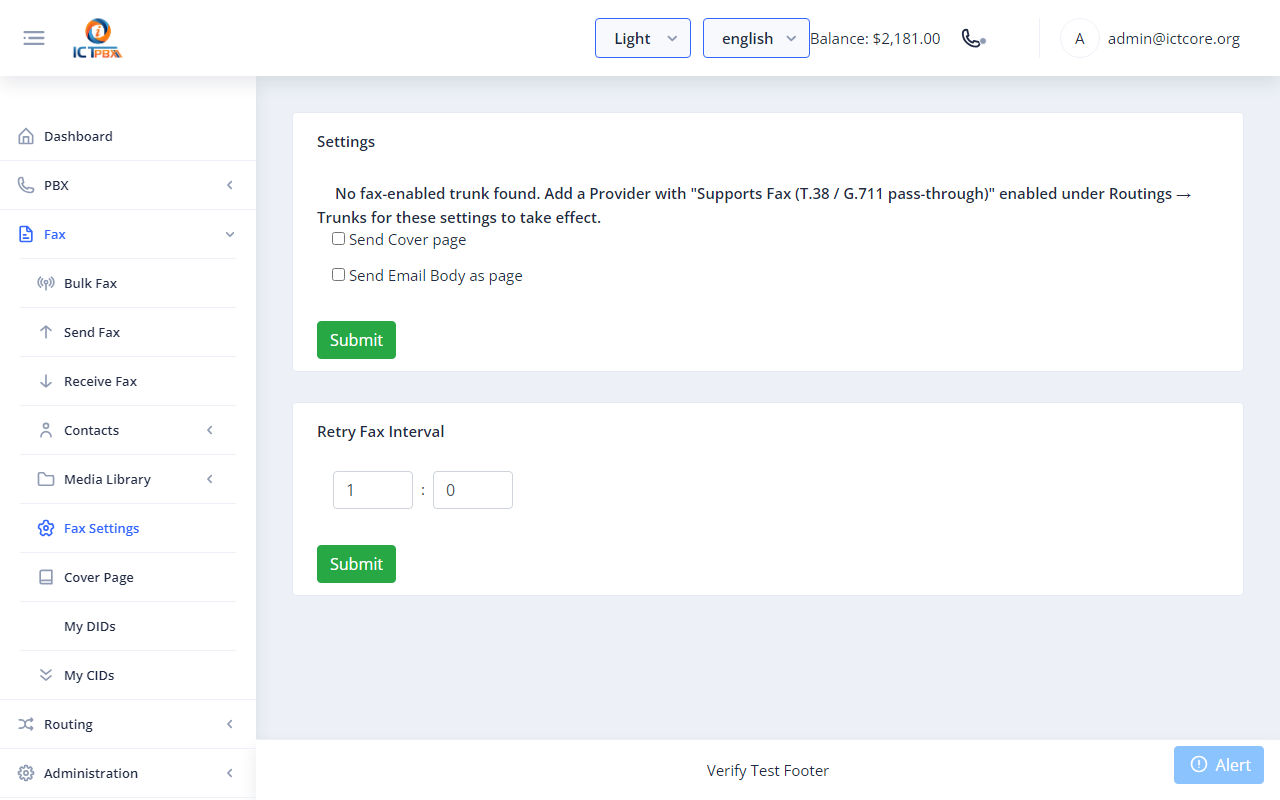
20.3 Fax Settings
Navigate to Fax → Fax Settings to configure global fax parameters — outbound caller ID, fax header, ECM mode, and retry count.
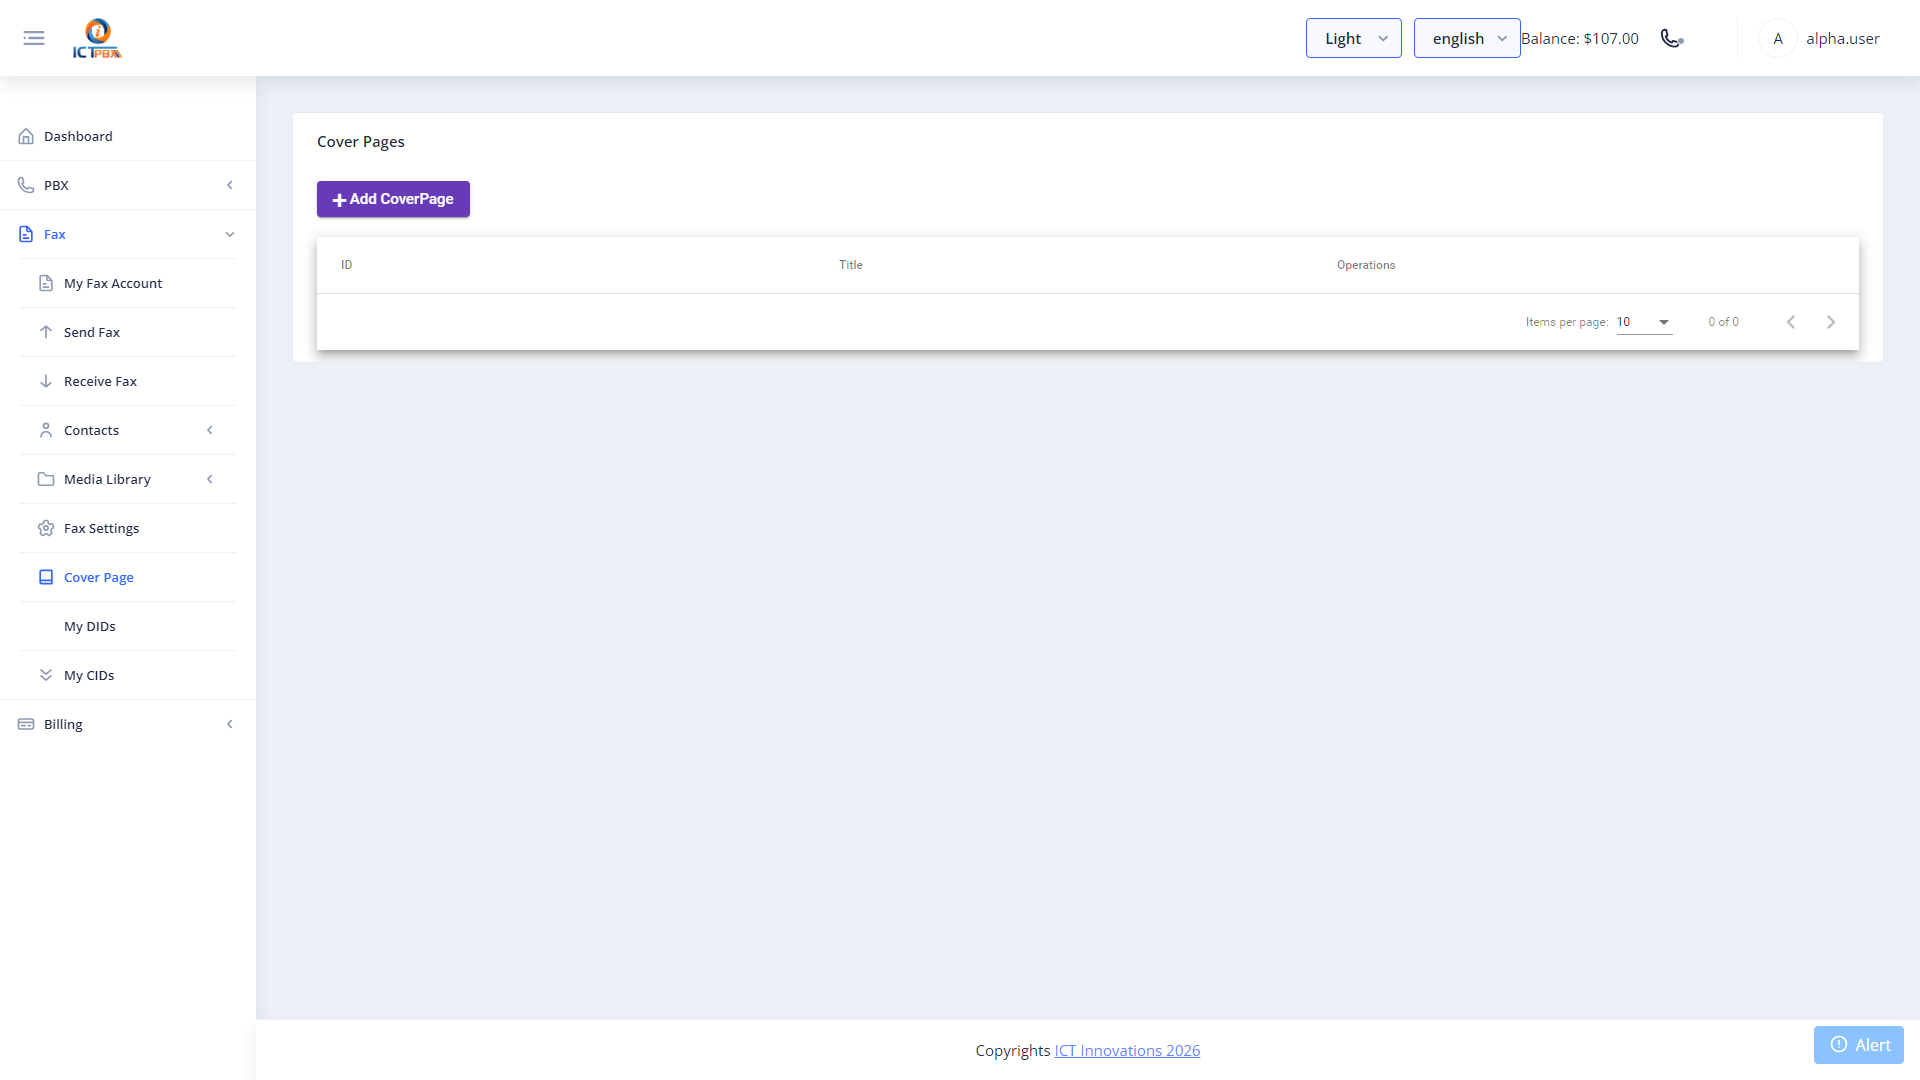
20.4 Cover Pages
Navigate to Fax → Cover Pages to manage reusable cover page templates.
20A. Bulk Fax Campaigns
Bulk fax lets you send one document to a whole list of recipients in a single run. You pick a fax document, point it at a contact group, and the platform dials each number for you, retrying failures and tracking delivery as it goes.
Navigate to Fax › Bulk Fax.
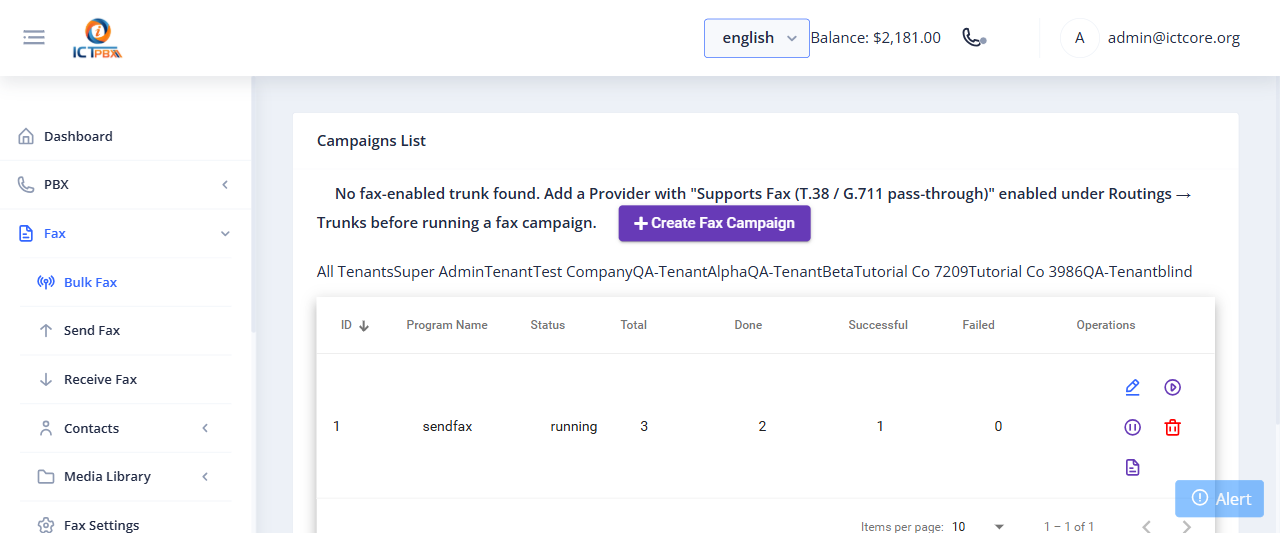
The campaign list shows the Program Name, current Status, and live counters for Total, Done, Successful, and Failed recipients. The action buttons on each row let you view the detail report, pause, resume, or stop a running campaign.
20A.1 Creating a Campaign
- Click Create Fax Campaign.
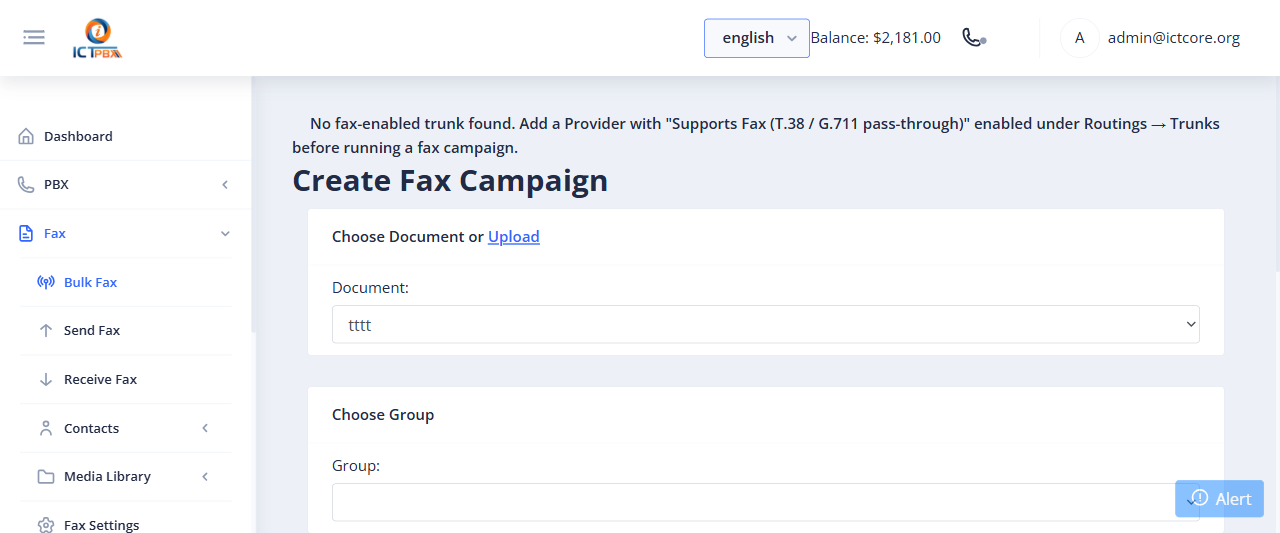
- Click Submit. The campaign starts and its progress updates on the list.
20B. Fax Contacts, Groups & DNC
Contacts are the address book behind your faxes. Build groups of recipients, import them in bulk from a CSV, and keep a do-not-contact list so you never fax a number that has opted out.
20B.1 Contacts
Navigate to Fax › Contacts › Contacts.
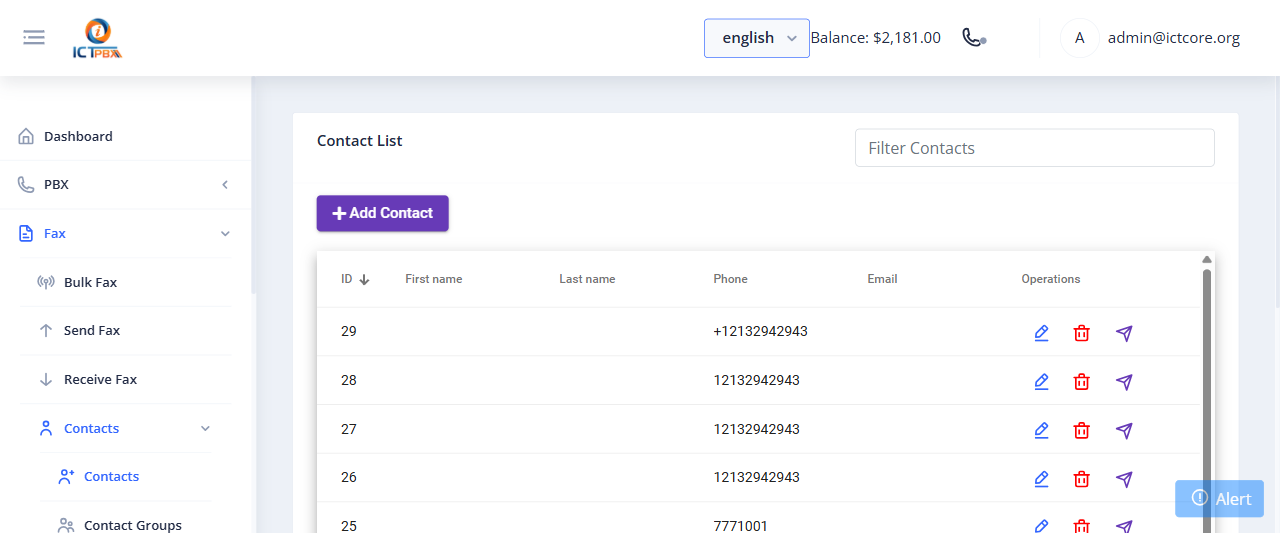
The contact list shows every saved recipient with their name, phone, and email. Use Add Contact to create one, or the filter box to find an existing entry. Each row has edit and delete actions.
20B.2 Contact Groups
Navigate to Fax › Contacts › Contact Groups.
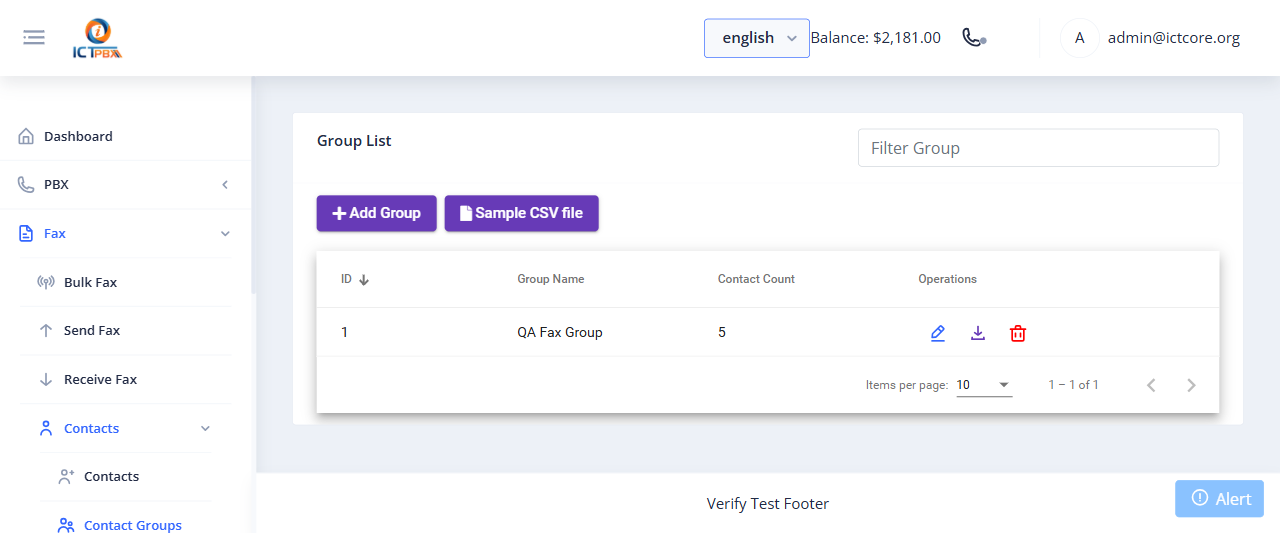
Groups bundle contacts together so a bulk fax can target them in one shot. The list shows each group name and its contact count. Click Add Group to create one. To load many recipients at once, download the Sample CSV file, fill it in, and import it.
20B.3 Contact DNC
Navigate to Fax › Contacts › Contact DNC.
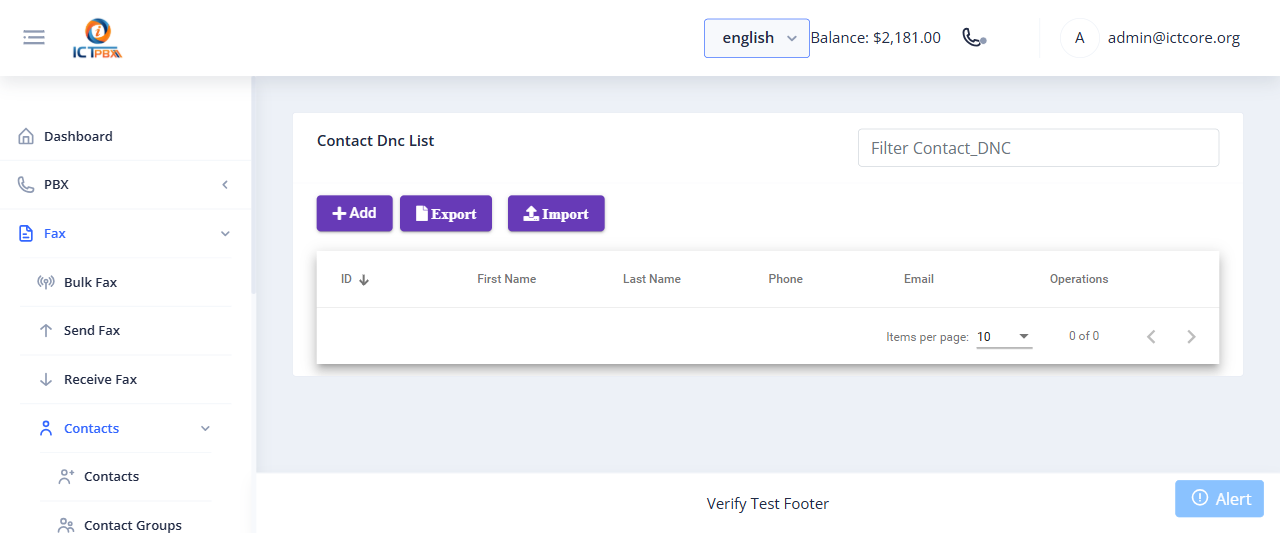
The Do Not Contact list holds numbers that must be excluded from fax campaigns. Add entries with Add, use Import to upload a suppression list, and Export to download the current one. Numbers on this list are skipped when a campaign runs.
21. WebRTC Softphone
The softphone is available from any page via the phone icon in the header.
- Click the ☎ icon in the top-right header.
- Go to Settings tab — enter Extension, Password, Domain, WebSocket URL.
- Click Save — the green dot confirms registration.
- Use the Dialer tab to make calls.
Call controls: Hold · Unhold · Transfer · Mute · DTMF · Hangup
22. Realtime Channel Monitor
Navigate to Realtime from the sidebar for a live view of all active calls.
Each active channel shows: Caller ID, destination, duration, codec, and UUID.
Live controls:
- Hangup — Terminate a specific call.
- Hold — Place a call on hold.
- Transfer — Move a call to another destination.

23. Billing Management
23.1 Rate Plans
Navigate to Billing → Rates to define per-minute and per-page pricing.
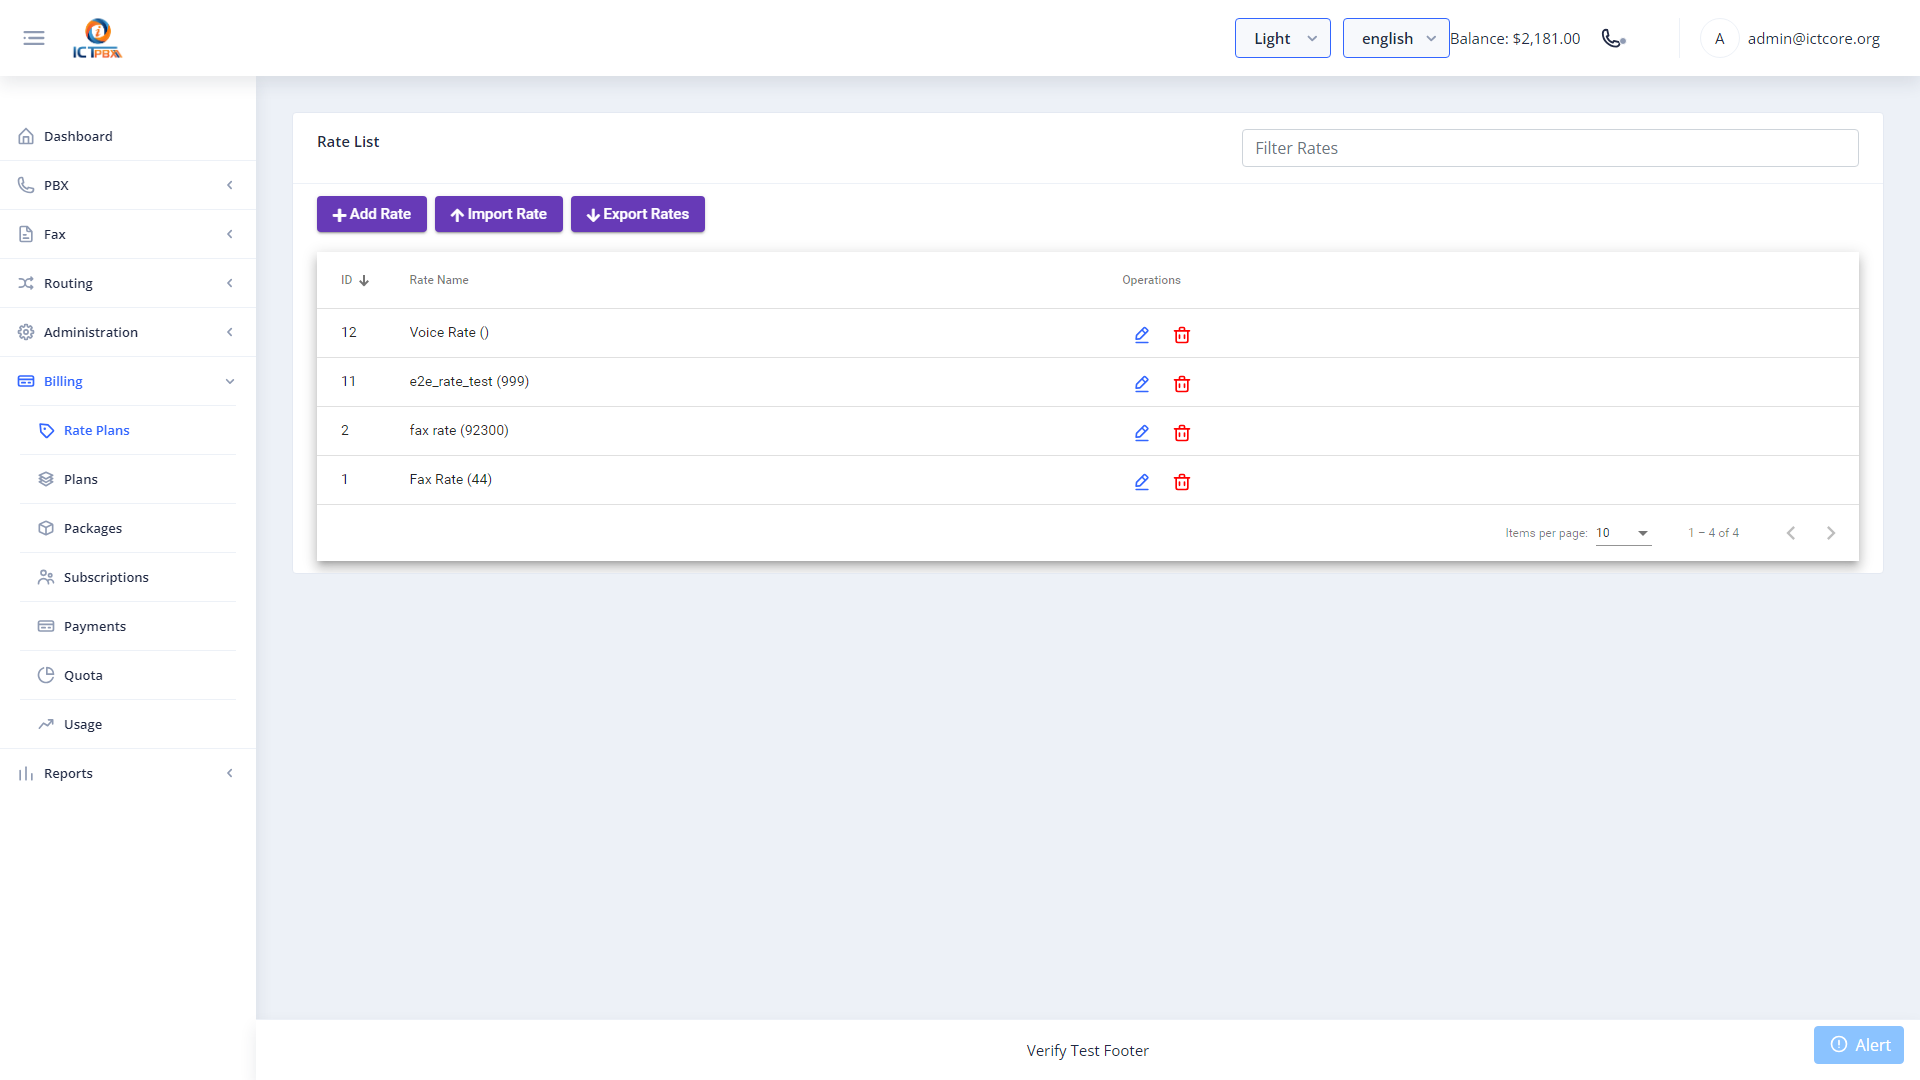
Create rates for voice (per-minute) and fax (per-page) that are applied when tenants exceed their package’s included free units.
23.2 Service Packages
Navigate to Billing → Packages to define tenant resource plans.
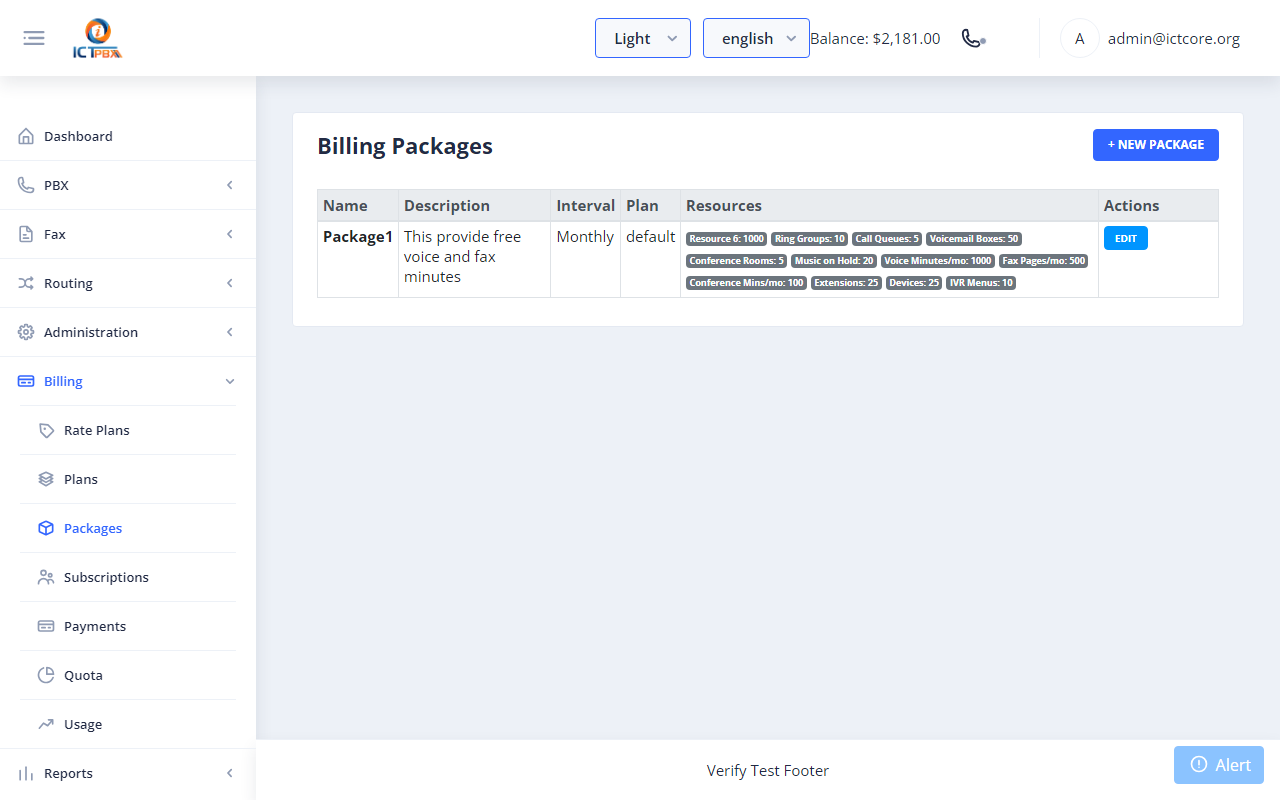
- Click New.

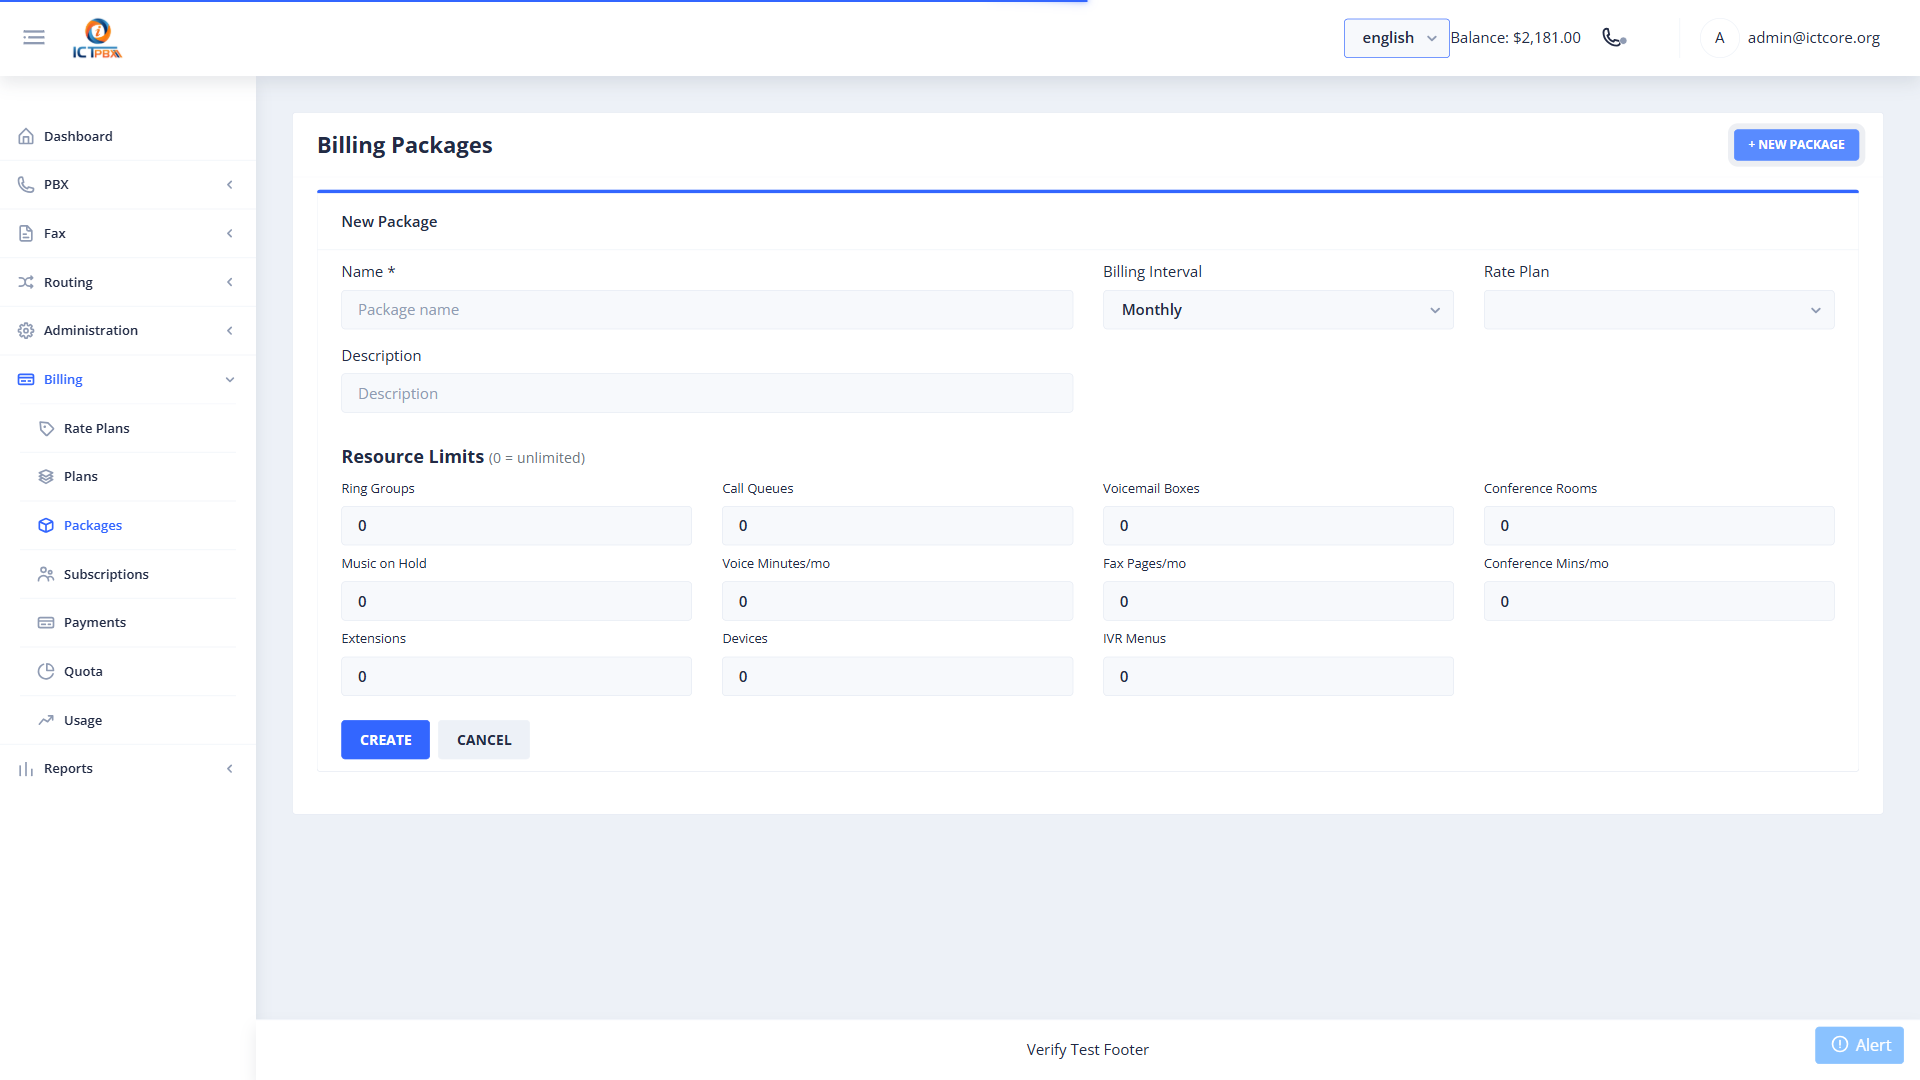
- Click Save.
23.3 Subscriptions
Navigate to Billing → Subscriptions to assign packages to tenants.
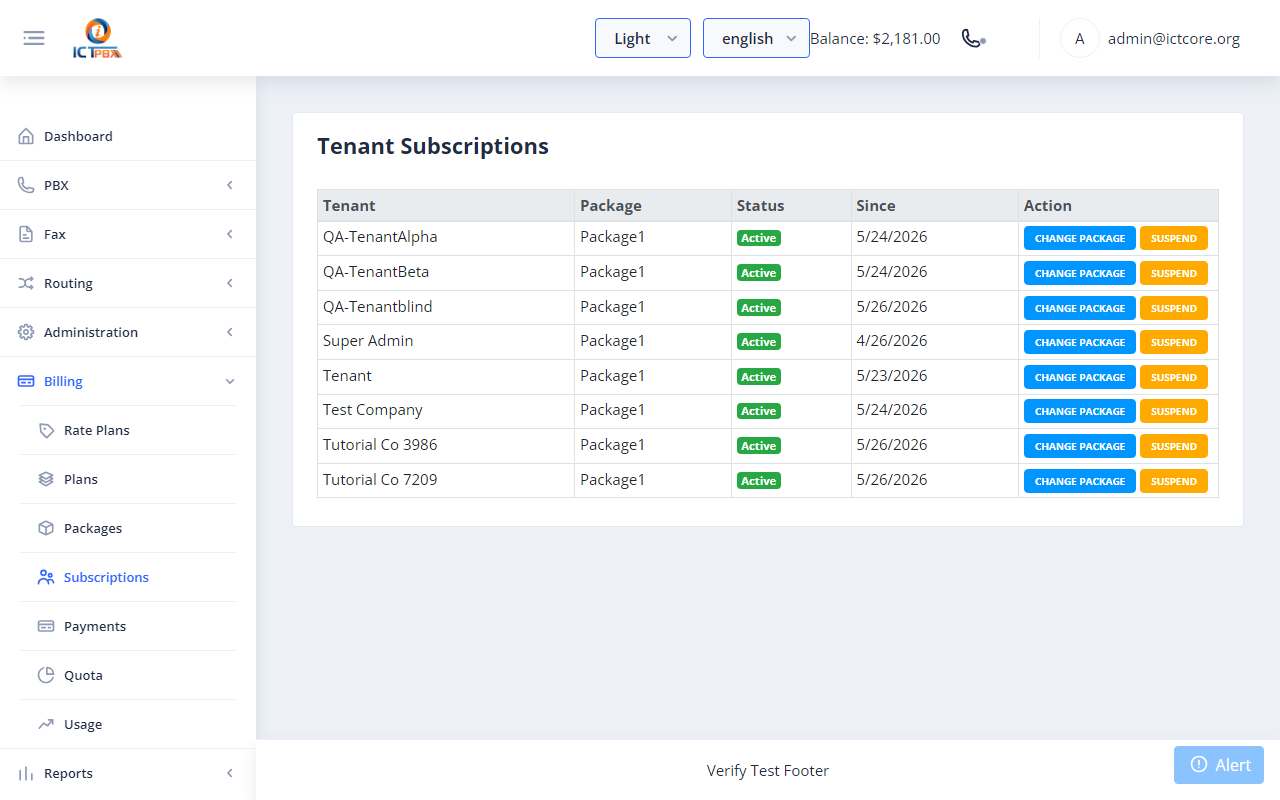
- Find the tenant row.
- Select a package from the dropdown.
- Click Assign. The old subscription is deactivated and resource quota rows are seeded from the new package instantly.
23.4 Payments (Credit Top-Up)
Navigate to Billing → Payments.
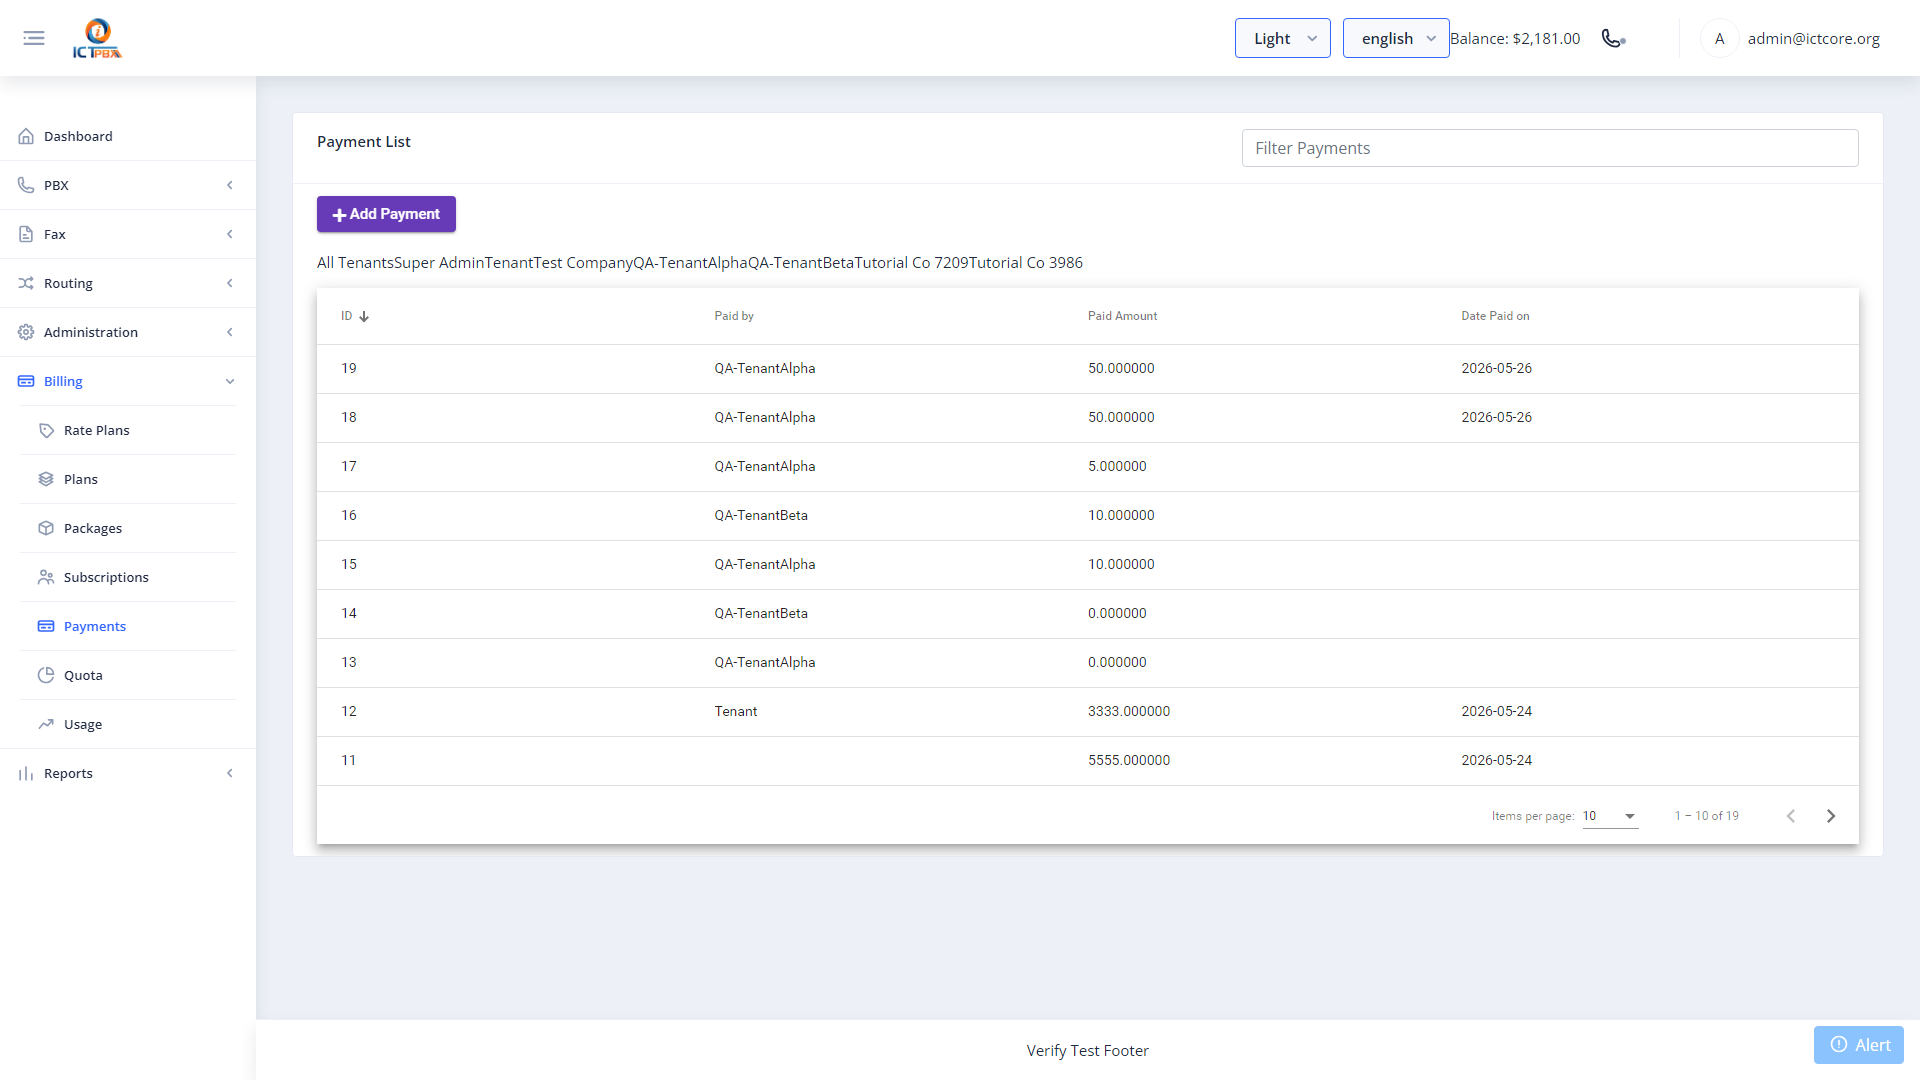
- Click New.
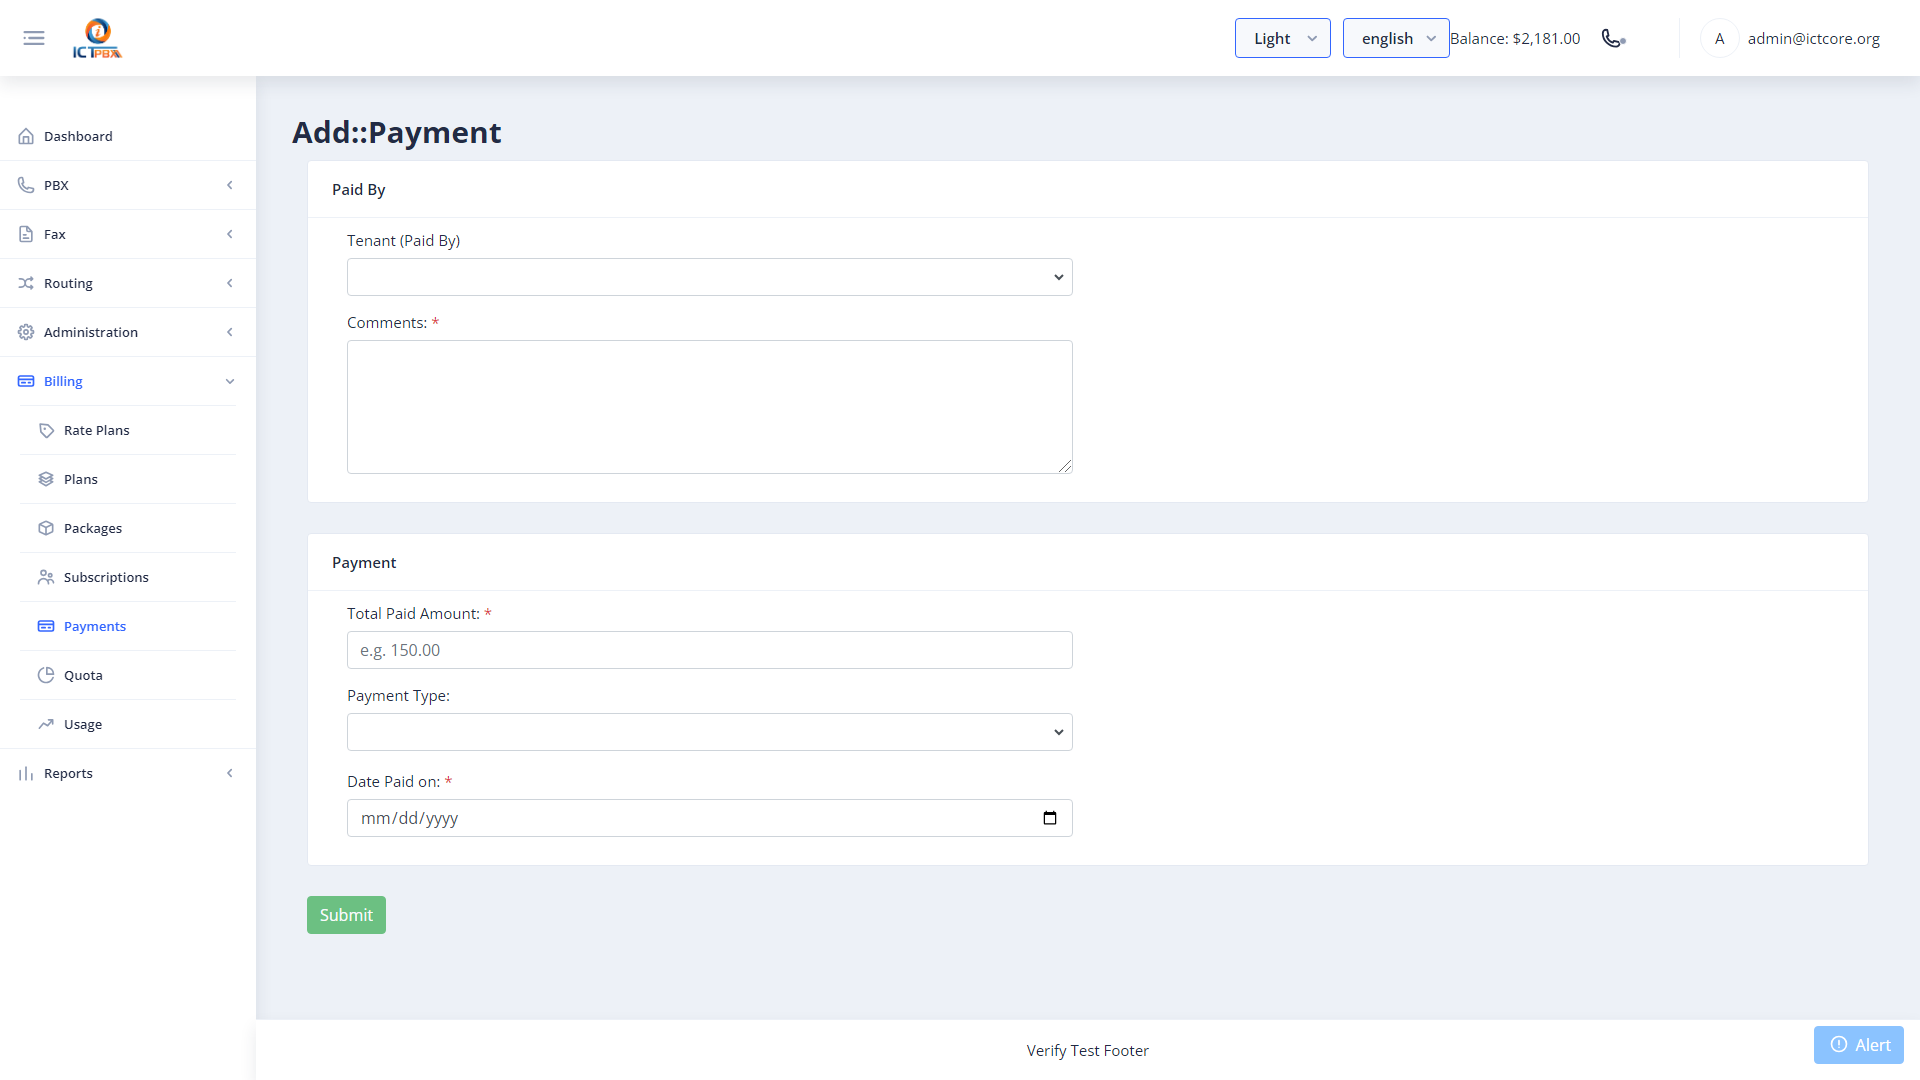
- Click Submit. The tenant’s credit balance is updated immediately.
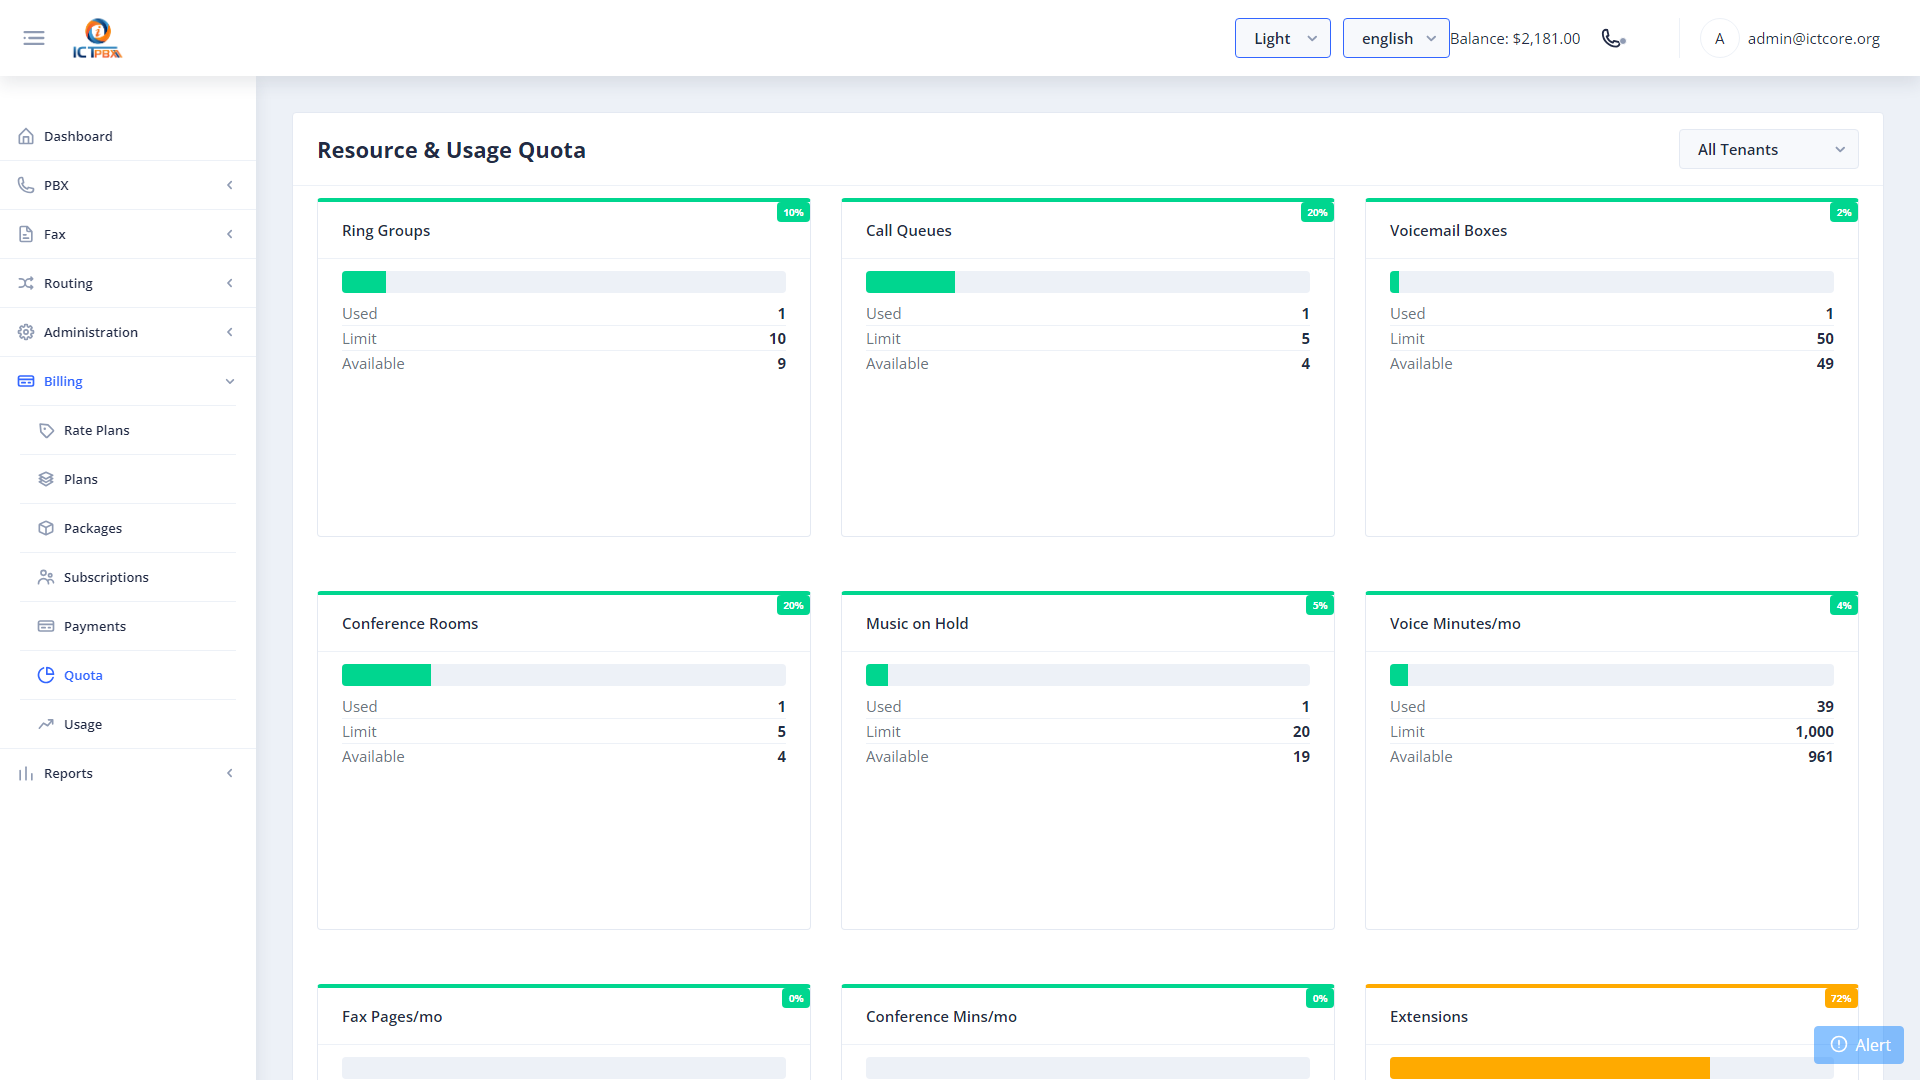
23.5 Billing Quota Dashboard
Navigate to Billing → Billing Quota to see system-wide quota usage.

24. Reports & CDR
24.1 ICTCore CDR
Navigate to Reports → CDR for call and fax transmission records.
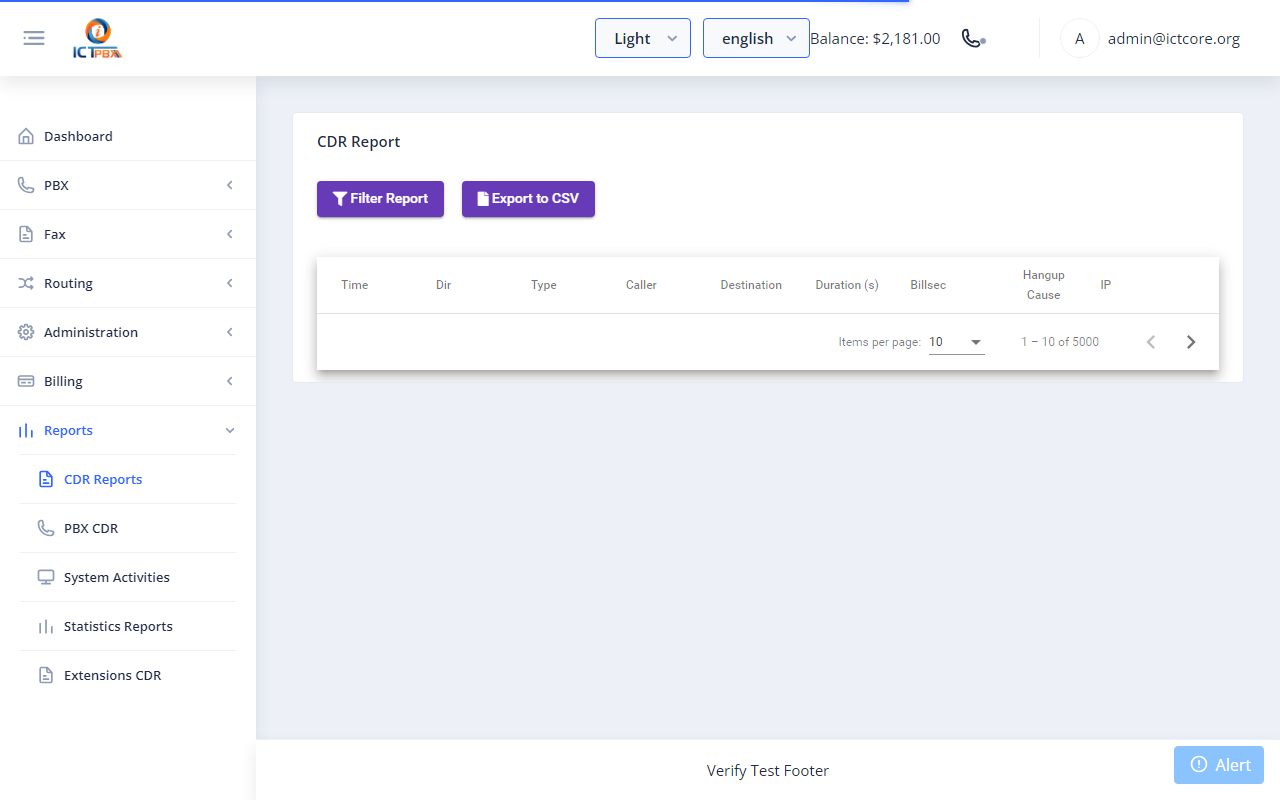
Filter by date range, tenant, user, and service type. Export data for billing reconciliation.
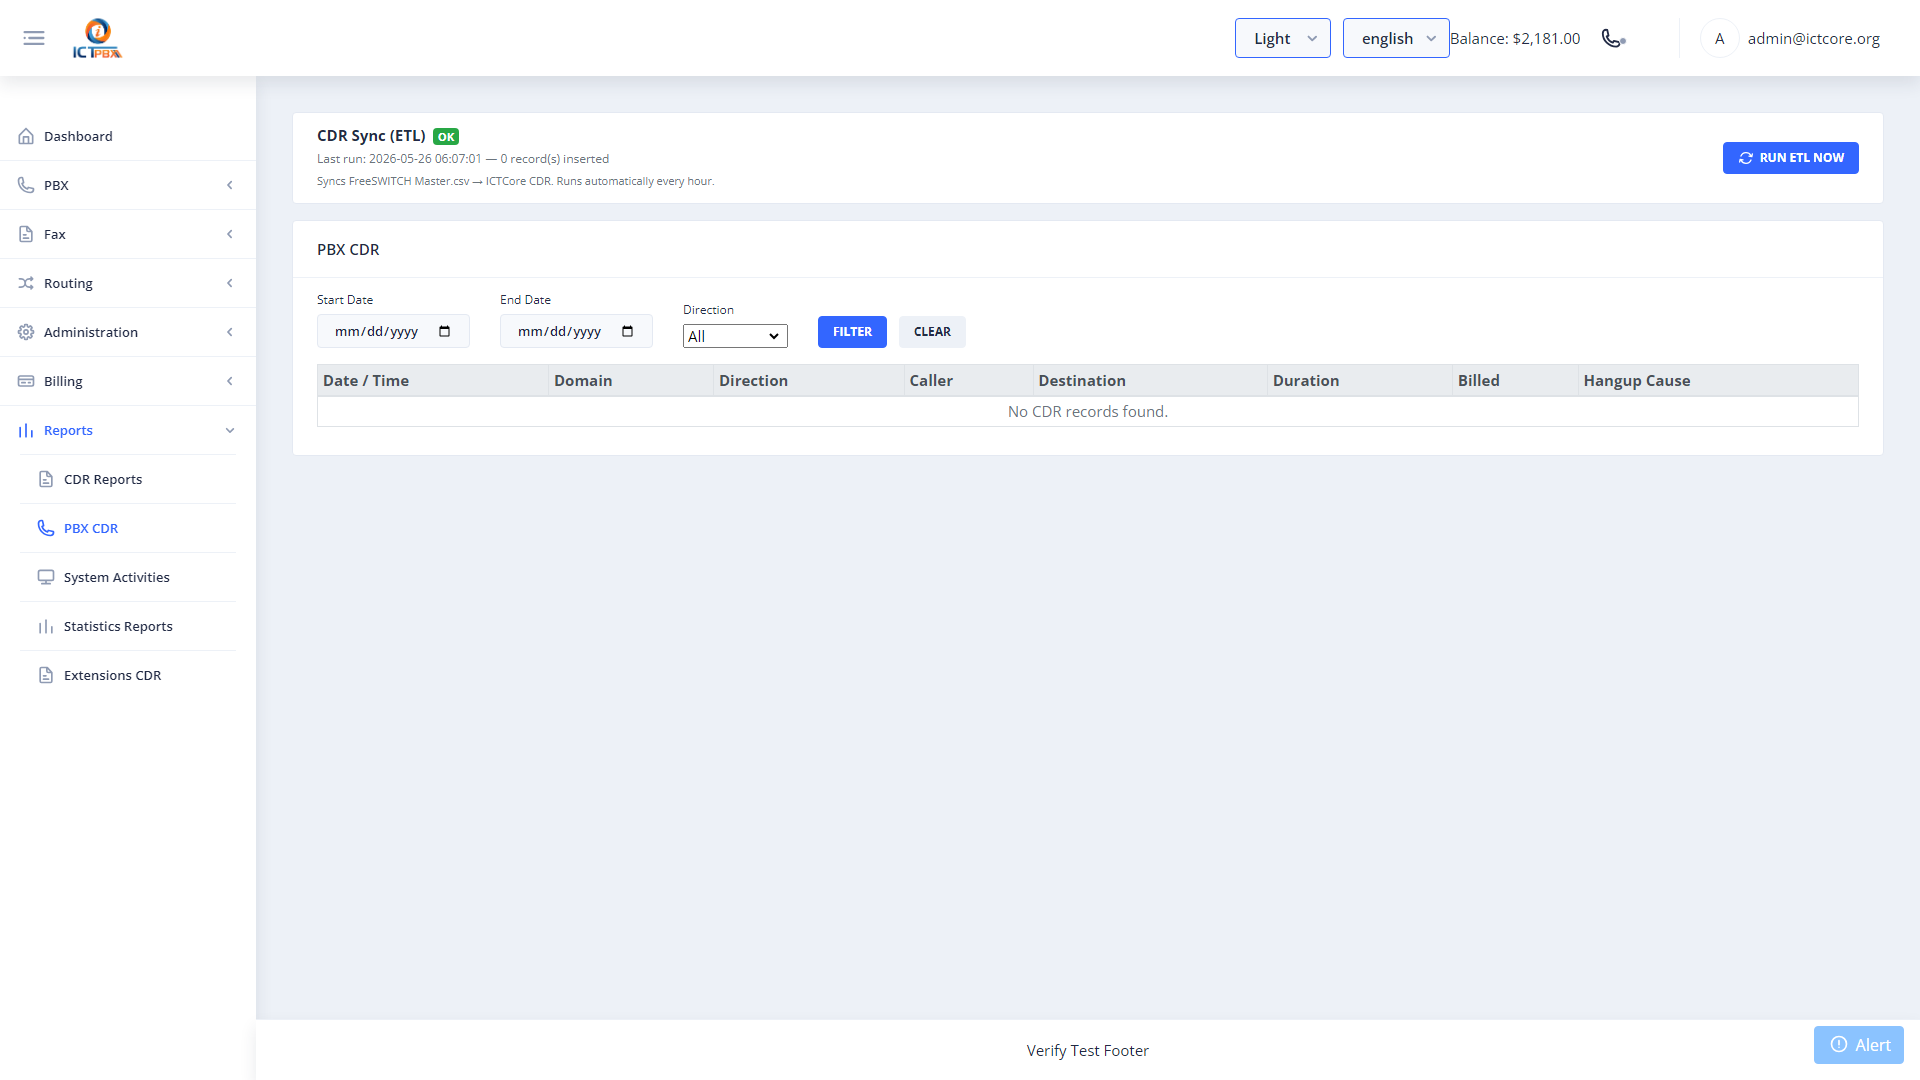
24.2 PBX CDR (FreeSWITCH)
Navigate to Reports → PBX CDR for FreeSWITCH-level records including codec, hangup cause, and recording links.
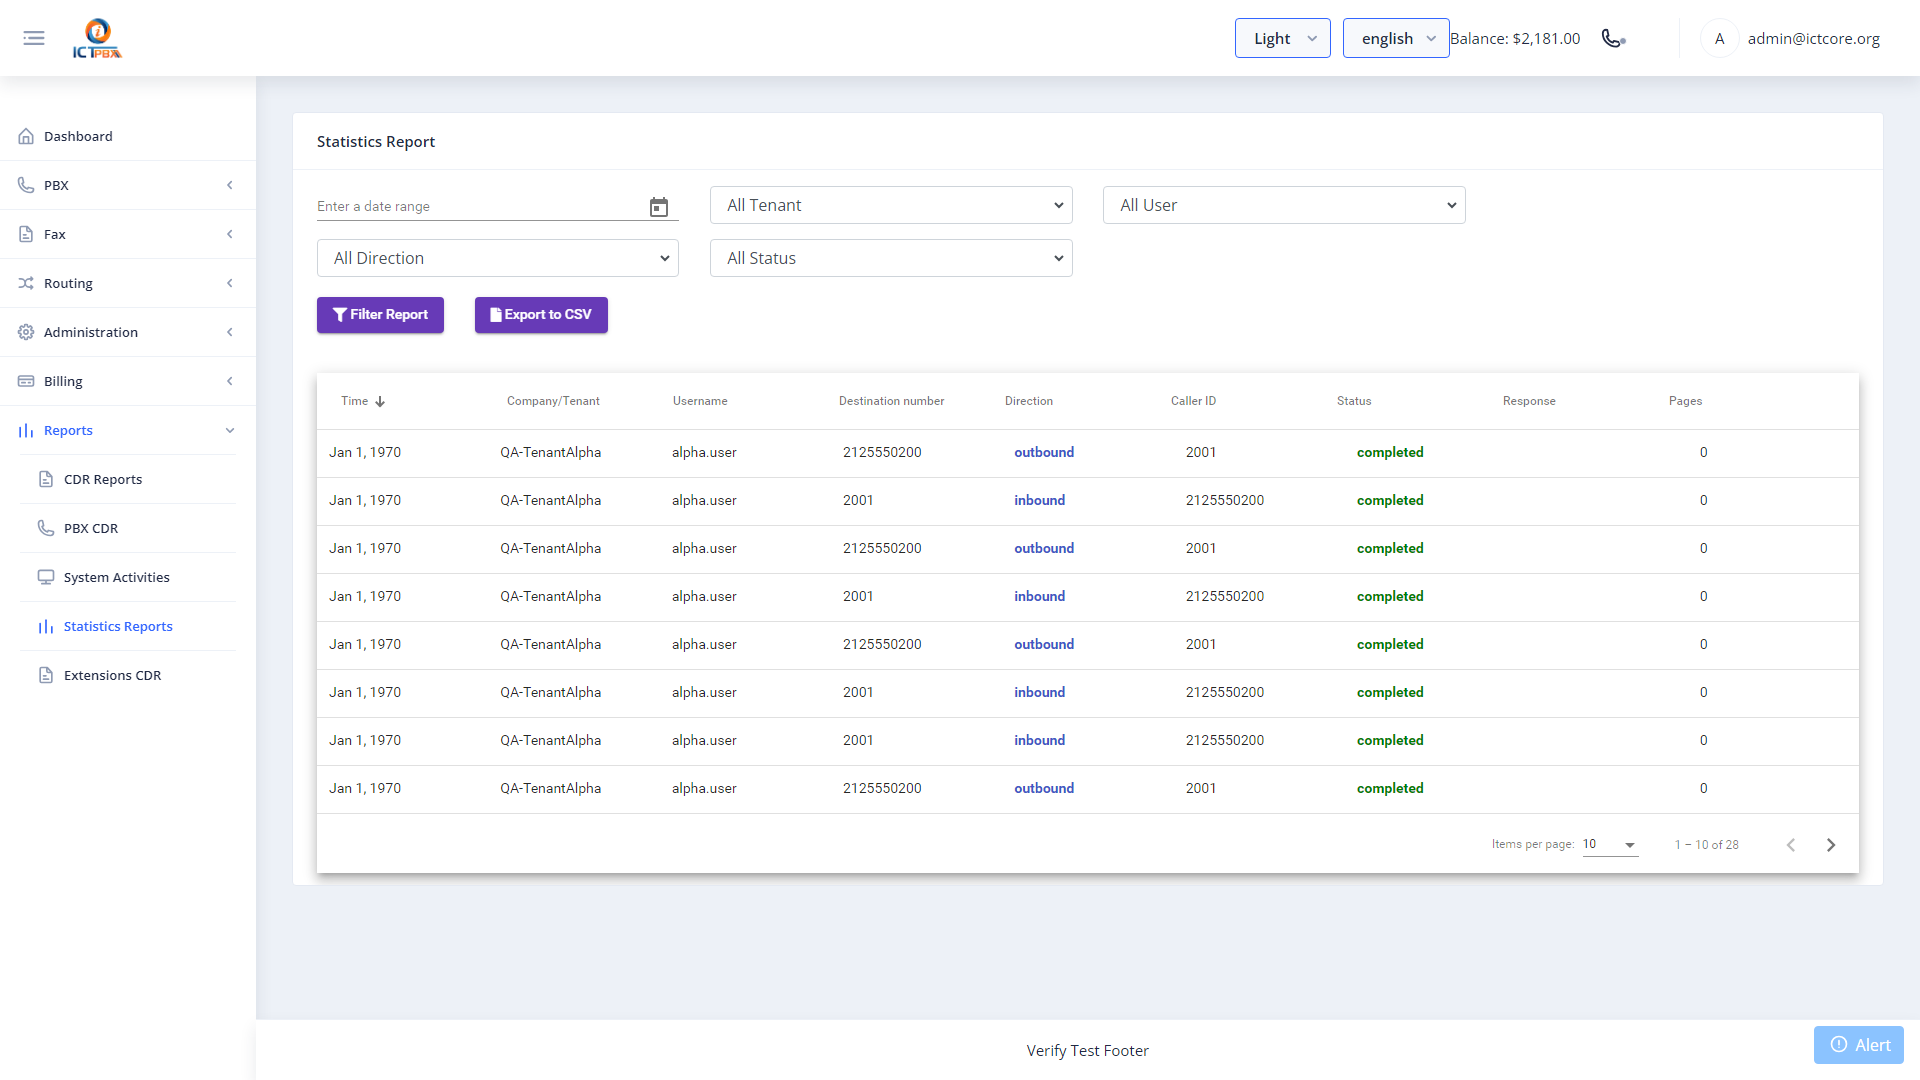
24.3 Statistics Report
Navigate to Reports → Statistics for graphical call and fax volume summaries.
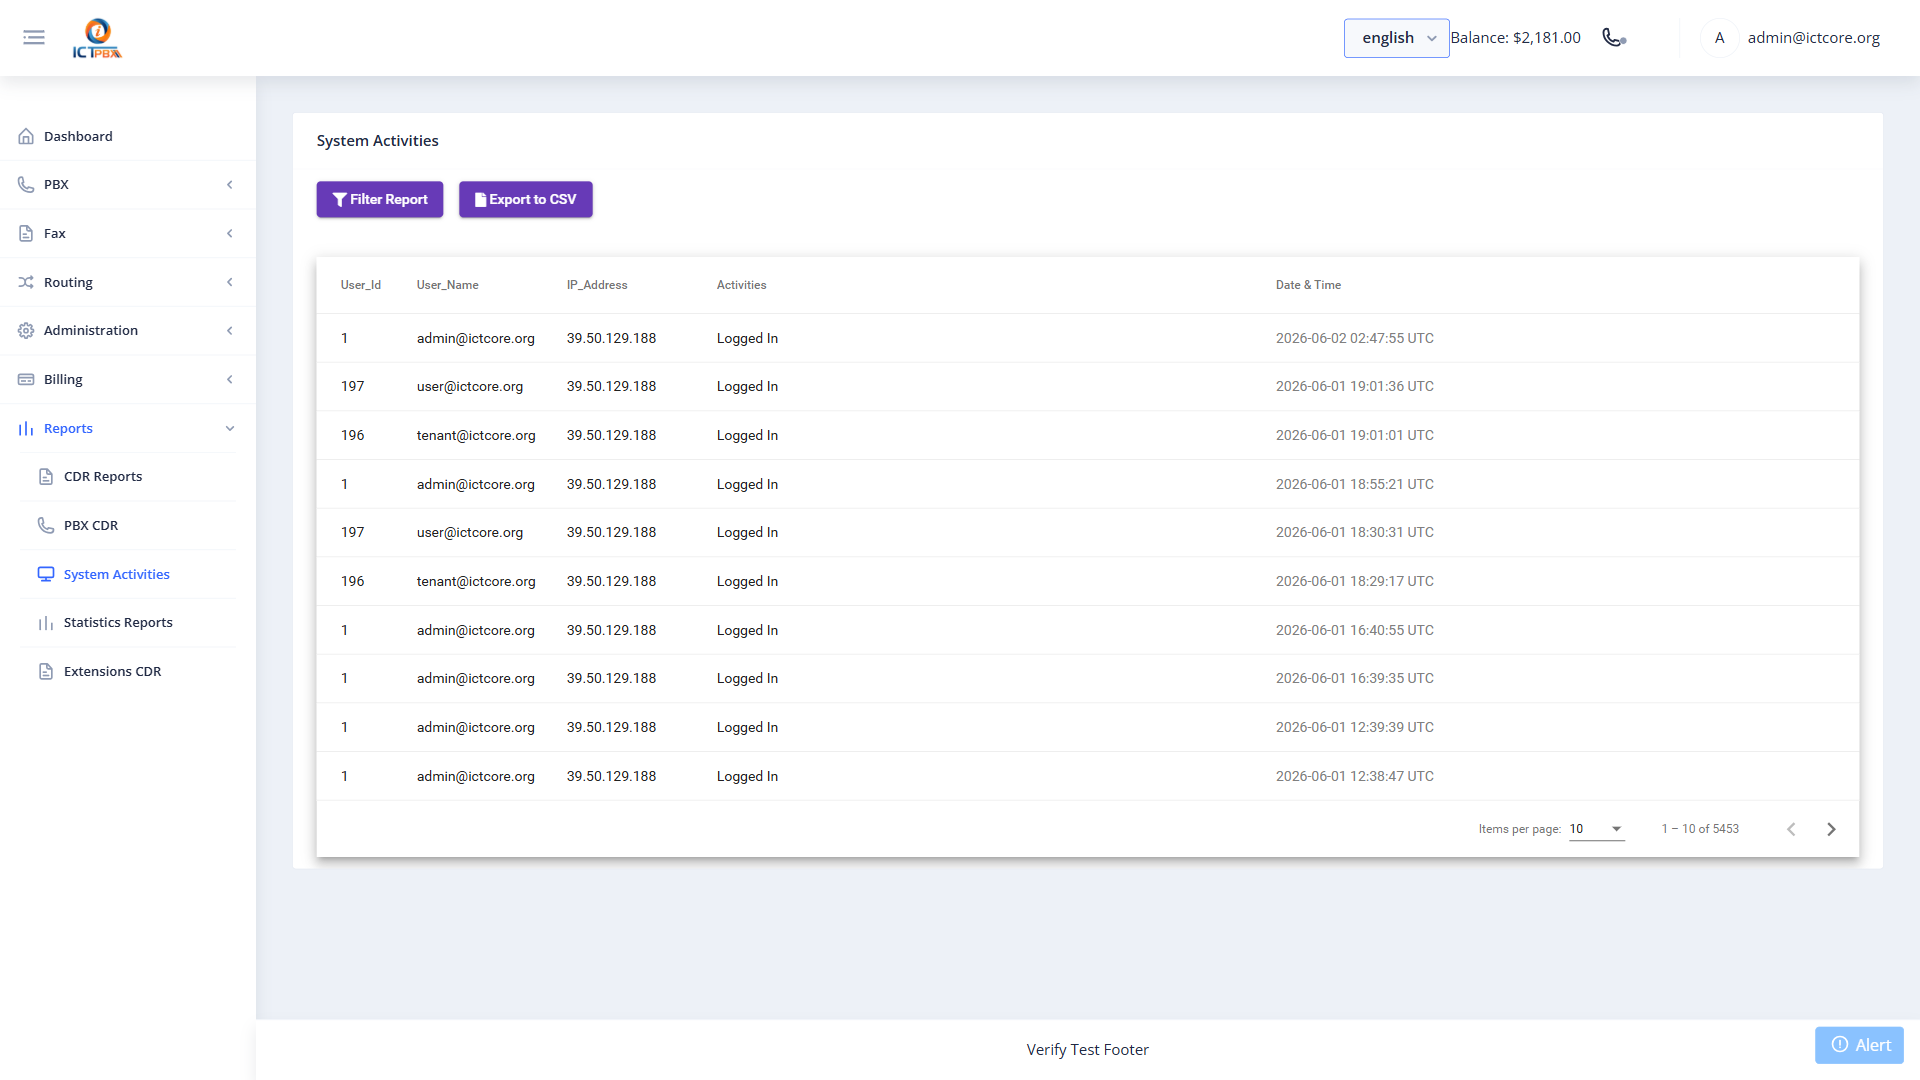
24.4 Activity Log
Navigate to Reports → Activities for a full audit trail of user actions, configuration changes, and billing events.
25. White-Label Branding
Apply per-tenant branding so each tenant’s portal feels like a proprietary product.
Navigate to Administration → Branding.

25.1 Creating a Branding Profile
- Click New.
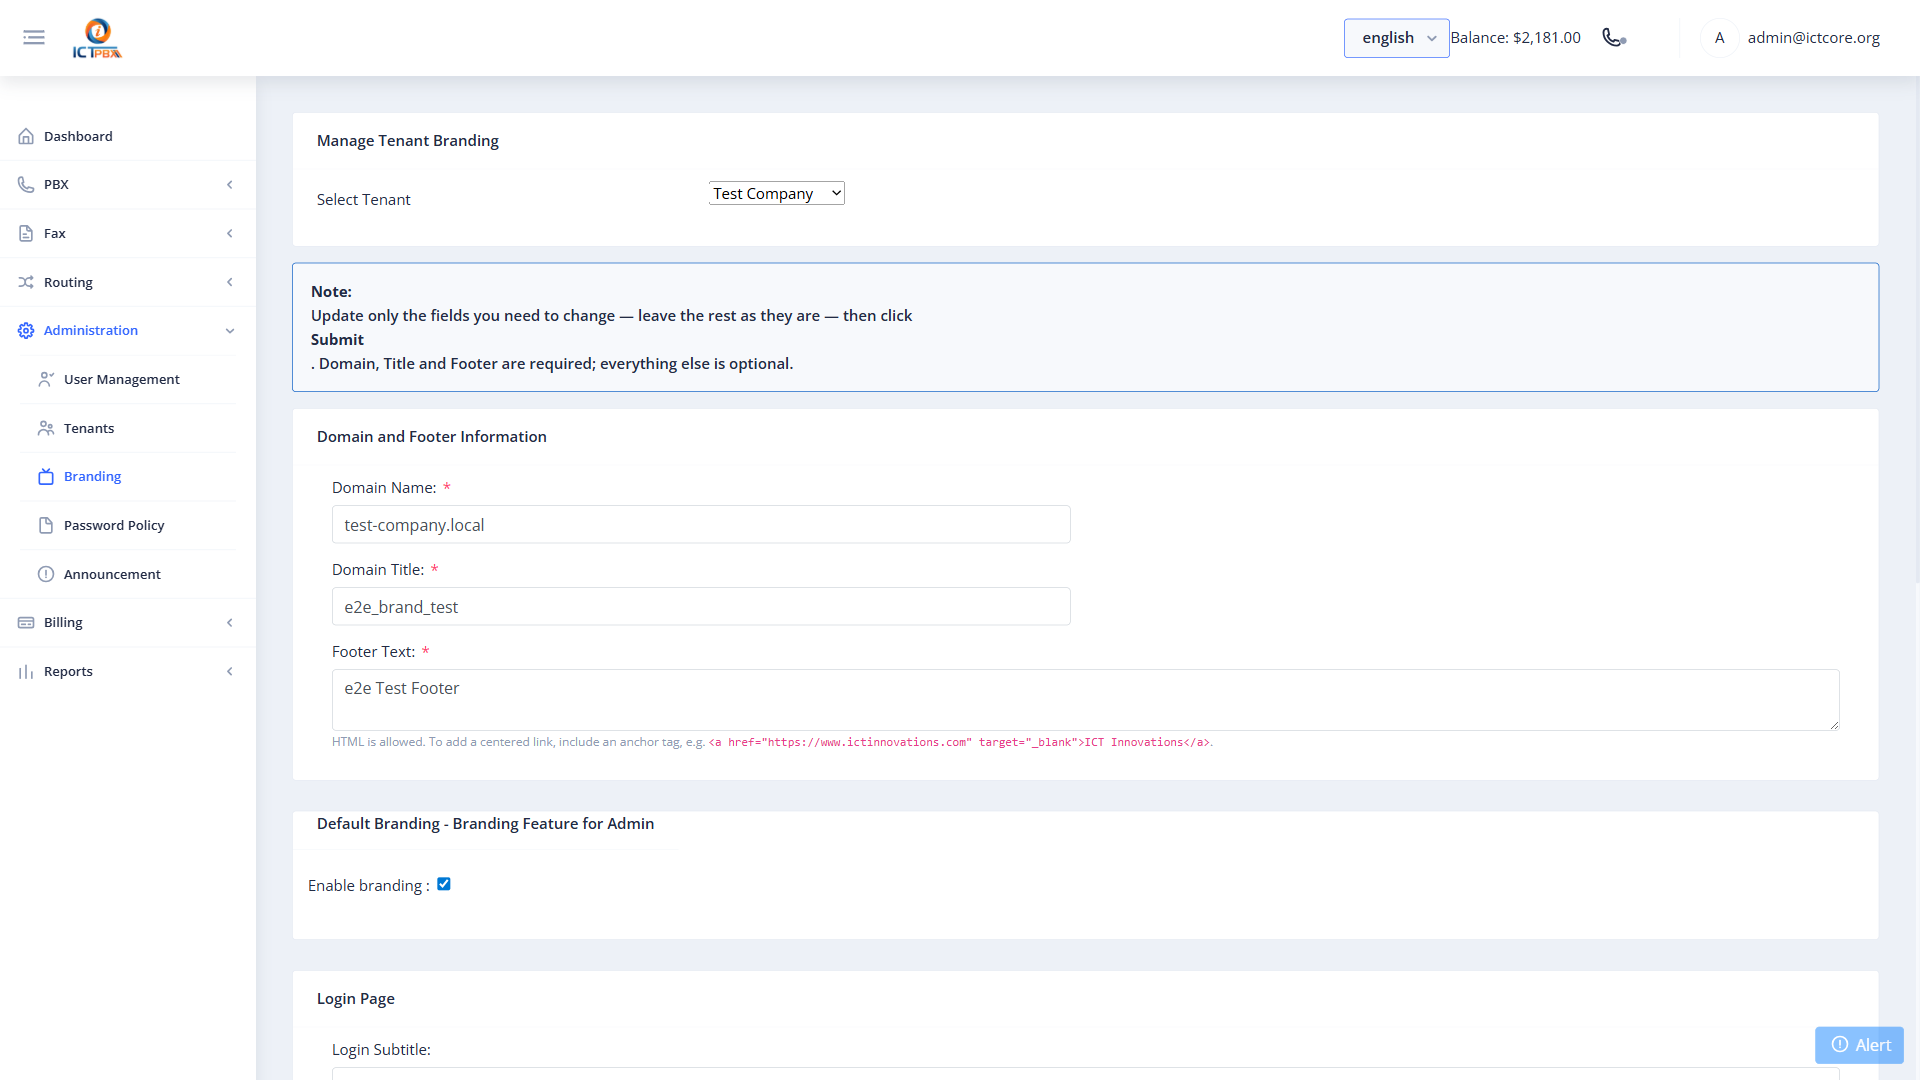
- Click Save.

26. Administration
26.1 Announcements
Navigate to Administration → Announcements to publish system-wide notices to users.
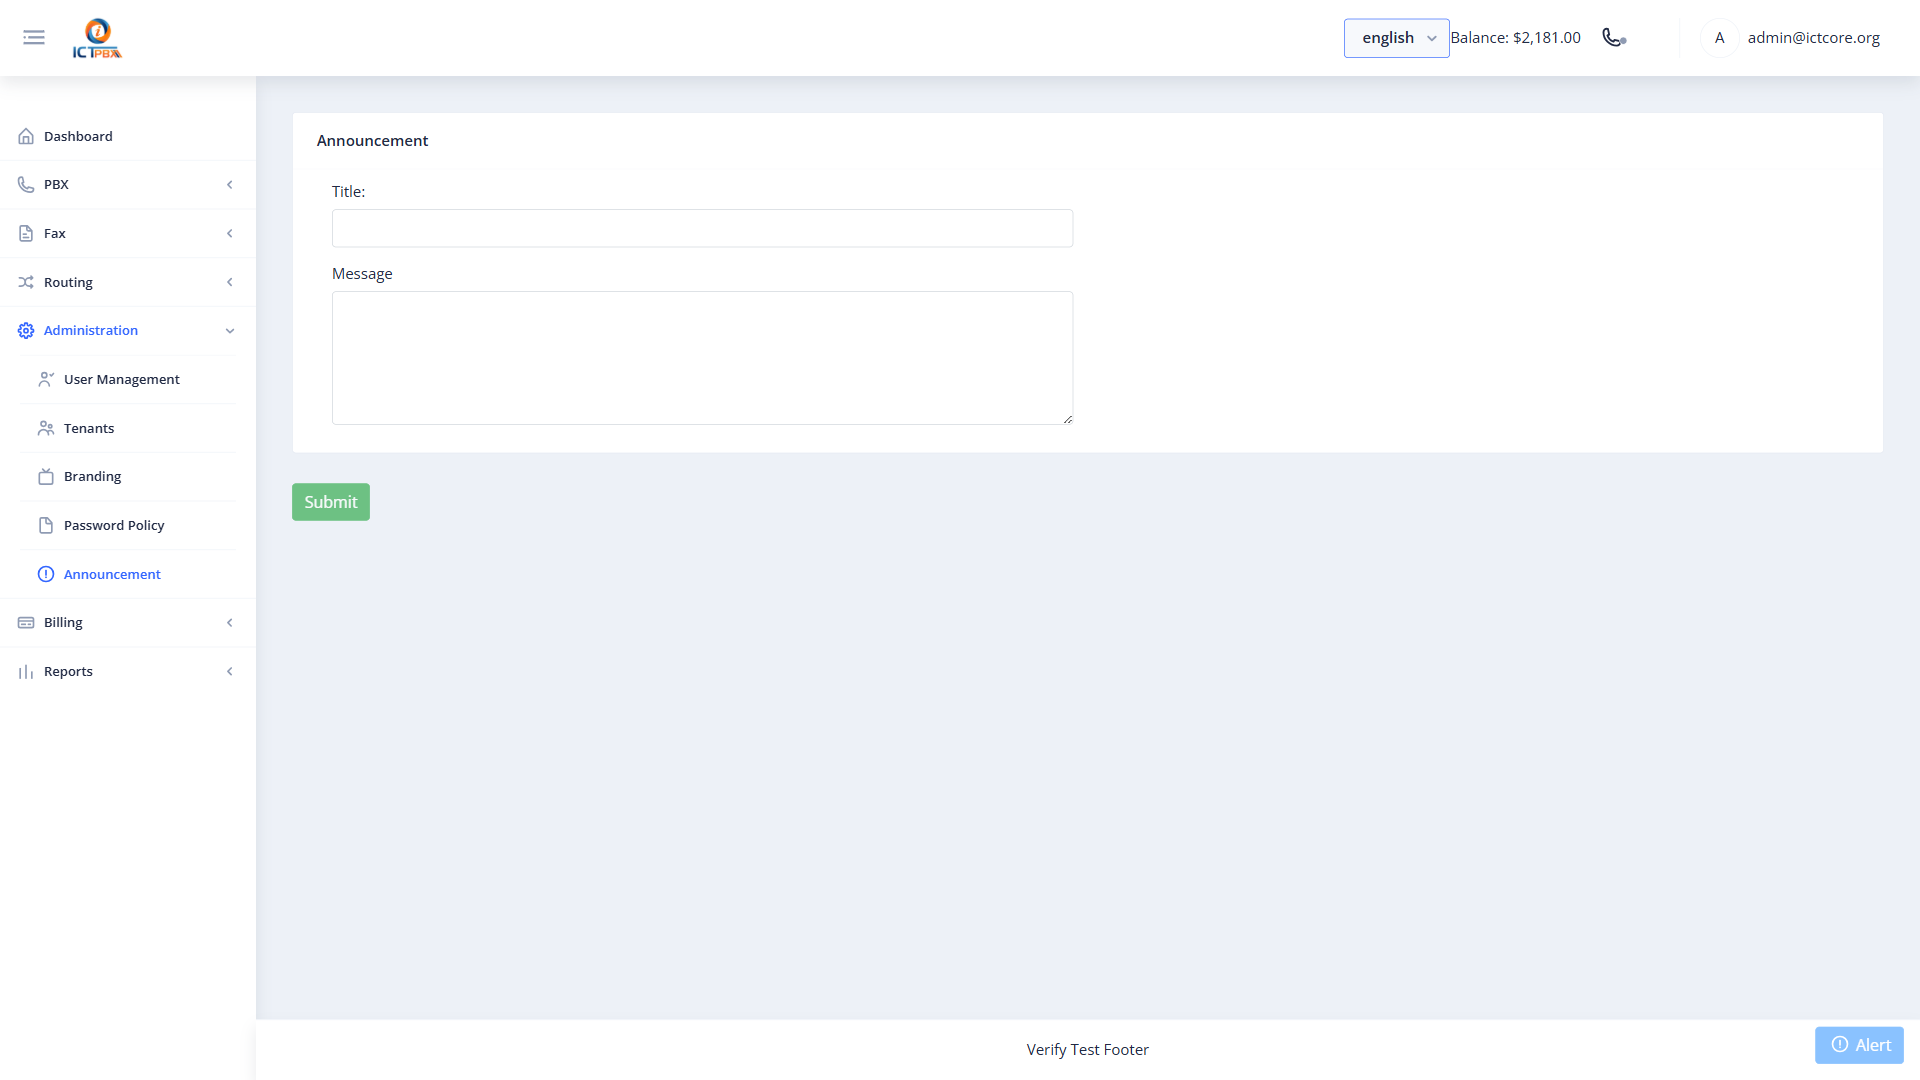
- Click New.
- Enter the announcement title and body text.
- Select the target audience (all users, specific tenant, specific role).
- Click Save. The announcement appears on the dashboard for targeted users.
26.2 Password Policy
Navigate to Administration → Password Policy to configure platform-wide password rules.
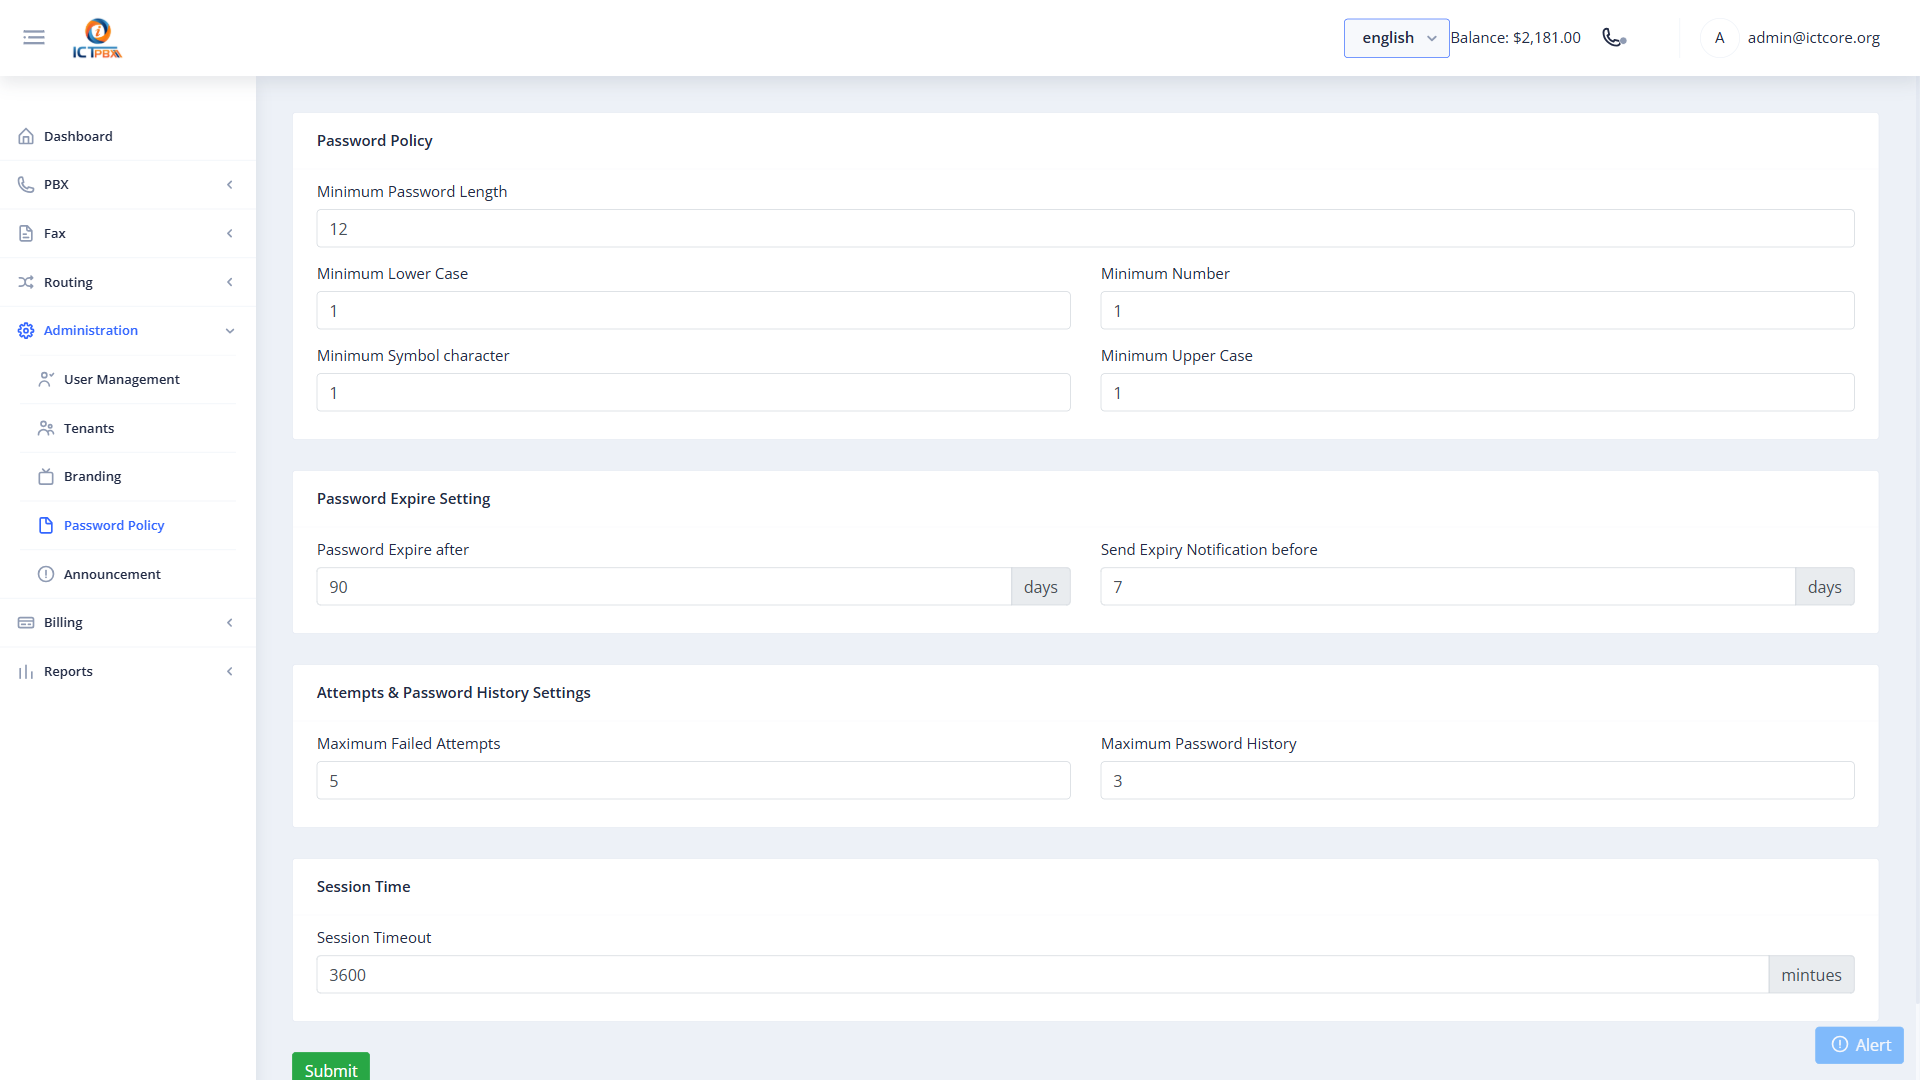
Click Save to apply. The policy is enforced on all subsequent password changes and new user creation.
26.3 Permission Filtering
The sidebar menu for each role is filtered by permission tokens stored in the user’s account. To modify a tenant admin’s access:
- Go to Administration → Users.
- Edit the tenant admin user.
- Modify the Permissions field — add or remove permission tokens.
- Save. Changes take effect on the user’s next login.
27. Tips & Troubleshooting
Extensions not registering after creation: After saving a new extension the system runs reloadxml automatically. If registration still fails, check that the SIP password matches what the client is using, and that the force-register-domain matches your public hostname.
Calls not routing to the right destination: Verify the Inbound Route is correctly mapped — check the DID number format (no spaces, no dashes). Also confirm the target (ring group, IVR, extension) exists and is enabled.
Fax transmission failing: Check gateway registration status. Ensure the outbound route includes fax-capable codecs (G.711). Verify the recipient number is in the correct format.
Tenant admin cannot see a menu item: Check that the required permission token is present in the tenant admin’s user Permissions field. The token must exactly match the feature key (e.g. extensions, ring_groups, billing).
Credit balance not updating: The header polls every 10 seconds. If it remains stale, the CDR ETL job may not be running — trigger it manually from Reports → PBX CDR.
Billing quota not enforced: Confirm the tenant has an active subscription with a package assigned. Without a subscription, quotas are not initialized and enforcement does not apply.
ICTPBX Service Provider Edition — Super Administrator Guide Platform: Angular 13 · FreeSWITCH 1.10 · ICTCore 6.6 · ICTCore PHP 8.3 Demo: https://ictpbx.com