
6 — Fax Features #
ICTPBX provides a full fax pipeline: send, receive, fax-to-email delivery, DID management, and account management.
Send Fax #
Permission required: Send Fax
How to Send a Fax #
- Go to Fax → Send Fax.
- Fill in the form:
| Field | Required | Description |
|---|---|---|
| From Account | ✅ | The fax account to send from (your extension/DID) |
| Destination Number | ✅ | The recipient’s fax number |
| Document | ✅ | PDF, TIFF, or Word document to transmit |
| Subject | Optional fax cover reference | |
| Scheduled Time | Leave blank to send immediately; or set a future date/time |
- Click Send. The fax is queued and sent within one minute by the background scheduler.
Fax Status #
After sending you can track status in Fax → CDR (call detail records). Status values:
- Pending — queued, not yet sent
- Processing — currently being transmitted
- Completed — successfully delivered
- Failed — transmission failed; retry manually
Retry a Failed Fax #
From the CDR view, click the retry icon on any failed transmission. A new send job is created immediately.
Fax Inbox #
Permission required: Receive Fax
Received faxes are stored in the inbox.
- Go to Fax → Inbox.
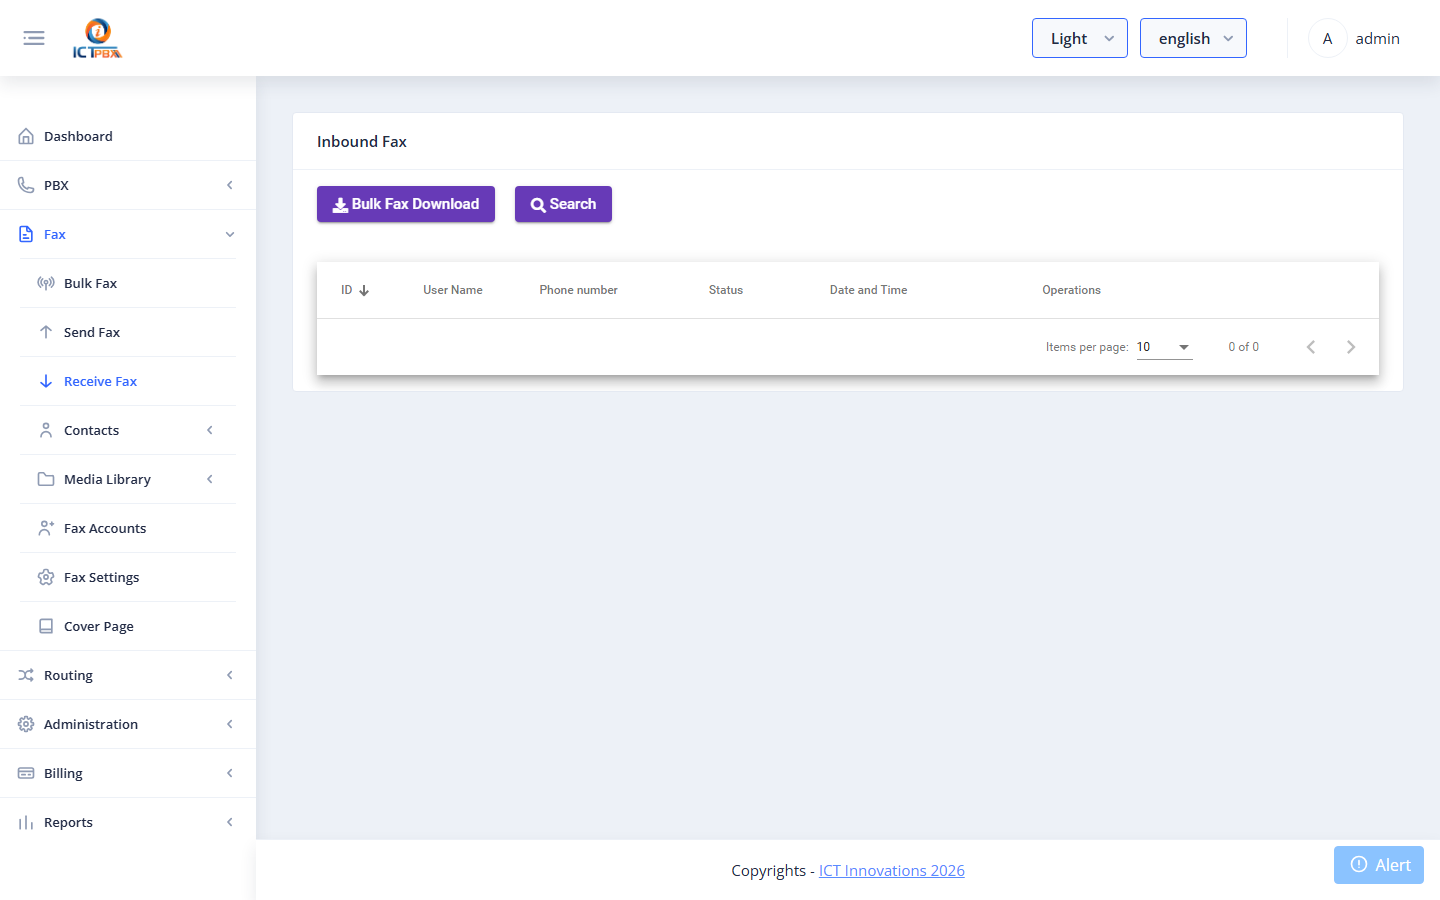
The inbox lists received faxes with date, sender number, pages, and status. Click a row to view or download the TIFF/PDF.
How Receiving Works #
- A call arrives at your carrier → forwarded to your ICTPBX server via SIP
- FreeSWITCH answers the call and negotiates fax (T.38 or G.711 pass-through)
- The received TIFF is stored and attached to a transmission record
- If Fax-to-Email is configured, an email with the TIFF attached is sent to all linked accounts
Fax to Email #
Permission required: Fax to Email
Fax-to-Email automatically delivers received faxes to one or more email addresses.
Setup #
- Create a DID account (type = DID) with the inbound phone number.
- Create one or more extension accounts with
Link DIDpointing to that DID account, and set theEmailfield to the delivery address.
Every extension account linked to a DID receives an email with the fax attached when a fax arrives on that DID.
This enables department fax distribution — e.g. a single inbound number delivers to the entire sales team’s inboxes.
Email to Fax #
Permission required: Email to Fax
Email to Fax lets users send faxes by emailing a document to a special address. The system picks up the email and transmits it as a fax automatically.
Configuration is done at the server level (SMTP polling). Contact your system administrator to set up the inbound email address for your account.
Personalize Fax #
Permission required: Personalize Fax
Allows the user to set a custom sender ID on outbound faxes — overriding the system default with their own name or company name.
Go to Fax → Fax Settings and set the Sender Name field.
Bulk Fax (Campaigns) #
Permission required: Bulk Fax
Campaigns allow sending the same document to a large list of recipients in one operation.
- Go to Fax → Campaigns.
- Click Add Campaign.
- Upload your contact list (CSV) and select the document.
- Set a send schedule or send immediately.
The system queues one transmission per recipient. Progress and results are tracked in the campaign detail view.
Fax Accounts #
Permission required: Fax Accounts
Fax accounts represent lines — either a DID (inbound number) or an extension (outbound/inbound endpoint).
Account Types #
| Type | Role |
|---|---|
did |
Inbound DID number — the phone number callers dial to send a fax |
account |
User extension — can send and receive; has SIP credentials and email delivery |
child_account |
Extension linked to a DID (auto-set when Link DID is populated) |
List #
Go to Fax → Fax Accounts.
Add / Edit Fax Account #
| Field | Required | Description |
|---|---|---|
| Phone | ✅ | For DID: the inbound phone number. For extension: the extension number. |
| Type | ✅ | did, account, or auto-set child_account |
| Email address for fax-to-email delivery | ||
| Link DID | For extension accounts: select the DID this account receives faxes from | |
| Password | SIP/account password | |
| Active | Enabled/disabled |
Linking an Extension to a DID #
Set the Link DID field on an extension account to point at a DID account. This:
- Sets the account type to
child_accountautomatically - Adds this account’s email to the notification list for faxes arriving on that DID
Multiple extension accounts can link to the same DID — useful for distributing one inbound number to a team.
Fax Documents #
Permission required: Fax Documents
Fax Documents is a personal document library. Upload frequently used documents (letterheads, forms, templates) so they are available to select when sending a fax — without re-uploading each time.
- Go to Fax → Fax Documents.
- Click Upload and select a file.
- When sending a fax, choose from My Documents instead of uploading a new file.
Fax Settings #
Permission required: Fax Settings
System-level fax configuration. Go to Fax → Fax Settings.
| Setting | Description |
|---|---|
| Sender Name | Default sender name printed on the fax header |
| Sender Number | Default sender fax number |
| Resolution | Standard (98 lpi) or Fine (196 lpi) |
| Header | Custom text printed at the top of each fax page |
Cover Page #
Permission required: Cover Page
Cover pages are automatically prepended to outgoing faxes. Go to Fax → Cover Page to configure the template.
Fields on the cover page template:
- Company name, logo
- To/From fields (auto-filled from transmission metadata)
- Comments / message field
- Date and time stamp


