
2 — Quick Start: Enterprise Edition #
EE only — This guide applies to the multi-tenant Enterprise Edition.
Follow these steps to go from a fresh install to a working tenant with a user who can send and receive faxes and use PBX features.
Step 1 — Log in as Admin #
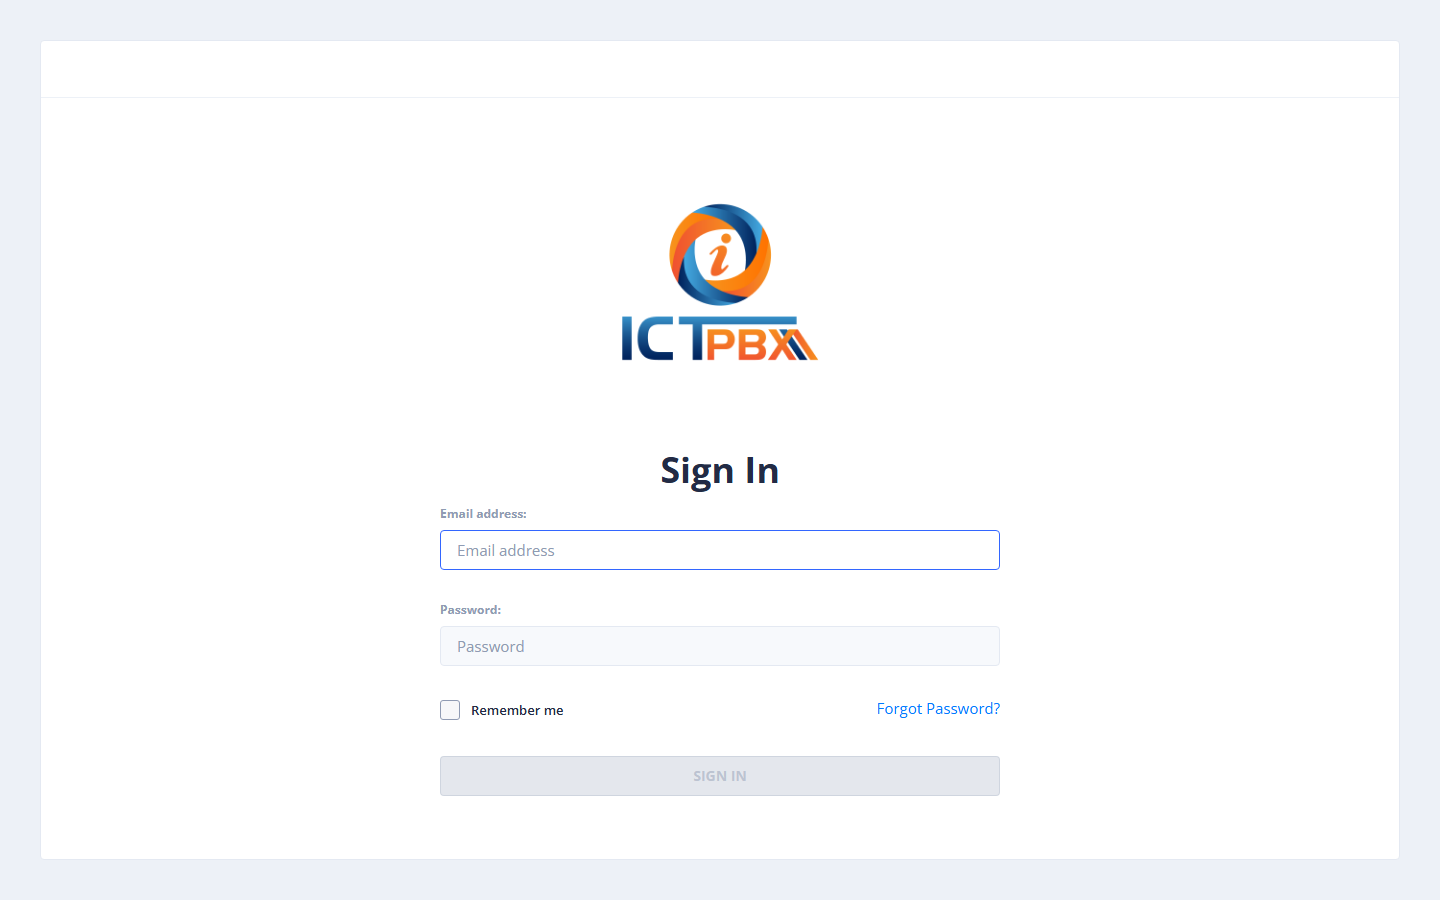
Go to your ICTPBX URL and log in with the admin credentials set during installation.
Step 2 — Create a Tenant #
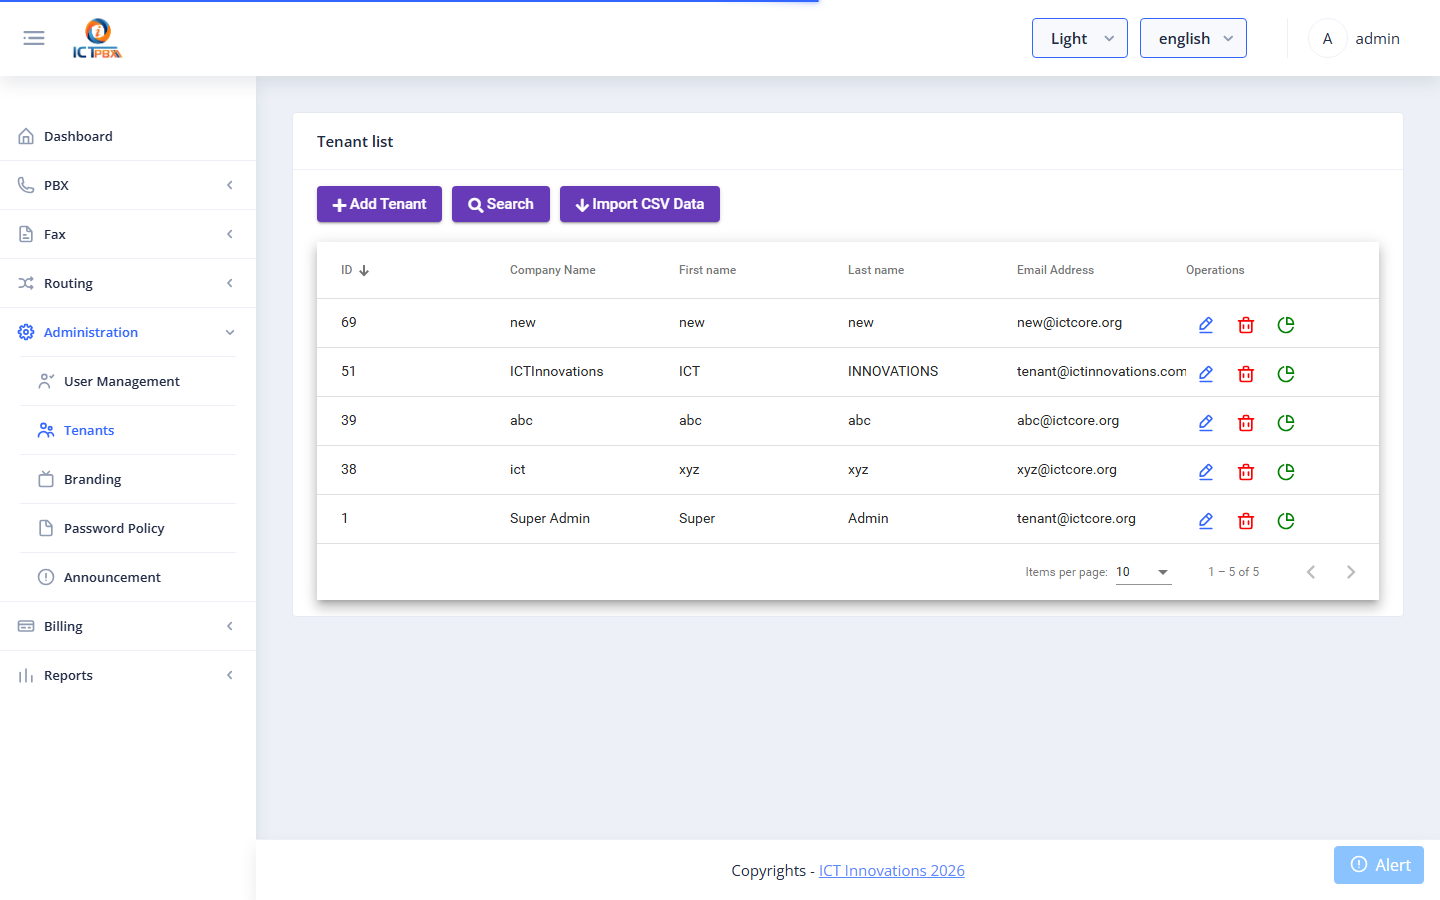
A Tenant represents an organisation (company). Every user, extension, and fax account belongs to a tenant.
- Go to Administration → Tenants in the left menu.
- Click Add Tenant.
Fill in the tenant details:
| Field | Description |
|---|---|
| Company | Organisation name |
| Primary contact email | |
| Phone | Contact phone number |
| Daily Fax Limit | Maximum faxes this tenant can send per day (-1 = Unlimited) |
| Monthly Fax Limit | Maximum faxes per month (-1 = Unlimited) |
| Permissions | Which features this tenant’s users can access |
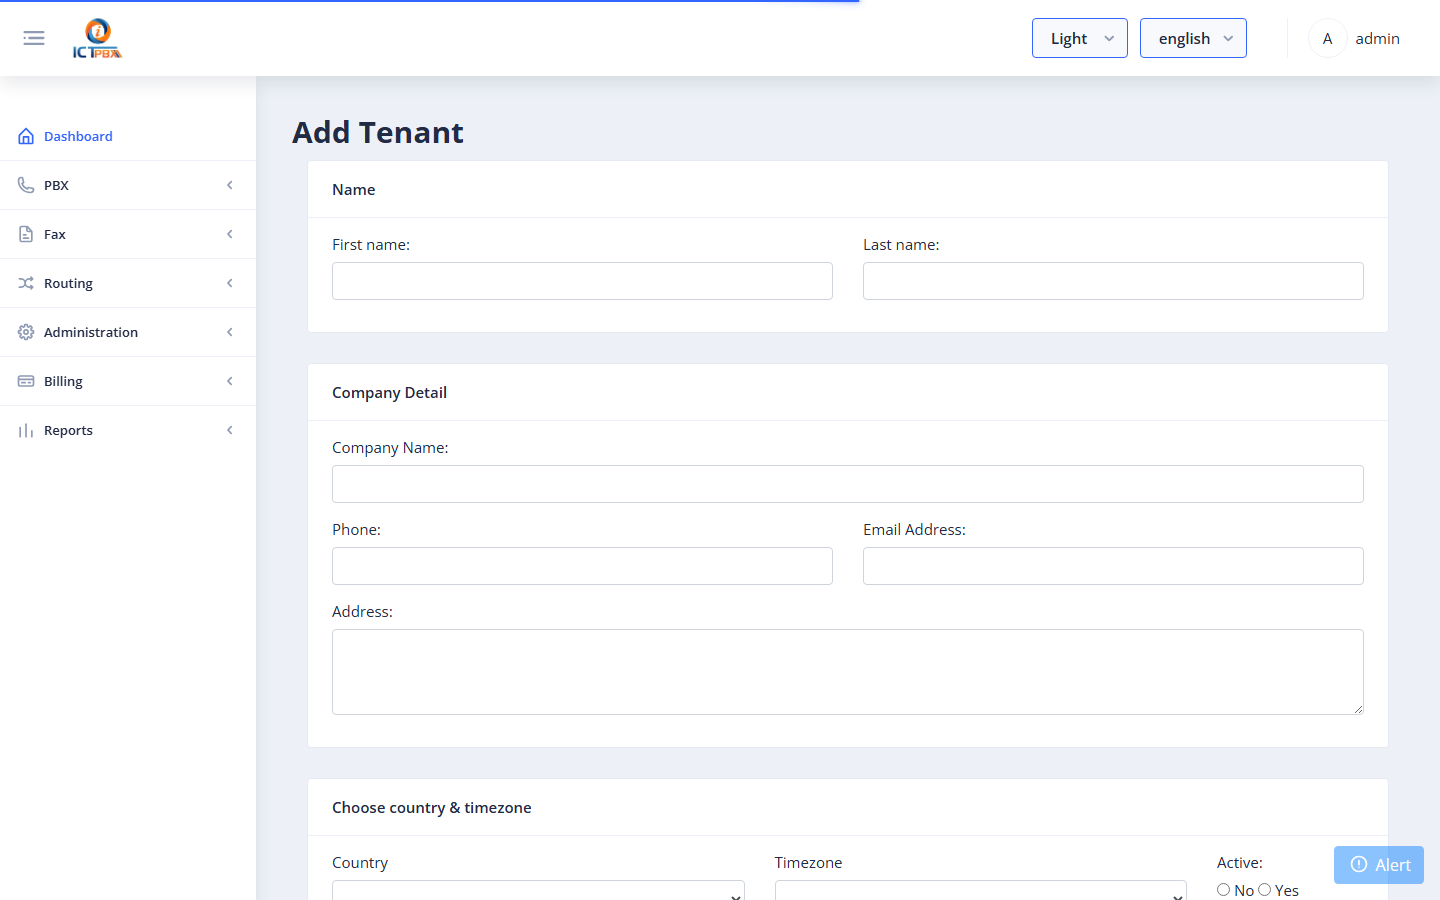
- Select the Permissions the tenant should have (e.g. Send Fax, Receive Fax, Extensions, Devices).
- Click Save.
Step 3 — Create a User #
- Go to Administration → Users.
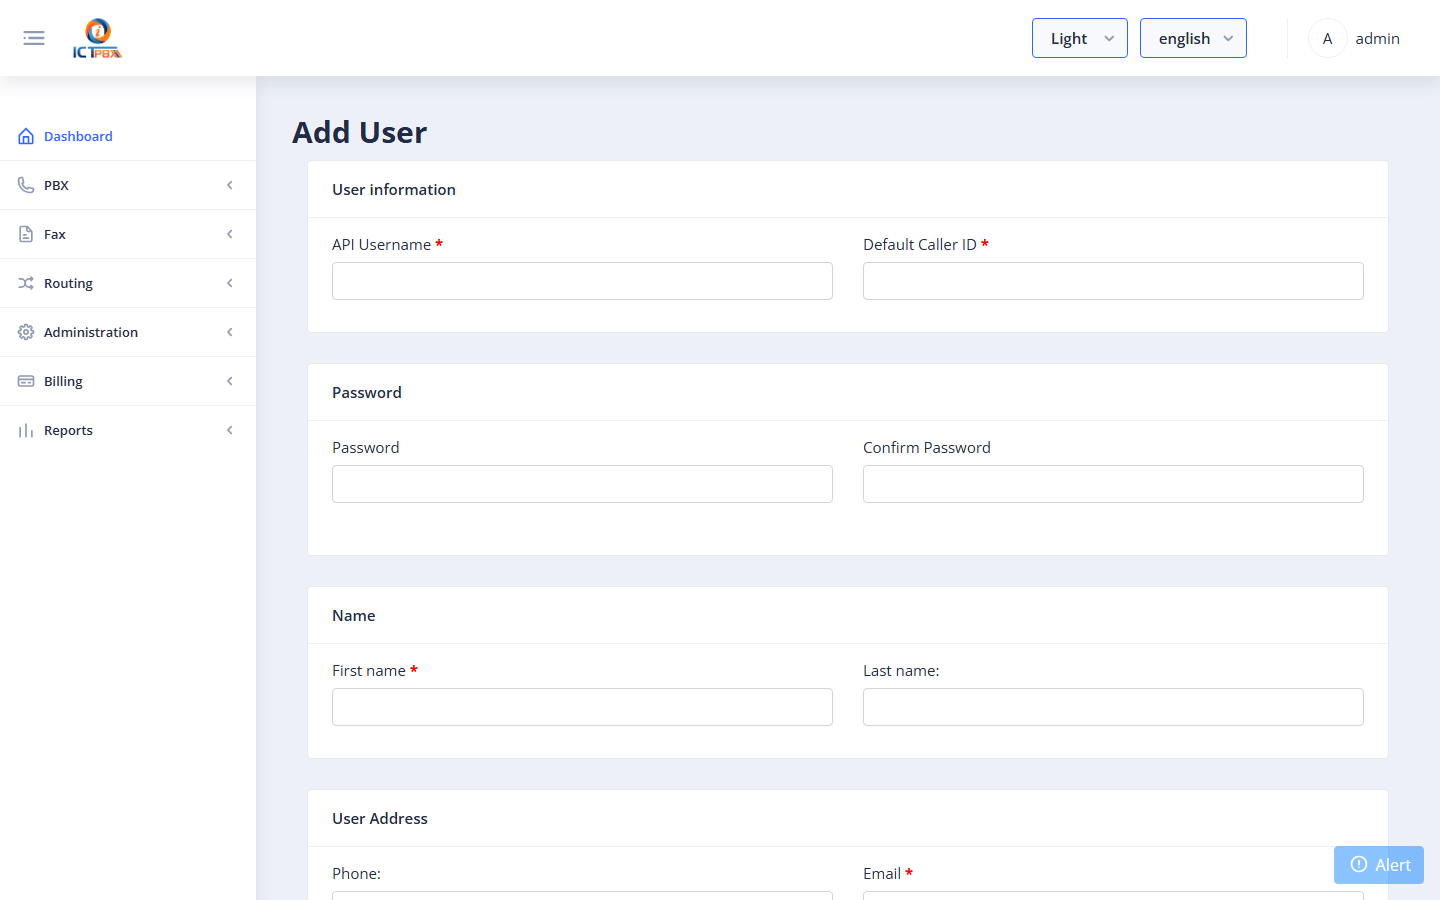
- Click Add User.
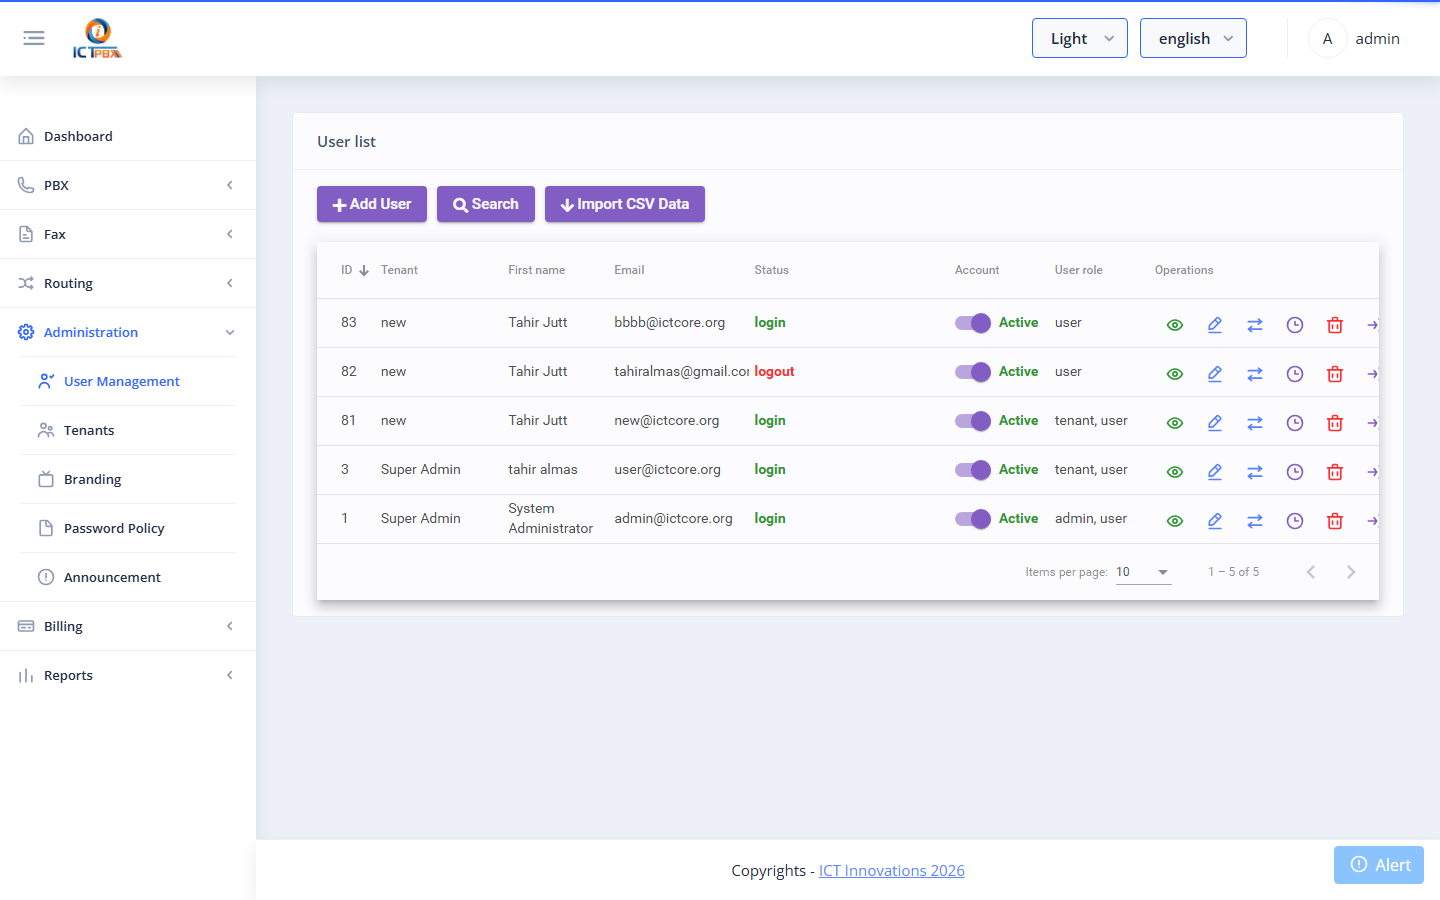
Fill in user details:
| Field | Description |
|---|---|
| First Name / Last Name | Display name |
| Username | Login email address |
| Password | Must meet the password policy |
| Tenant | Select the tenant created in Step 2 |
| Role | Tenant = tenant admin; User = end user |
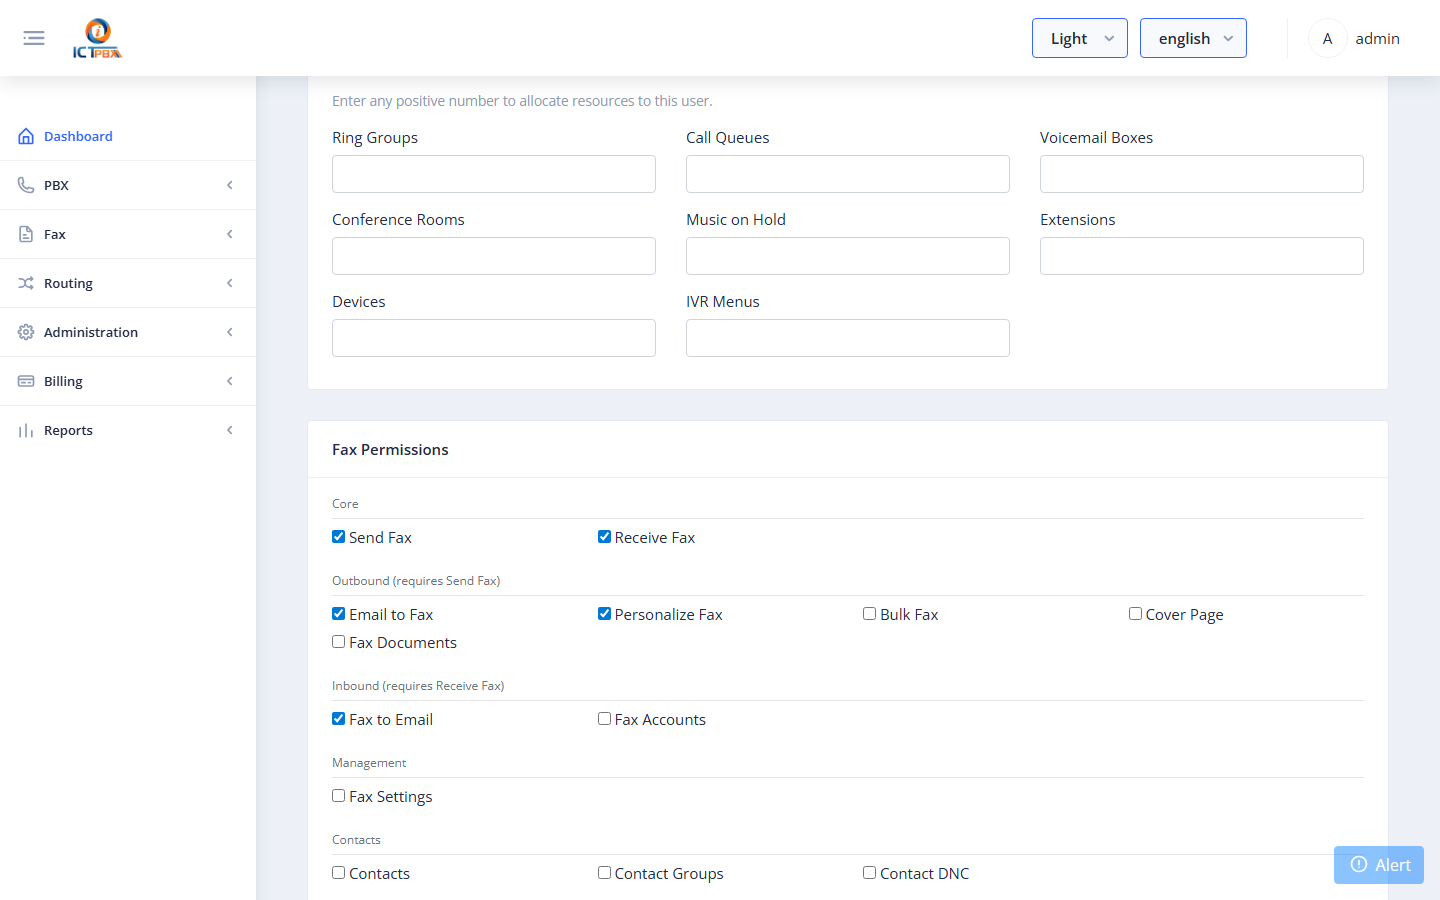
Assign Permissions #
Scroll down to the Fax Permissions and PBX Permissions cards. Check each feature the user should have access to.
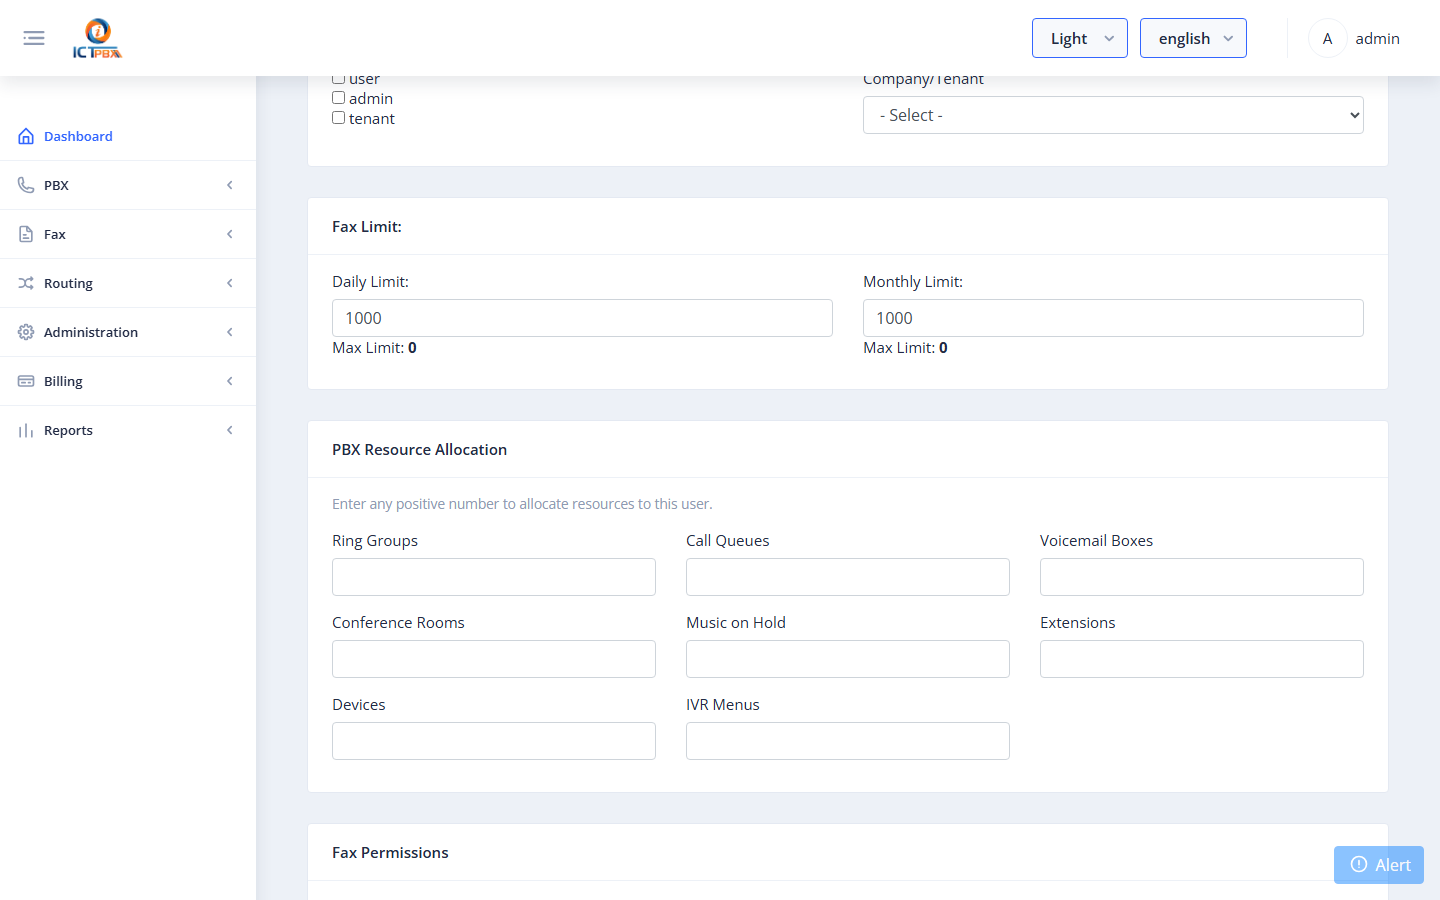
Allocate PBX Resource Quota #
Scroll to PBX Resource Allocation. Enter how many PBX objects (extensions, devices, ring groups, etc.) this user can create. As admin you can enter any positive number.
- Click Save.
Step 4 — Configure a Fax Account (DID) #
To receive faxes, set up a DID (phone number) account:
- Go to Fax → Fax Accounts.
- Add a DID account with
type = DIDand the inbound phone number. - Add an extension account linked to that DID (
Link DIDfield) with the delivery email address.
See Fax Features → Fax Accounts for full details.
Step 5 — Add PBX Extensions #
- Go to PBX → Extensions.
- Click Add Extension.
- Fill in extension number, display name, and password.
- Provision a SIP device against the extension (see Devices).
The extension is immediately active in FusionPBX / FreeSWITCH.
You’re Ready #
Users can now log in and:
- Send faxes via Fax → Send Fax
- View received faxes in Fax → Inbox
- Make and receive calls on their provisioned SIP device


