
5 — PBX Features #
All PBX features write directly to FusionPBX / FreeSWITCH and take effect immediately — no restart required. Each feature requires the corresponding permission to be enabled on your account.
Extensions #
Permission required: Extensions
Extensions are SIP endpoints (users/phones) registered in FreeSWITCH. Every device, ring group, queue agent, and voicemail box is associated with an extension.
List #
Go to PBX → Extensions.
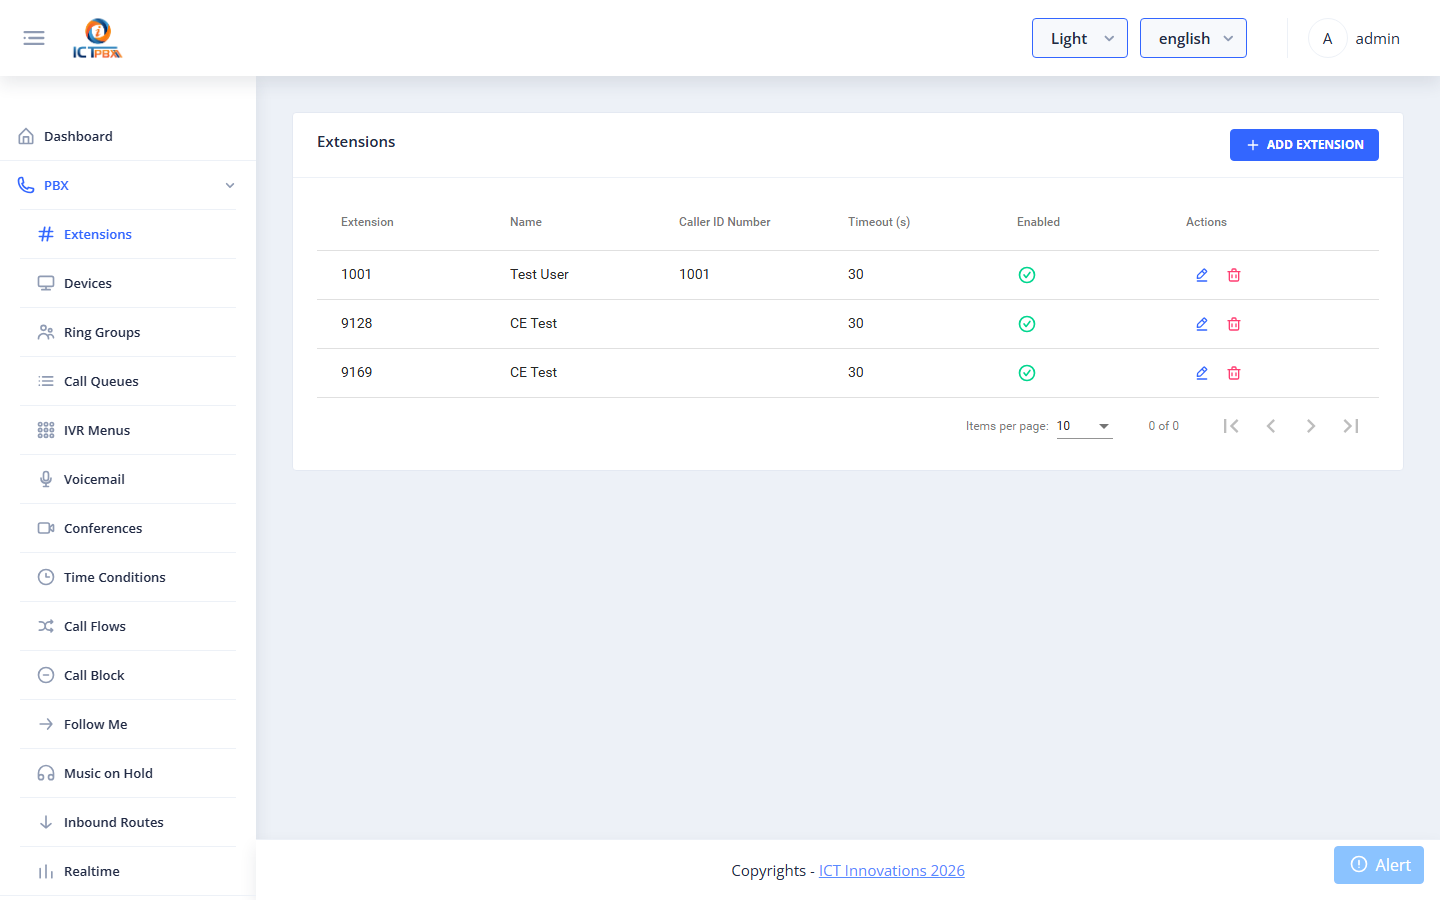
The list shows extension number, display name, and tenant. Use the search bar to filter.
Add / Edit Extension #
Click Add Extension or the edit icon.
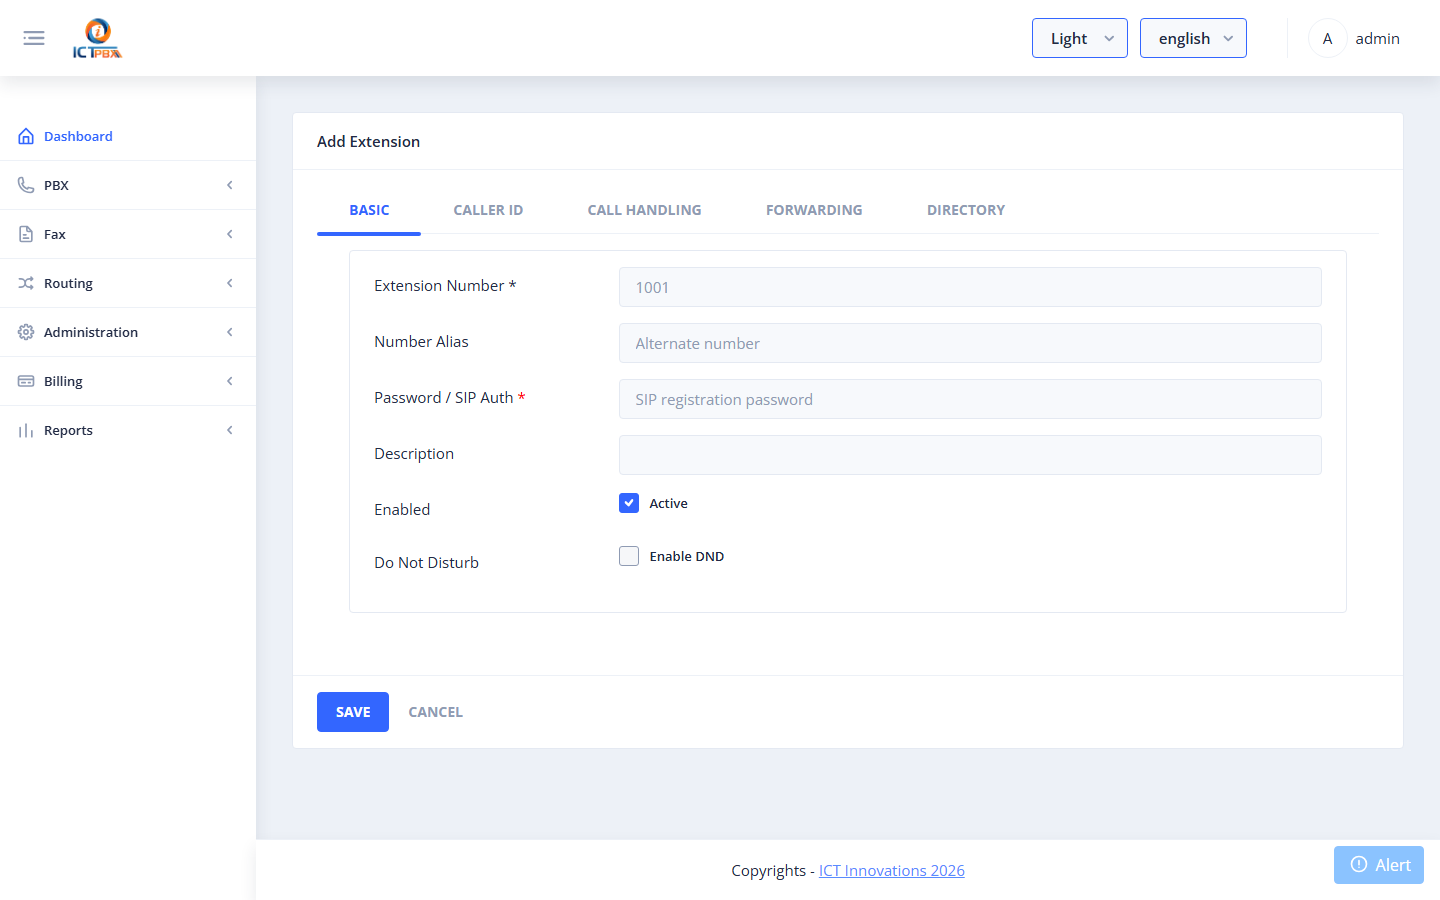
| Field | Required | Description |
|---|---|---|
| Extension | ✅ | The SIP extension number (e.g. 1001) |
| Password | ✅ | SIP registration password |
| Display Name | Name shown on caller ID | |
| Voicemail Password | PIN for voicemail access (default = extension number) | |
| Enabled | Whether the extension is active |
After saving, provision a SIP phone or softphone with:
- SIP Server: your ICTPBX server IP/hostname
- Username: the extension number
- Password: the SIP password set above
Devices #
Permission required: Devices
Devices are physical or software SIP phones registered against extensions.
List #
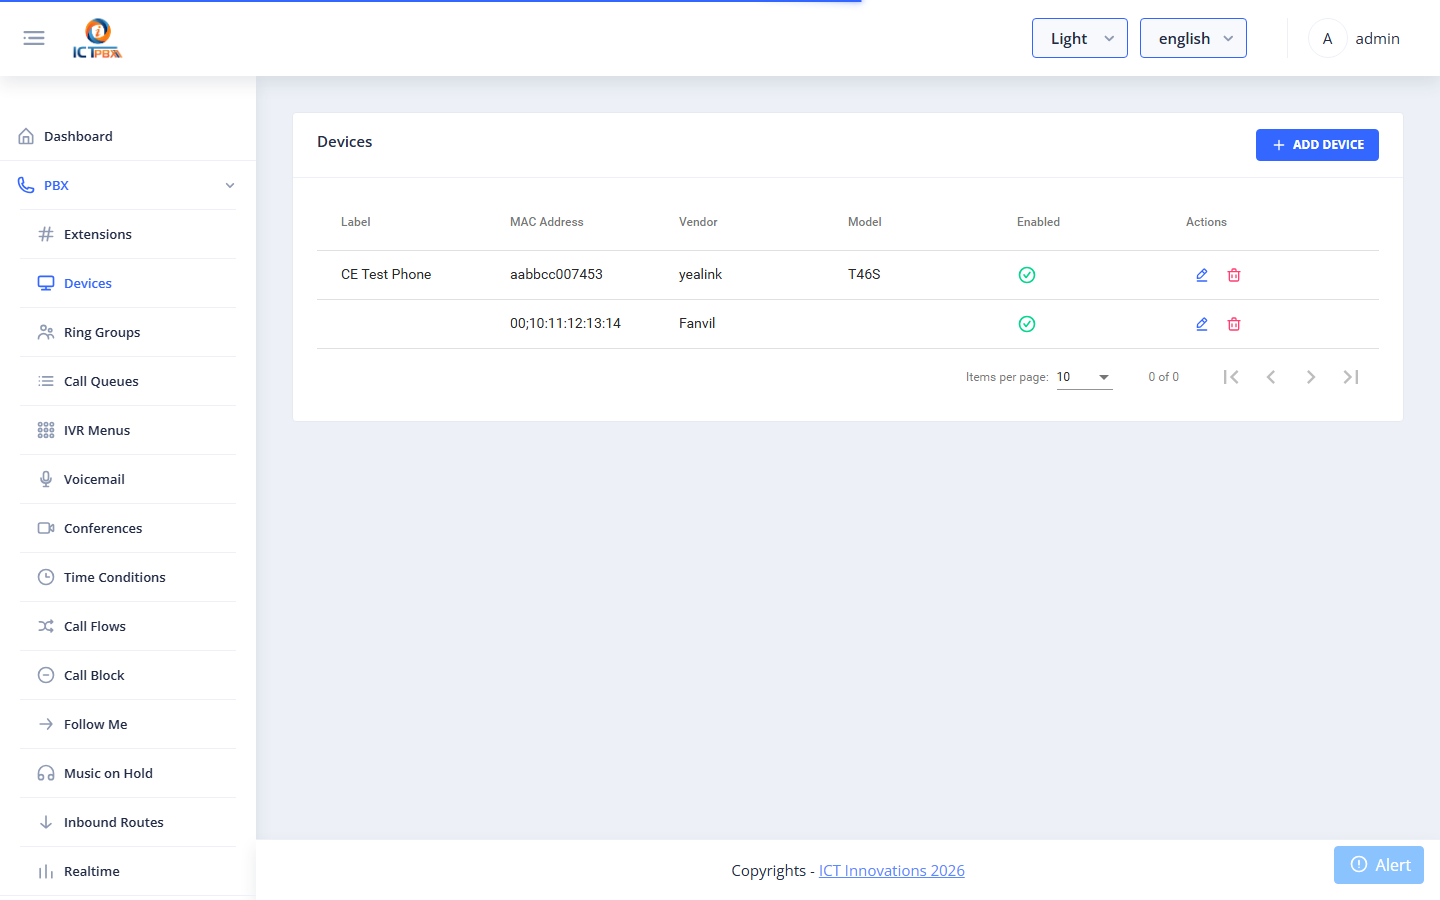
Go to PBX → Devices.
Add / Edit Device #
Click Add Device or the edit icon.
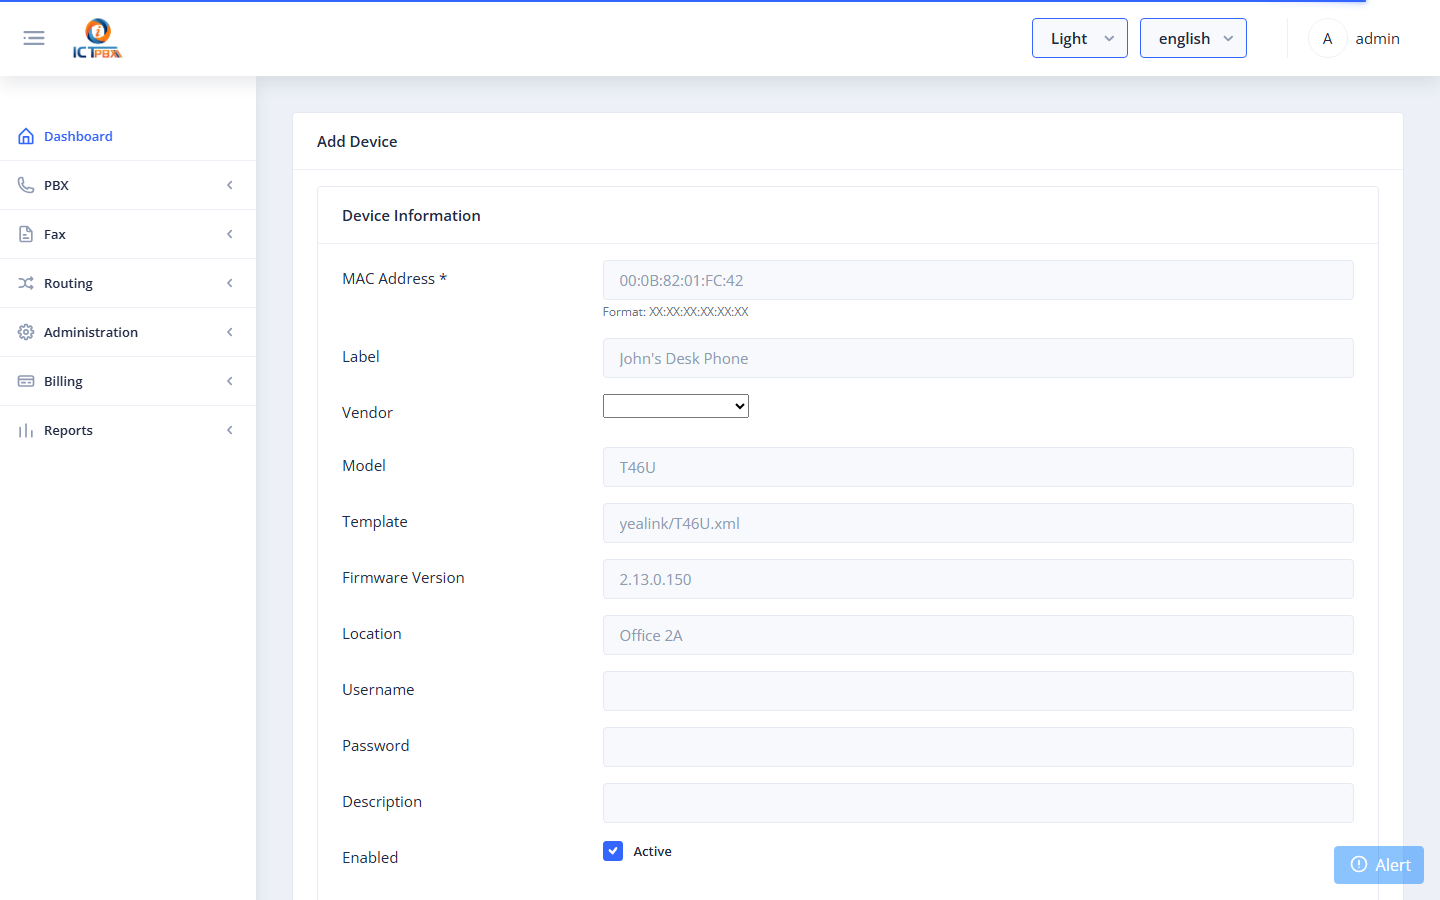
| Field | Required | Description |
|---|---|---|
| Device MAC | ✅ | MAC address of the physical phone (used for auto-provisioning) |
| Username | ✅ | SIP username (usually the extension number) |
| Template | Auto-provisioning template (e.g. Yealink, Polycom) | |
| Enabled | Active/inactive |
Lines tab: Assign the device to one or more extensions by selecting them in the Lines section.
Provisioning a Phone Step by Step #
This walkthrough registers a desk phone against an extension and gives it a config it pulls on reboot. The example uses a Grandstream GXP1628 on extension 101, but the flow is the same for any supported vendor.
Step 1 – Add the device. Open Devices from the left menu and click Add Device. Fill in the Device Information card:
| Field | What to enter |
|---|---|
| MAC Address (required) | The phone’s MAC, for example c0:74:ad:e8:43:d7. Any format works; colons and dashes are stripped automatically. Must be 12 hex characters. |
| Label | A friendly name, for example “Randy’s Desk Phone”. |
| Vendor | Pick from the dropdown, for example Grandstream. |
| Model | Pick the model, for example GXP1628. This auto-fills the Template. |
| Template | Auto-filled from the model. Leave it as-is unless you know it differs. |
| Device Profile | Optional. Leave “No Profile” unless you have set one up. |
| Enabled | Keep Active checked. |
The remaining fields (Firmware, Serial, Location, Username/Password, Description) are optional.
Tenant binding: the device ties to a tenant through the extension you assign in Step 2, because that extension belongs to a tenant domain. So pick an extension that belongs to the right customer.
Step 2 – Assign a SIP line. Stay on the same screen and scroll down to the SIP Lines card:
- Click + Add Line. A row appears with Server set to
demo.ictpbx.comand transport set to UDP. Those defaults are correct, so leave them. - Open the Extension dropdown and pick the extension, for example 101 – Randy. Selecting it auto-fills the User ID, Auth ID, and Display Name from that extension, including the SIP password. You never type credentials by hand.
- Leave Server as
demo.ictpbx.comand Transport as UDP. - The SIP port defaults to 5080 behind the scenes, the port FreeSWITCH listens on, so there is no field to set.
Step 3 – Save. Click Save. The form then shows a Provisioning URL, for example https://demo.ictpbx.com/provision/c074ade843d7.
Step 4 – On the phone (customer side). Set the Config Server Path to demo.ictpbx.com/provision over HTTPS, then choose Save and Reboot. The phone pulls its config and registers, exactly as extension 101 just did.
Ring Groups #
Permission required: Ring Groups
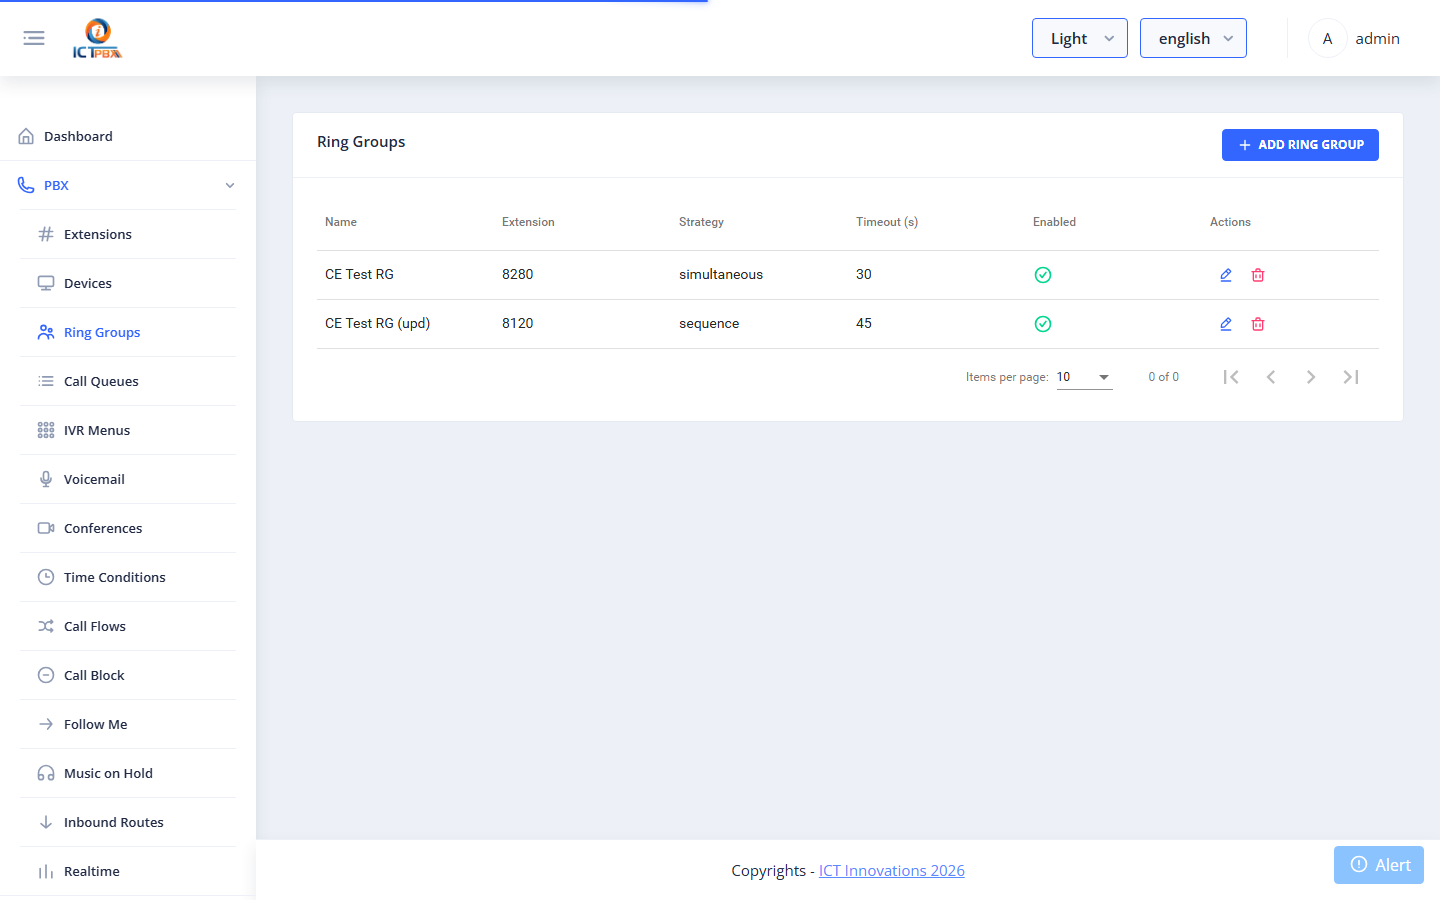
Ring groups ring multiple extensions simultaneously or sequentially when a number is dialled.
List #
Go to PBX → Ring Groups.
Add / Edit Ring Group #
| Field | Required | Description |
|---|---|---|
| Name | ✅ | Descriptive name |
| Extension | ✅ | The number callers dial to reach this group |
| Strategy | ✅ | simultaneous — all ring at once; sequence — one at a time |
| Timeout | ✅ | Seconds to ring before going to timeout destination |
| Timeout Destination | Where to send the call if unanswered (voicemail, IVR, etc.) | |
| Members | ✅ | Extensions to include; each has its own ring timeout |
Call Queues #
Permission required: Call Queues
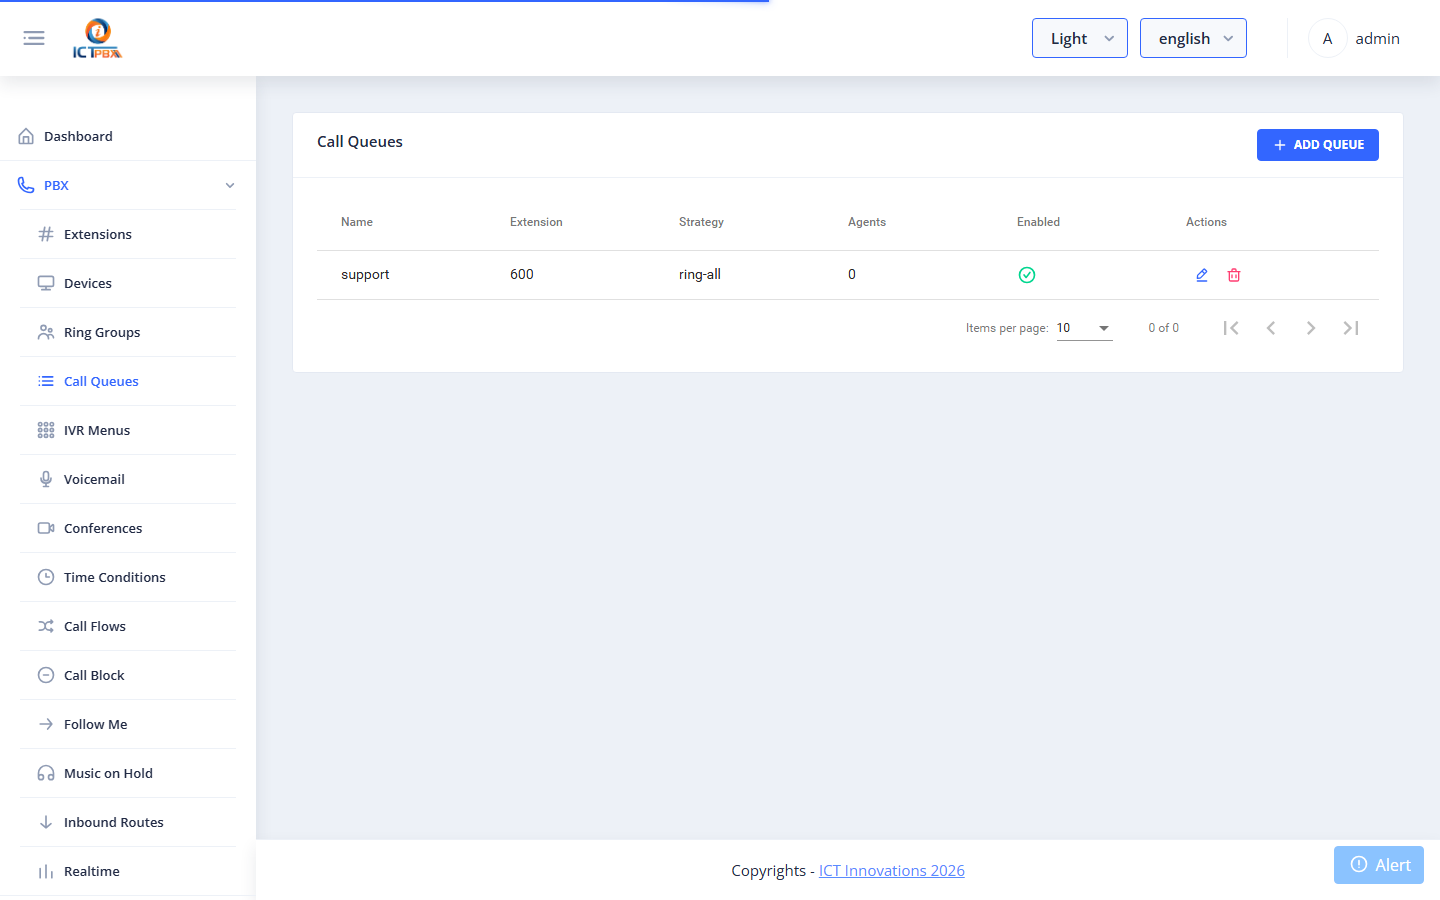
Call queues place callers in a waiting line, distributing them to available agents.
List #
Go to PBX → Call Queues.
Add / Edit Call Queue #
| Field | Required | Description |
|---|---|---|
| Name | ✅ | Queue name |
| Extension | ✅ | Number callers dial to enter the queue |
| Strategy | ✅ | ring-all, longest-idle-agent, round-robin, top-down, agent-with-fewest-calls, random |
| Max Wait Time | Seconds before caller is sent to timeout destination | |
| Max No-Answer | Times an agent can miss before being removed from the queue | |
| Agents | ✅ | Extensions serving this queue; each can have a tier level and tier position |
| MOH Sound | Music on hold played while waiting | |
| Timeout Destination | Where to route calls that exceed max wait time |
IVR Menus #
Permission required: IVR Menus
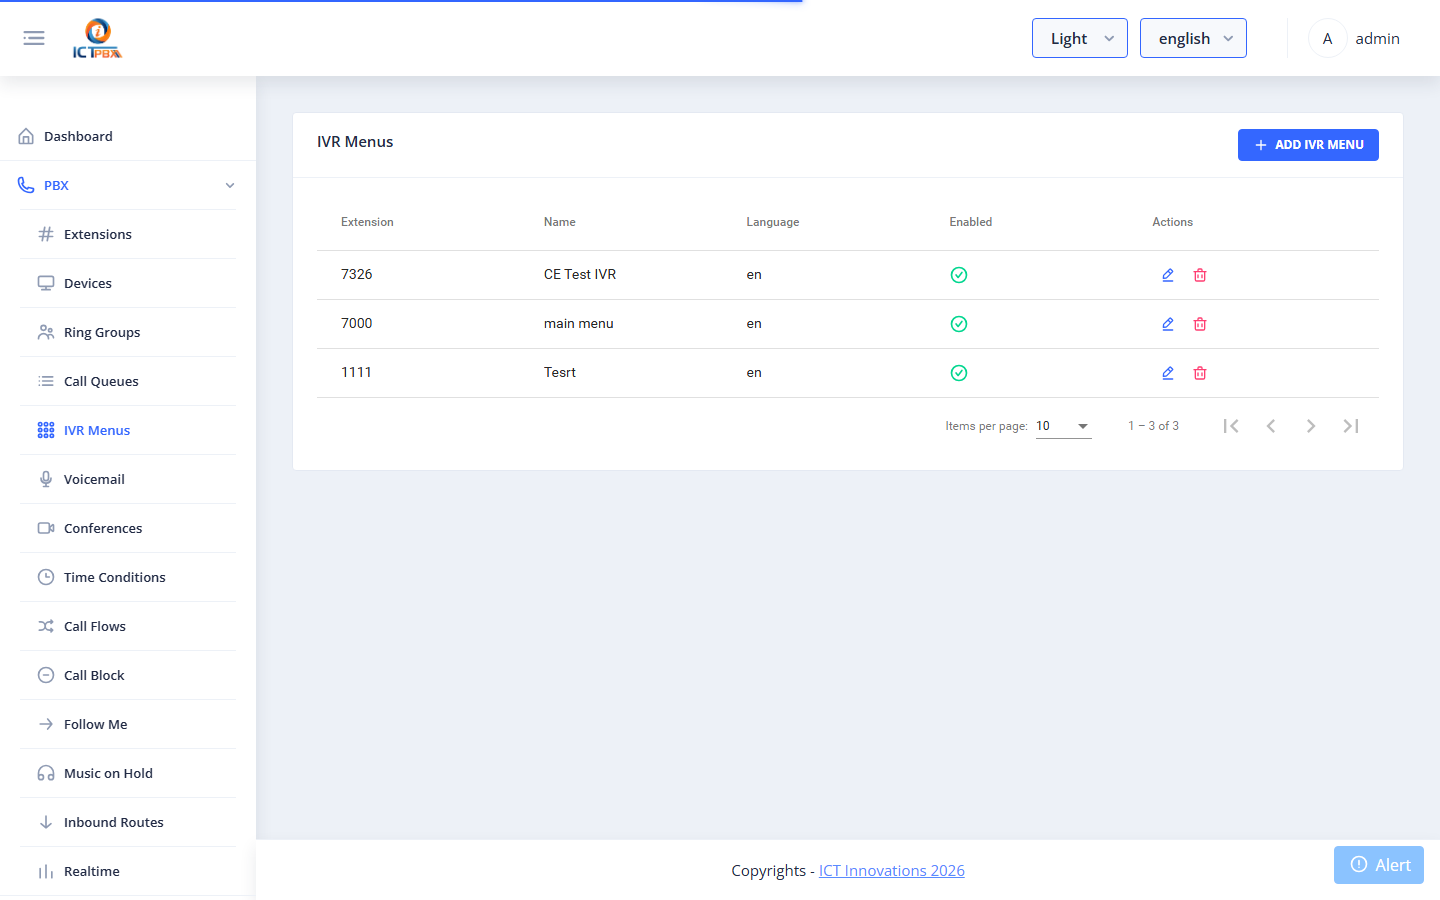
IVR (Interactive Voice Response) menus present callers with a recorded greeting and keypad options that route to other destinations.
List #
Go to PBX → IVR Menus.
Add / Edit IVR Menu #
| Field | Required | Description |
|---|---|---|
| Name | ✅ | Menu name |
| Greeting | ✅ | Audio file played when callers enter |
| Invalid Sound | Audio played on wrong key press | |
| Exit Sound | Audio played on exit | |
| Timeout | ✅ | Seconds to wait for input before re-playing greeting |
| Exit Action | Destination if max retries exceeded | |
| Options | ✅ | Key → Destination mappings (e.g. 1 → Sales ring group, 2 → Support queue, 0 → Operator extension) |
Voicemail #
Permission required: Voicemail
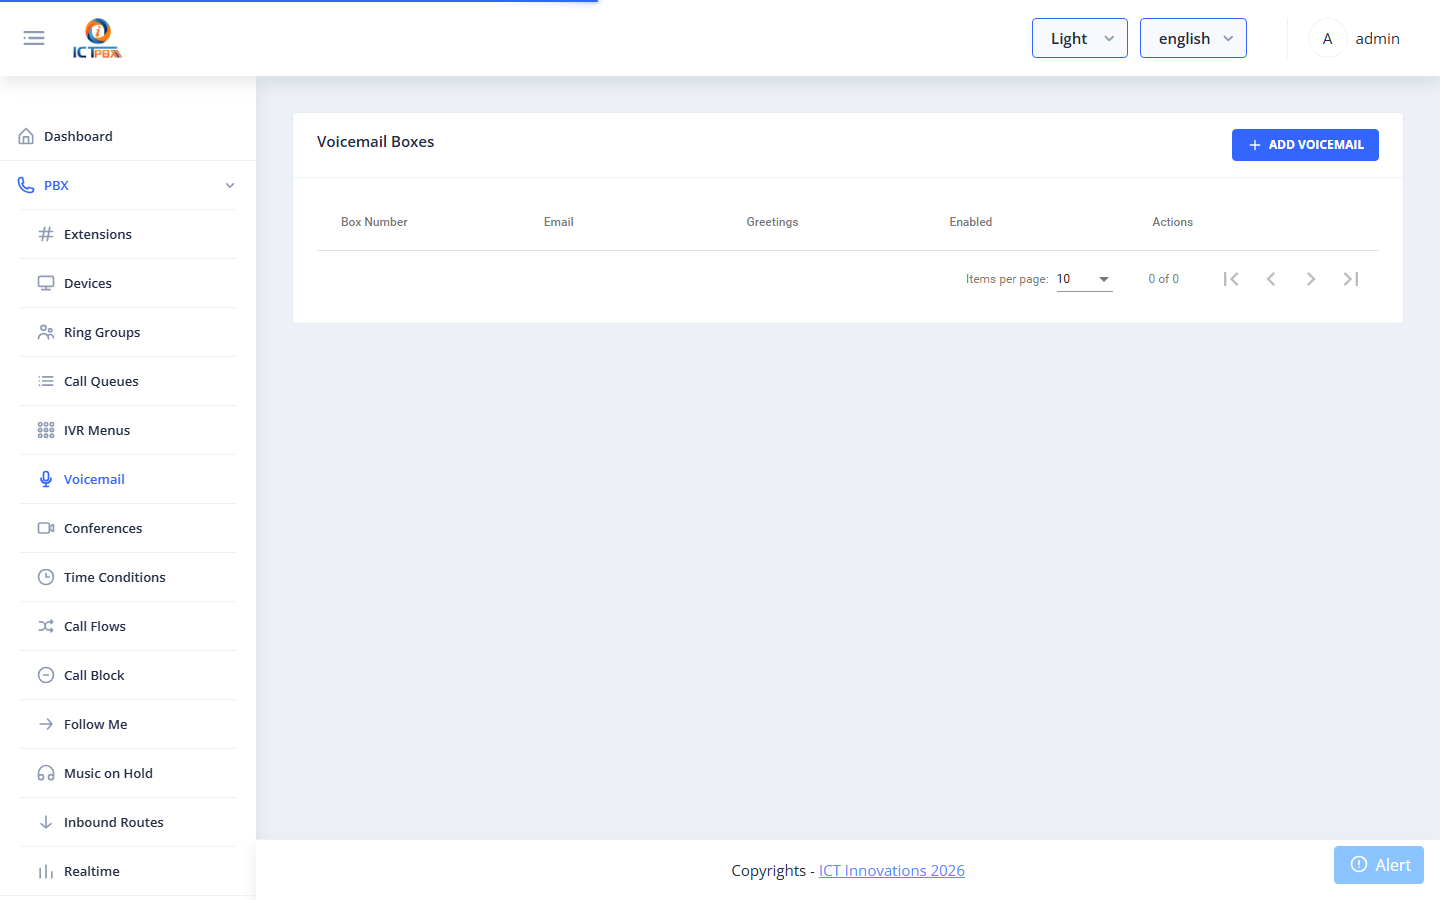
Voicemail boxes store recorded messages left by callers. Each box is linked to an extension.
List #
Go to PBX → Voicemail.
Add / Edit Voicemail Box #
| Field | Required | Description |
|---|---|---|
| Extension | ✅ | The extension this mailbox belongs to |
| Password | ✅ | PIN to retrieve messages |
| Address to receive message notifications (with attachment) | ||
| Greeting | Custom greeting audio file | |
| Enabled | Active/inactive |
Callers reach voicemail when their call is not answered and the extension forwards to voicemail (configured in the extension’s no-answer destination in FusionPBX).
Conferences #
Permission required: Conferences
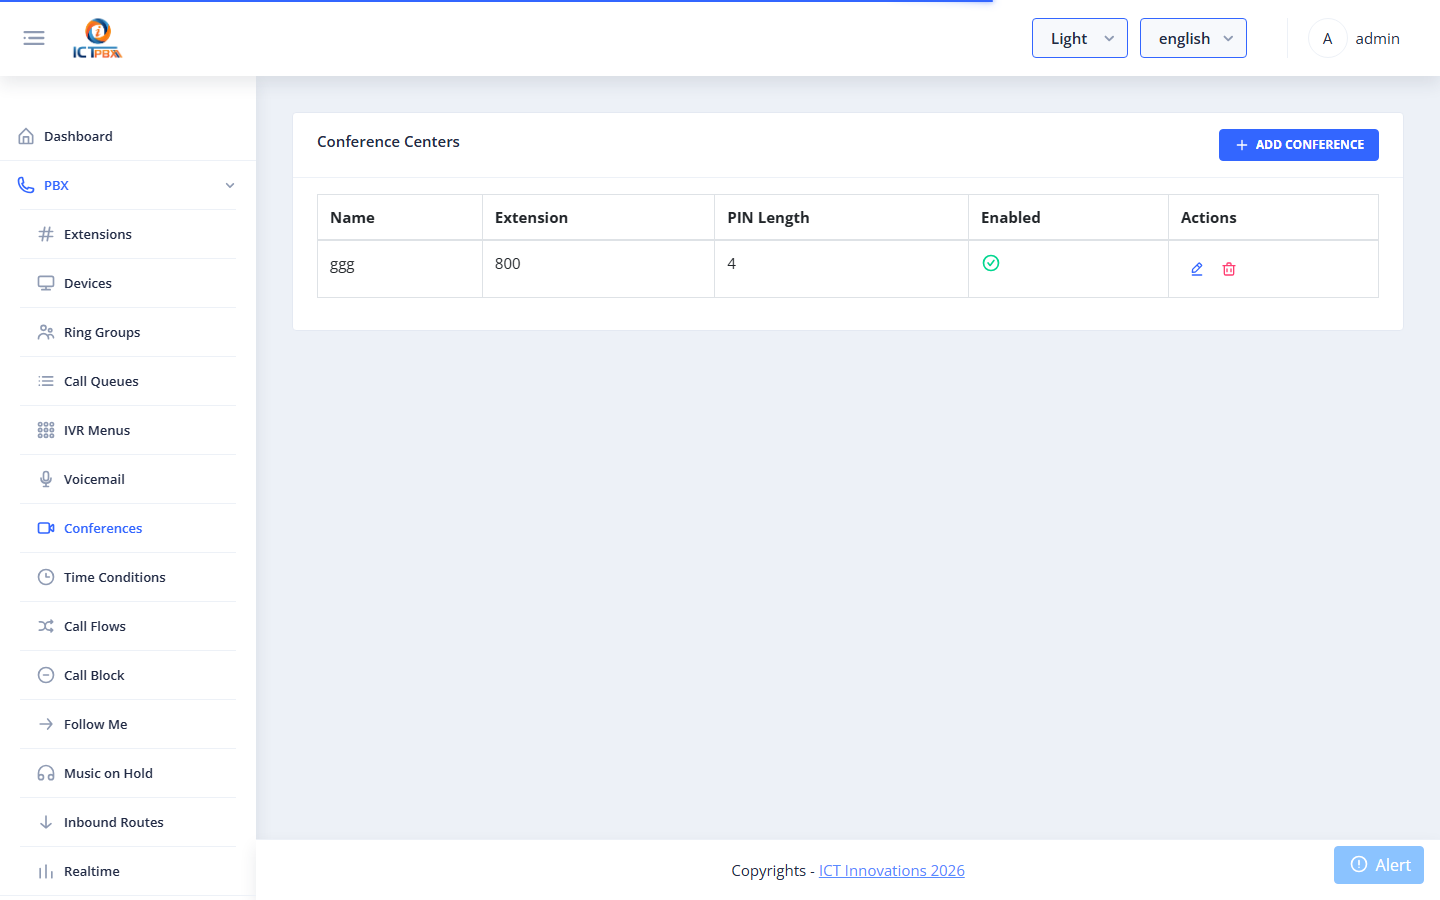
Conference rooms allow multiple callers to join a shared audio bridge by dialling an extension.
List #
Go to PBX → Conferences.
Add / Edit Conference #
| Field | Required | Description |
|---|---|---|
| Name | ✅ | Room name |
| Extension | ✅ | Number callers dial to join |
| PIN | Optional entry PIN | |
| Admin PIN | Moderator PIN (moderators can control the conference) | |
| Max Members | Maximum simultaneous participants | |
| Enabled | Active/inactive |
Music on Hold #
Permission required: Music on Hold
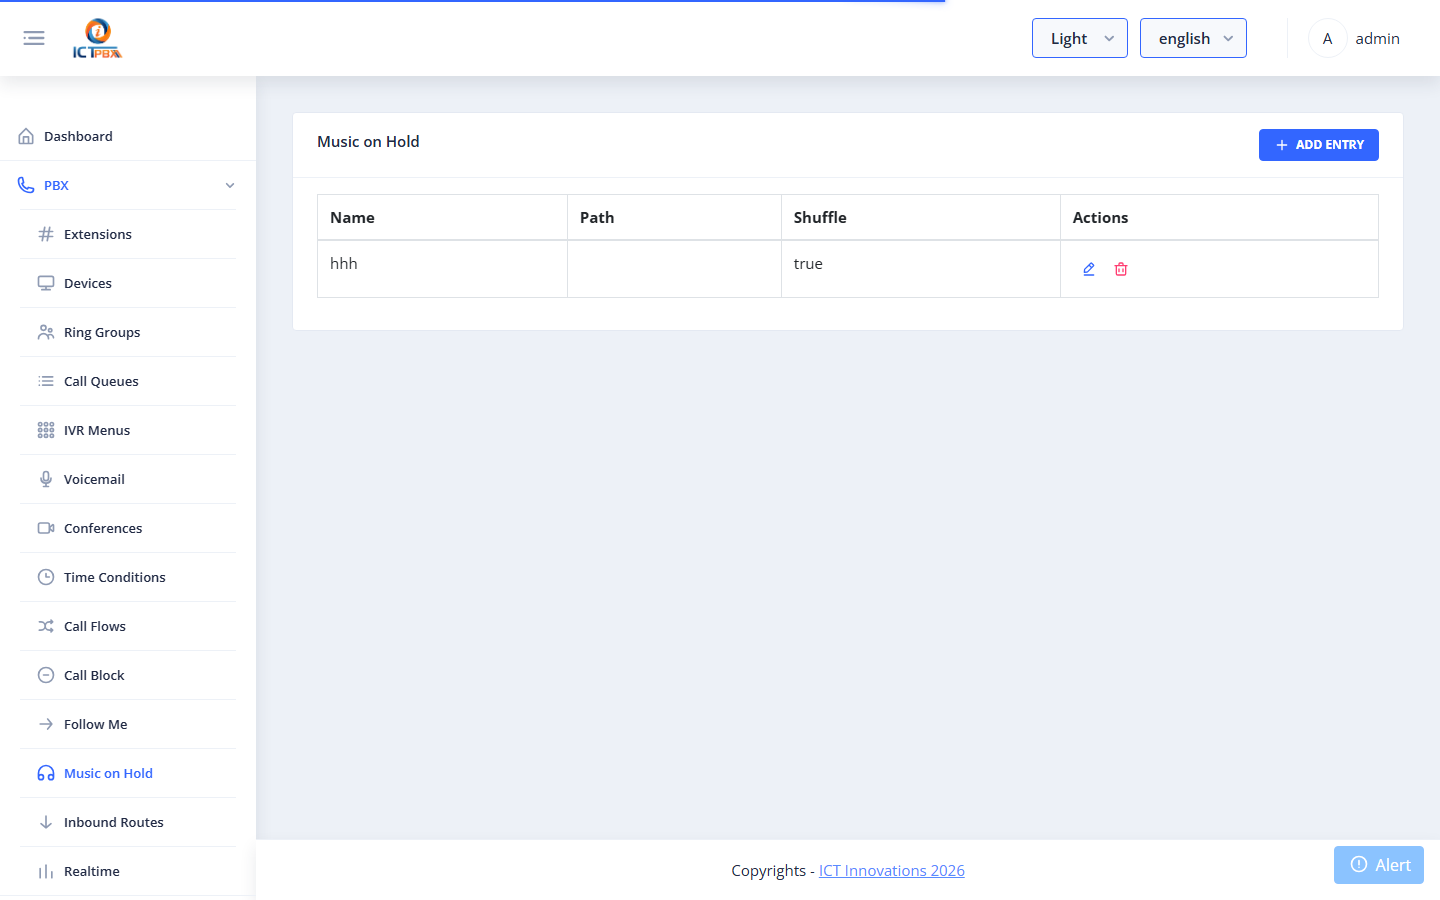
Music on Hold (MOH) categories hold audio files played to callers placed on hold or waiting in a queue.
List #
Go to PBX → Music on Hold.
Add / Edit MOH Category #
| Field | Required | Description |
|---|---|---|
| Name | ✅ | Category name (referenced by queues and ring groups) |
| Rate | Audio sample rate (8000 Hz default) | |
| Shuffle | Play files in random order | |
| Files | Upload .wav or .mp3 audio files |
Follow Me #
Permission required: Follow Me
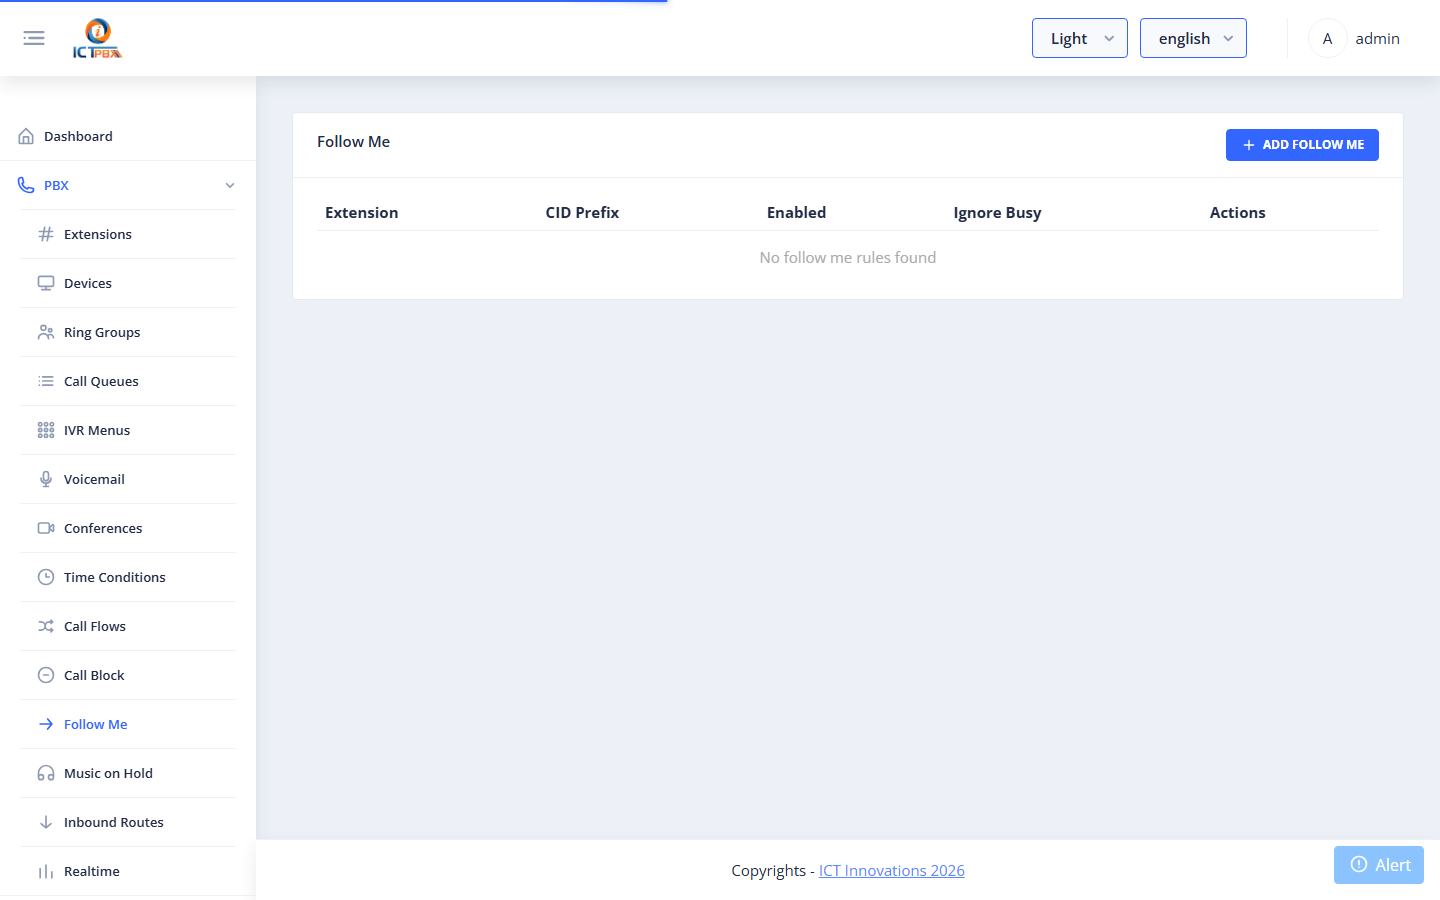
Follow Me forwards calls from an extension to one or more destinations in sequence or simultaneously — useful for mobile workers.
List #
Go to PBX → Follow Me.
Add / Edit Follow Me #
| Field | Required | Description |
|---|---|---|
| Extension | ✅ | The source extension to forward from |
| Destinations | ✅ | Phone numbers or extensions to forward to; each has a timeout and delay |
| Strategy | simultaneous or sequence |
|
| Prompt | Whether to ask the receiving party to accept the call |
Call Flows #
Permission required: Call Flows
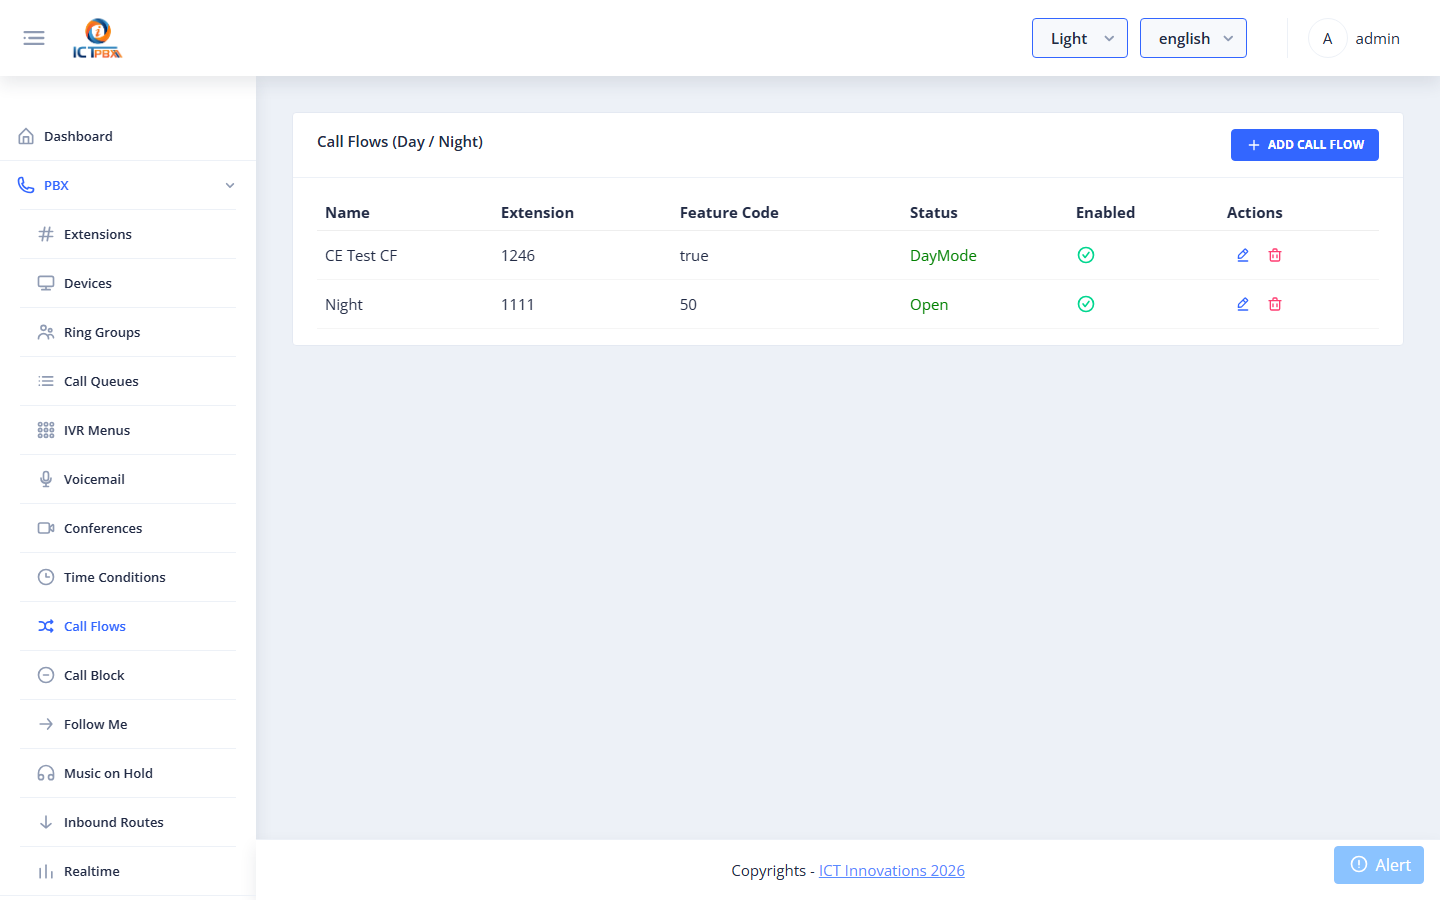
Call Flows are toggleable routing rules — a single extension can be switched between two destinations (e.g. normal hours → queue; after hours → voicemail). Useful for on/off-duty toggles.
List #
Go to PBX → Call Flows.
Add / Edit Call Flow #
| Field | Required | Description |
|---|---|---|
| Name | ✅ | Descriptive name |
| Extension | ✅ | The number that triggers this flow |
| Status | Active (routes to Active Destination) or Inactive (routes to Inactive Destination) |
|
| Active Destination | ✅ | Where to route when the flow is active |
| Inactive Destination | ✅ | Where to route when the flow is inactive |
Toggle the flow status between Active/Inactive to redirect calls on the fly.
Time Conditions #
Permission required: Time Conditions
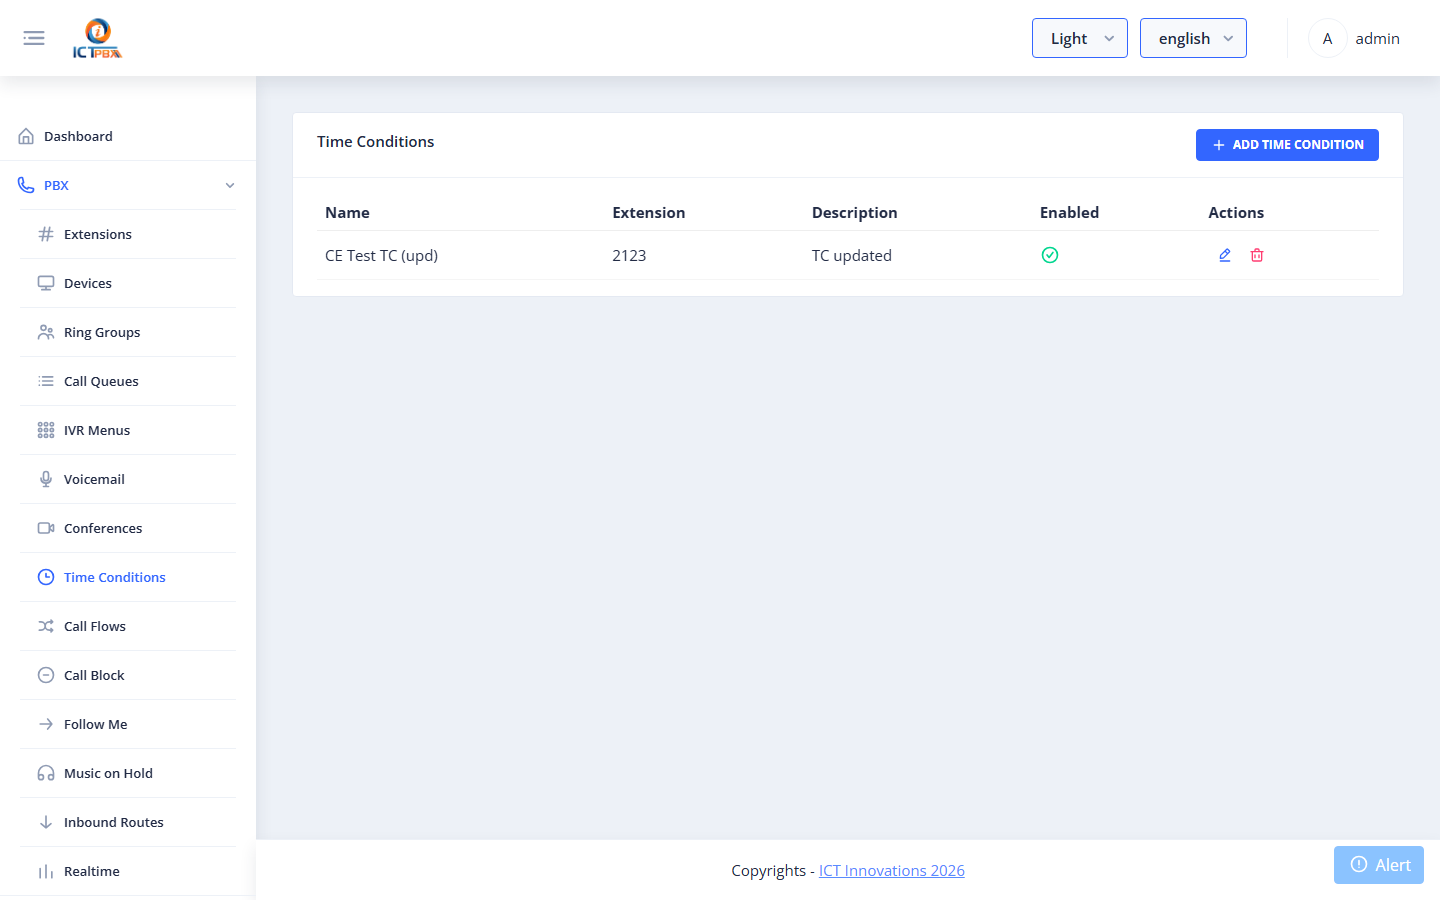
Time Conditions automatically route calls based on day/time, enabling business-hours routing without manual intervention.
List #
Go to PBX → Time Conditions.
Add / Edit Time Condition #
| Field | Required | Description |
|---|---|---|
| Name | ✅ | Descriptive name |
| Extension | ✅ | The number this condition is applied to |
| Match Destination | ✅ | Where to route when within the time window |
| No-Match Destination | ✅ | Where to route outside the time window |
| Time Rules | ✅ | One or more time windows: days of week, start time, end time |
Multiple time rules are OR-combined — the condition matches if any rule matches the current time.
Call Block #
Permission required: Call Block
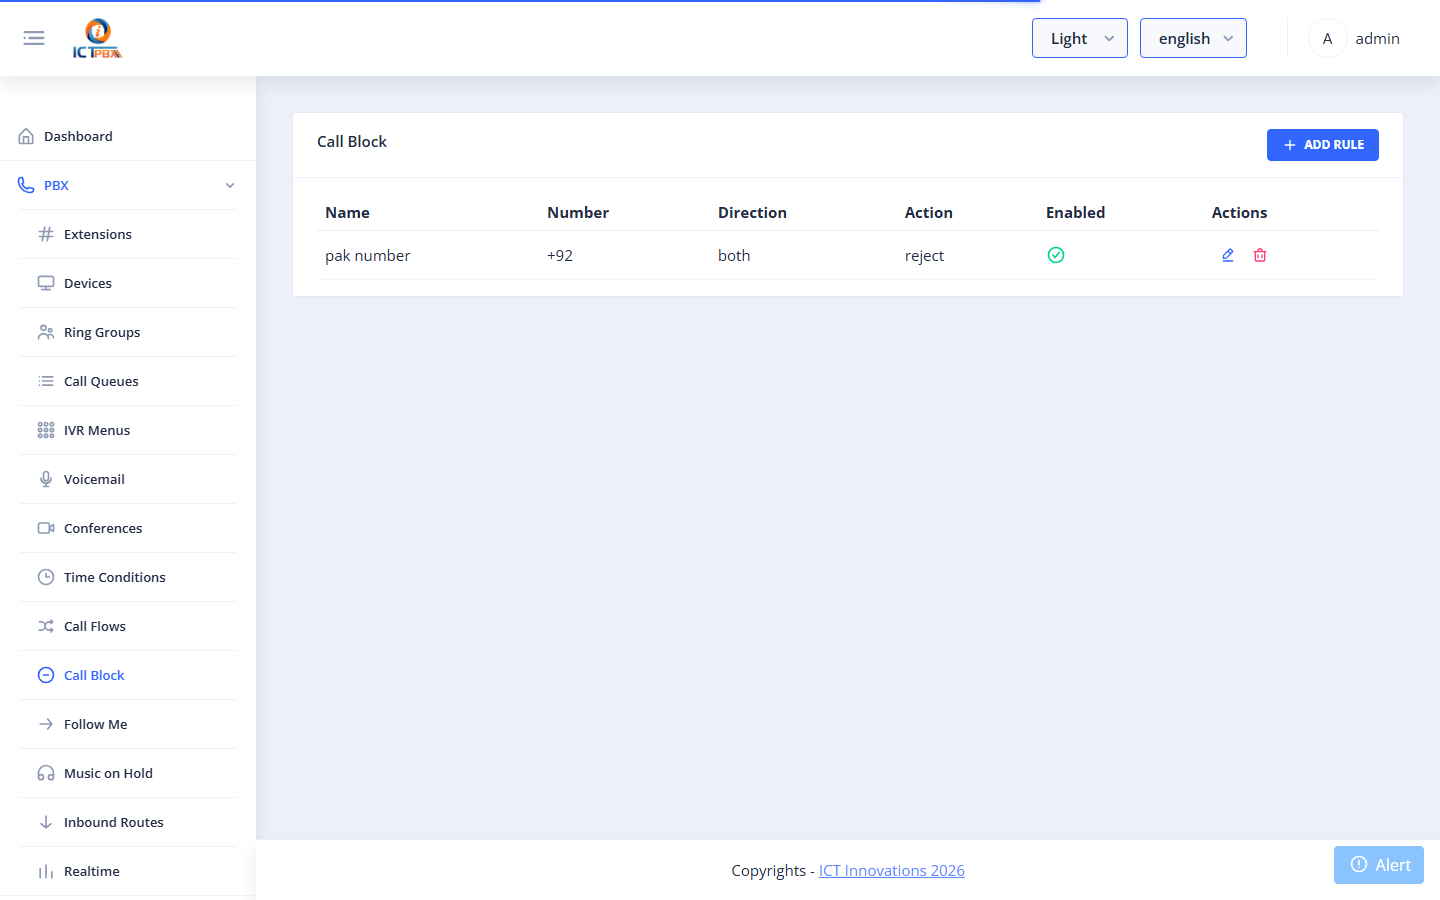
Call Block allows you to reject calls from specific numbers or number patterns.
List #
Go to PBX → Call Block.
Add / Edit Block Rule #
| Field | Required | Description |
|---|---|---|
| Number | ✅ | The number to block (exact match or pattern) |
| Action | ✅ | Hangup, Busy, or Play message |
| Description | Note about why this number is blocked | |
| Enabled | Active/inactive |
Inbound Routes #
Permission required: Inbound Routes
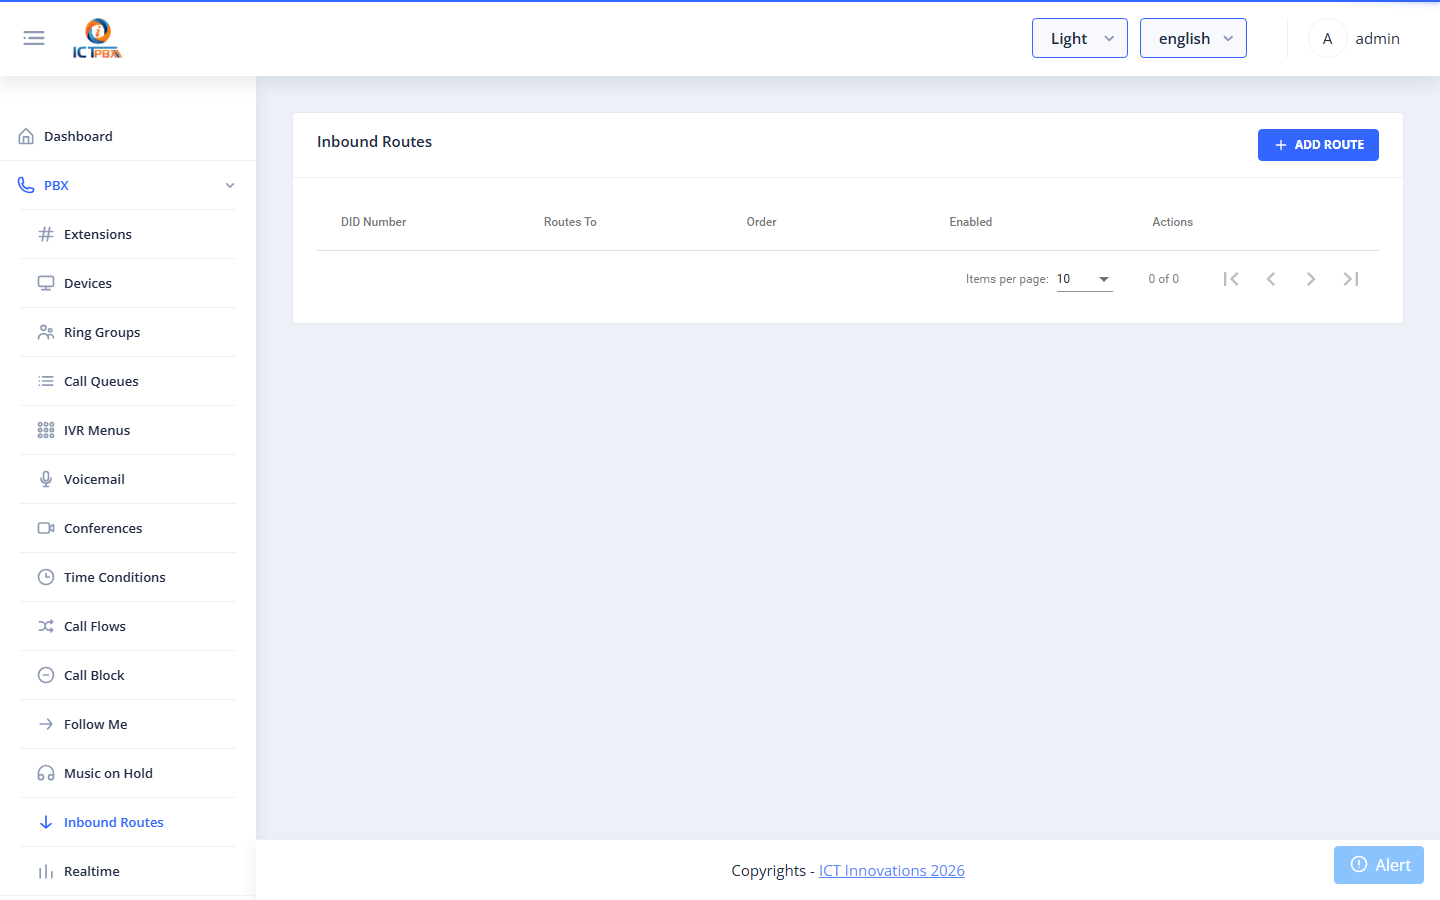
Inbound Routes map inbound DID numbers to internal destinations (extensions, ring groups, IVR menus, etc.). This is the first routing decision made when a call arrives from the carrier.
List #
Go to PBX → Inbound Routes.
Add / Edit Inbound Route #
| Field | Required | Description |
|---|---|---|
| DID Number | ✅ | The inbound phone number from your carrier |
| Caller ID Name | Optional display name | |
| Destination | ✅ | Where to route this number (extension, IVR, ring group, etc.) |
| Enabled | Active/inactive |
After saving, FreeSWITCH is automatically updated to route calls to that DID to the selected destination.
Gateways #
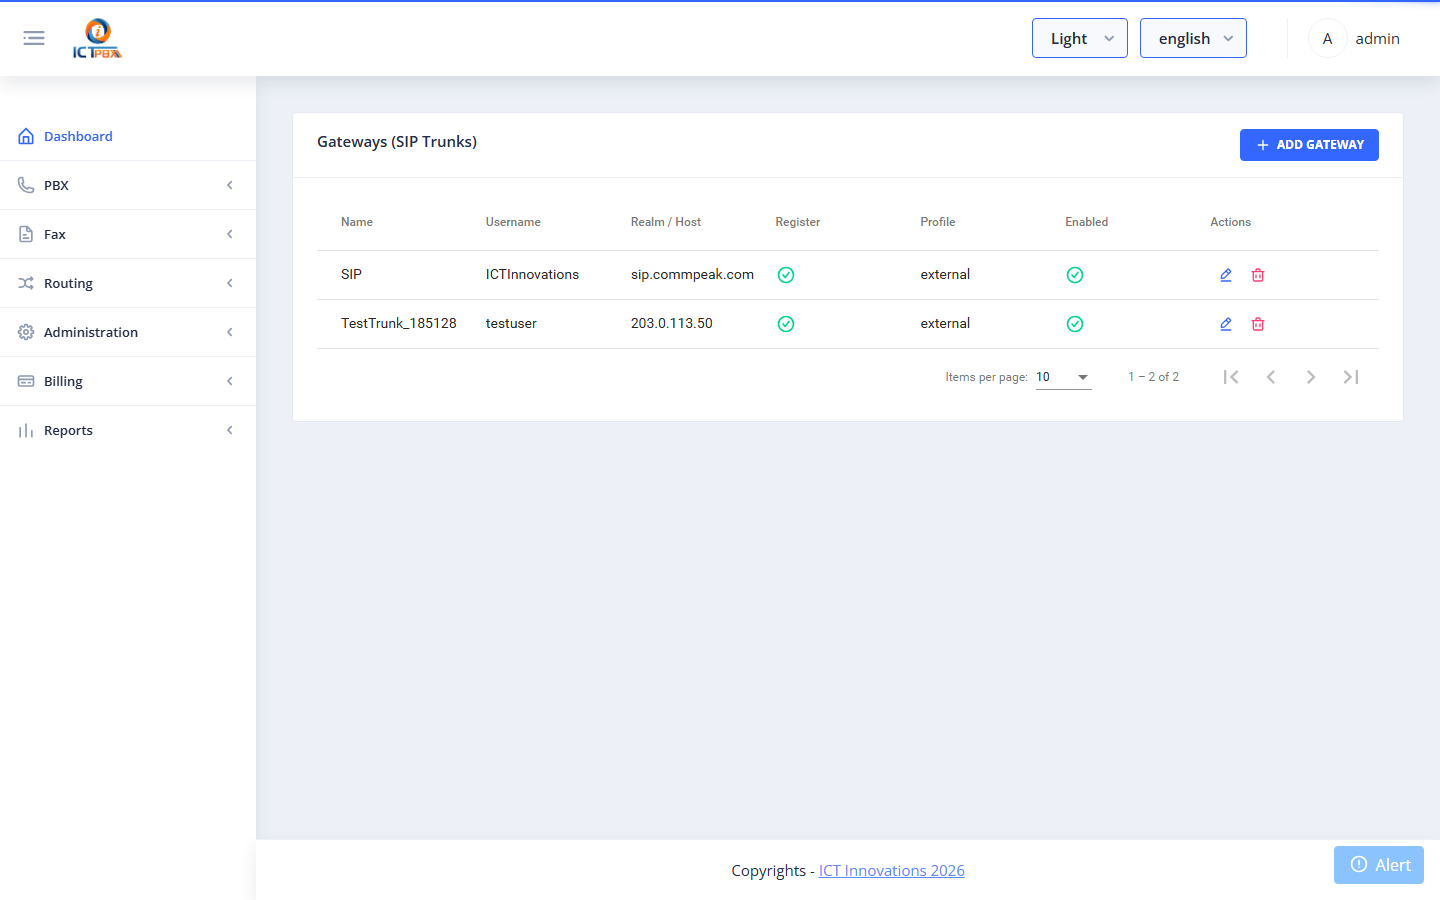
Gateways (SIP Trunks) connect ICTPBX to your telecom carrier for outbound and inbound calls.
List #
Go to PBX → Gateways.
Add / Edit Gateway #
| Field | Required | Description |
|---|---|---|
| Name | ✅ | Unique gateway name (used in FreeSWITCH config) |
| Username | ✅ | SIP username provided by your carrier |
| Password | ✅ | SIP password |
| Proxy / Realm | ✅ | Carrier SIP server address |
| From Domain | SIP domain in From header | |
| Register | Whether to register with the carrier (true for most hosted trunks) |
|
| Fax Support | Enables T.38 fax codec negotiation on this trunk | |
| Enabled | Active/inactive |
After saving, ICTPBX:
- Creates/updates the gateway record in FusionPBX
- Writes the SIP profile XML to disk (
/etc/freeswitch/sip_profiles/external/) - Reloads the FreeSWITCH external profile — the gateway goes REGED within seconds


