
Table of Contents
2 — Quick Start: Community Edition #
The Community Edition is single-tenant. There is no tenant management — the Admin creates users directly and all users share a single PBX domain.
Step 1 — Log in as Admin #
Go to your ICTPBX URL and log in with the credentials set during installation.
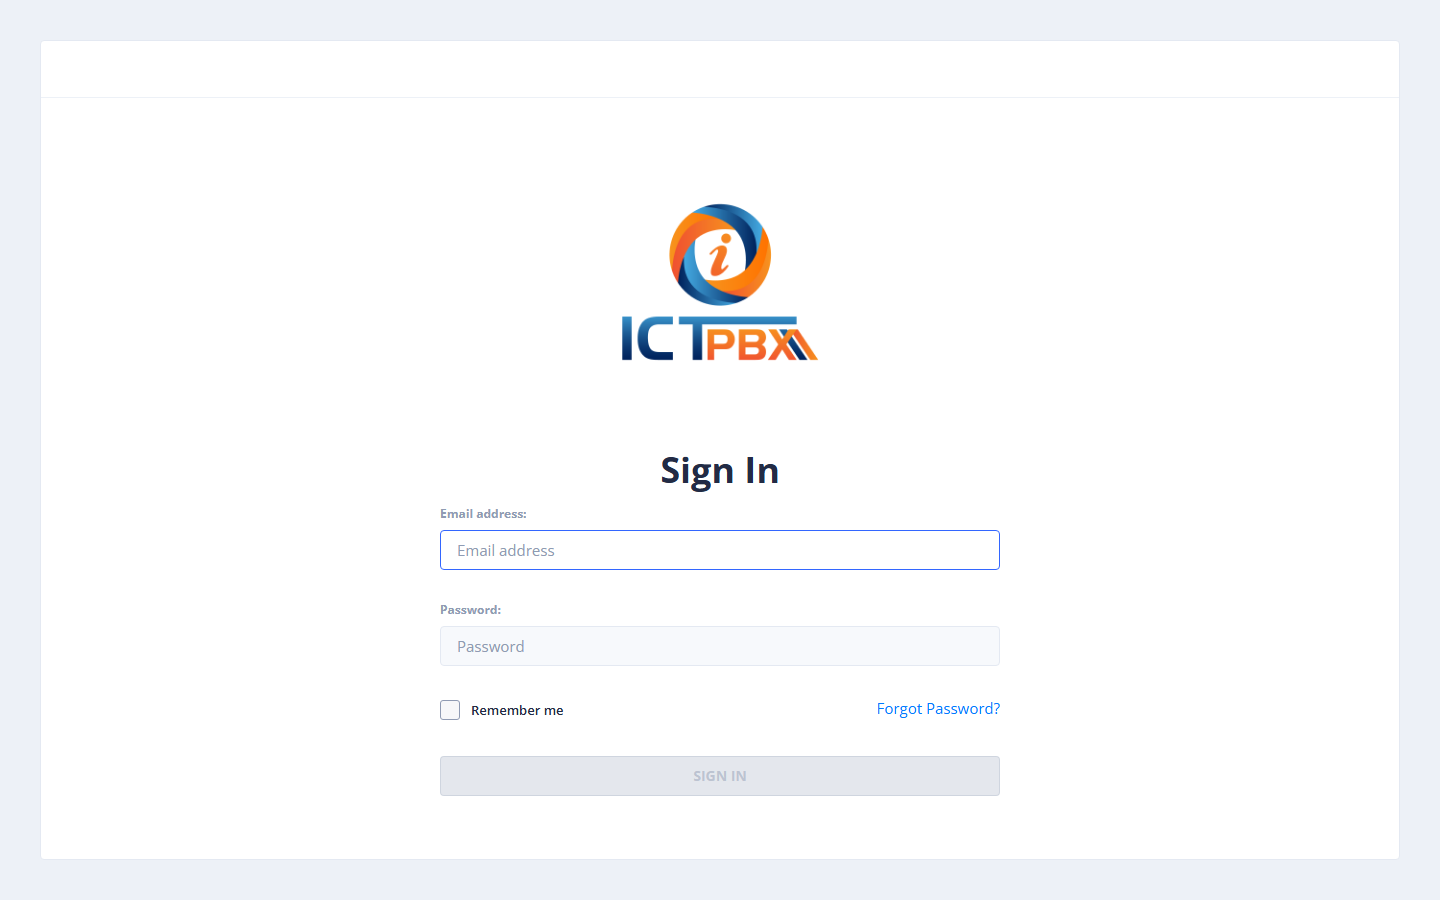
Step 2 — Create a User #
- Go to Administration → Users.
- Click Add User.
Fill in user details:
| Field | Description |
|---|---|
| First Name / Last Name | Display name |
| Username | Login email address |
| Password | Must meet the password policy |
| Role | User (tenant role not available in CE) |
Assign Permissions #
Check the fax and PBX features the user should be able to access.
- Click Save.
Step 3 — Add PBX Extensions #
- Go to PBX → Extensions.
- Click Add Extension.
- Fill in extension number, display name, and SIP password.
- Provision a SIP device pointing at the server.
Step 4 — Send a Test Fax #
- Log in as the new user.
- Go to Fax → Send Fax.
- Upload a document and enter a destination number.
- Click Send.
Key Differences from Enterprise Edition #
| Feature | CE | EE |
|---|---|---|
| Multiple tenants | ❌ | ✅ |
| Per-tenant quota | ❌ | ✅ |
| Branding | ❌ | ✅ |
| Billing | ❌ | ✅ |
| PBX features | ✅ Full | ✅ Full |
| Fax features | ✅ Full | ✅ Full |


